Homemade Potato Chips

Homemade Potato Chips are fabulous. They will change your life. Try them & you will never look at a bag of store bought chips the same again. Seriously!
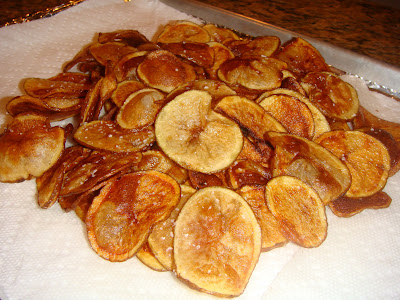
 Ingredients:
Idaho or Russet Potatoes
Grease for Frying (Vegetable, Canola, or Peanut)
Salt & Pepper

Directions:
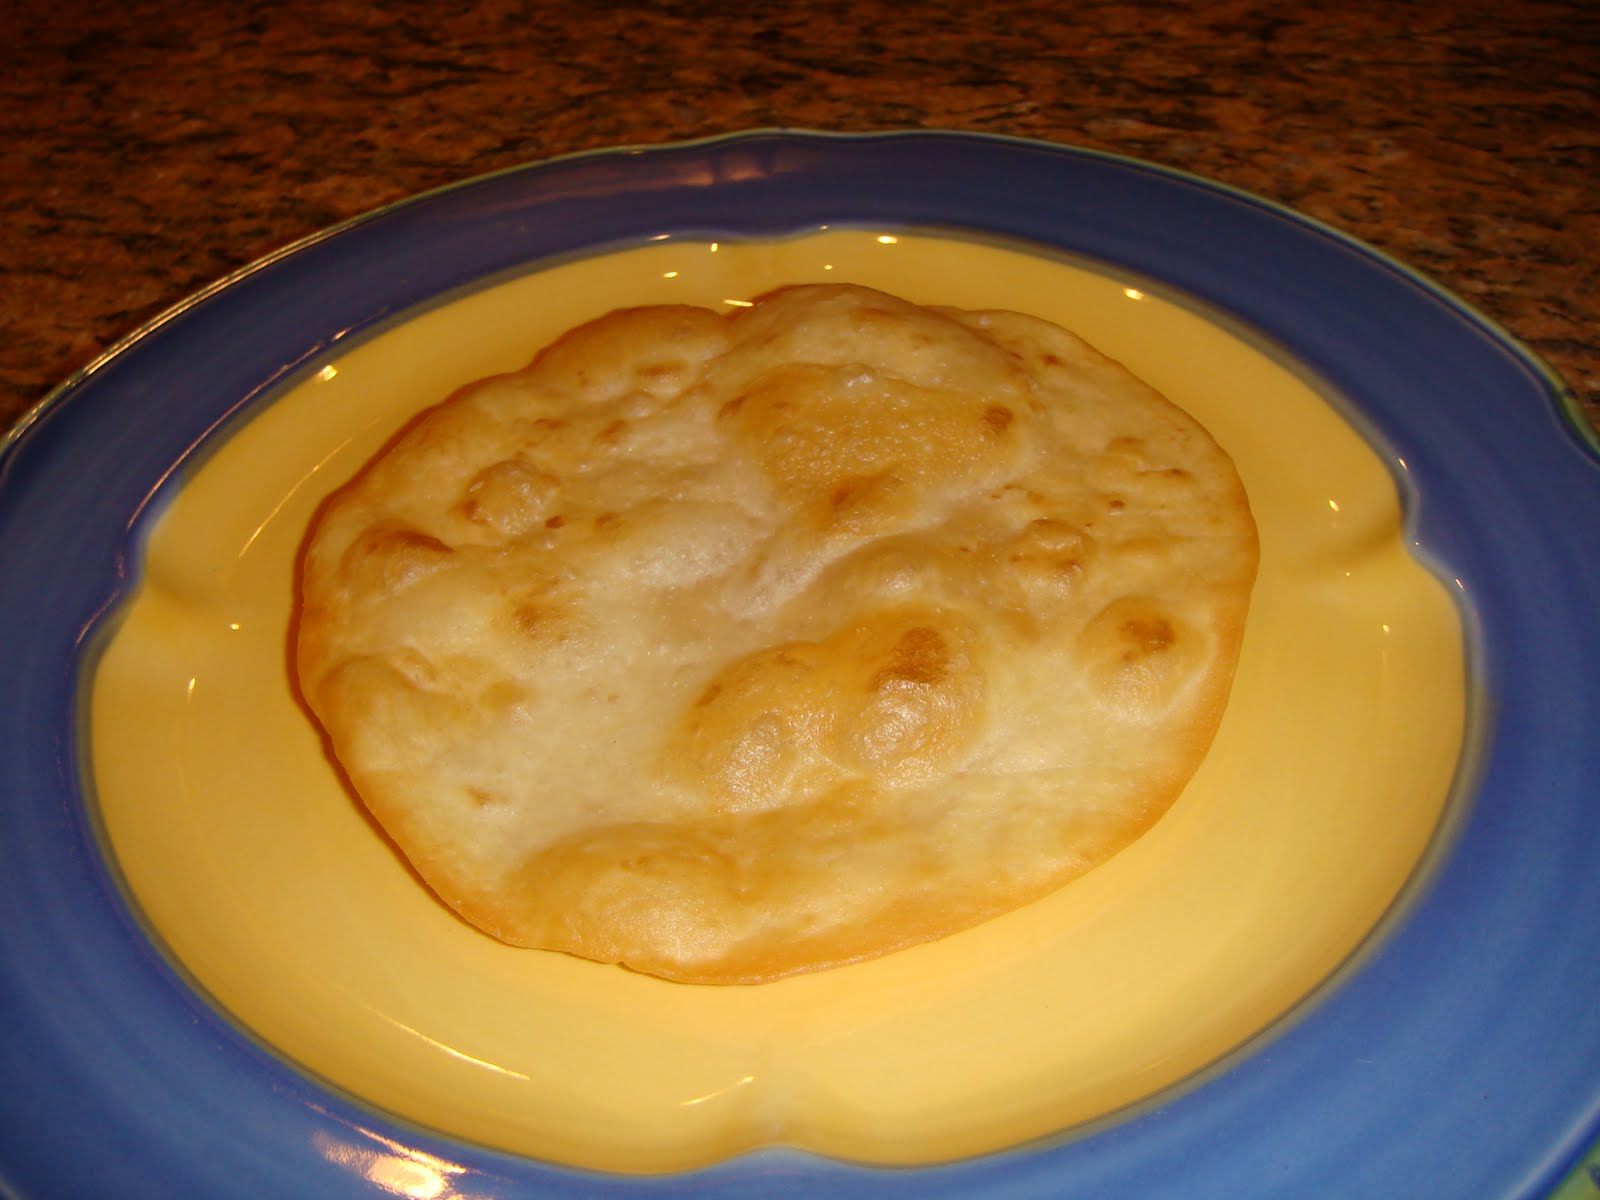
Preheat your fryer to 350 degrees. Thinly slice Potatoes. I sliced them 1/8 of an inch thick. A mandolin makes this quick & easy, but a knife works just fine too. 
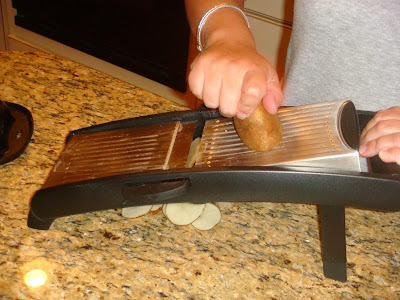
1/8 of an inch is a little thicker than some people make them. You can certainly slice them thinner if you'd like.
Stack all the potatoes on a plate or sheet pan.
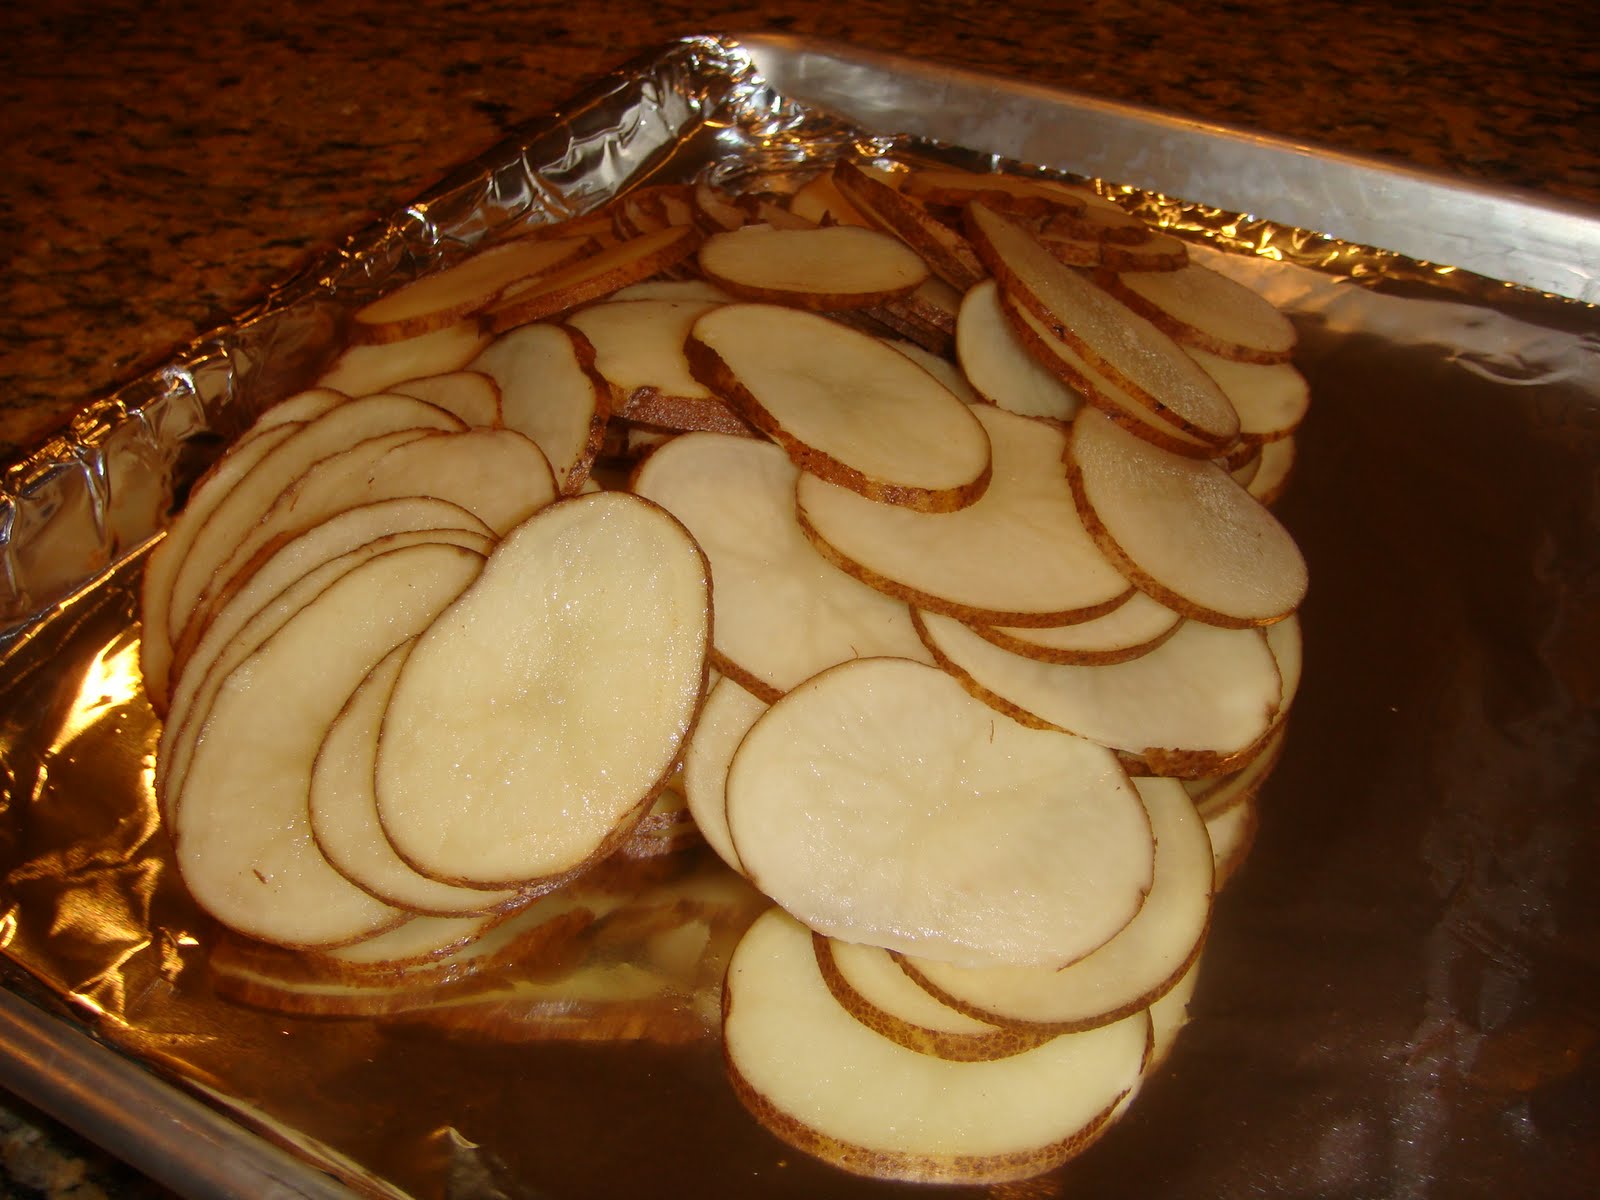
Make lots- they will go quickly!
When the oil has reached 350 degrees, fry the chips adding a few at a time. Be careful not to over fill the pan. Fry them for 3-4 minutes, turning them often.
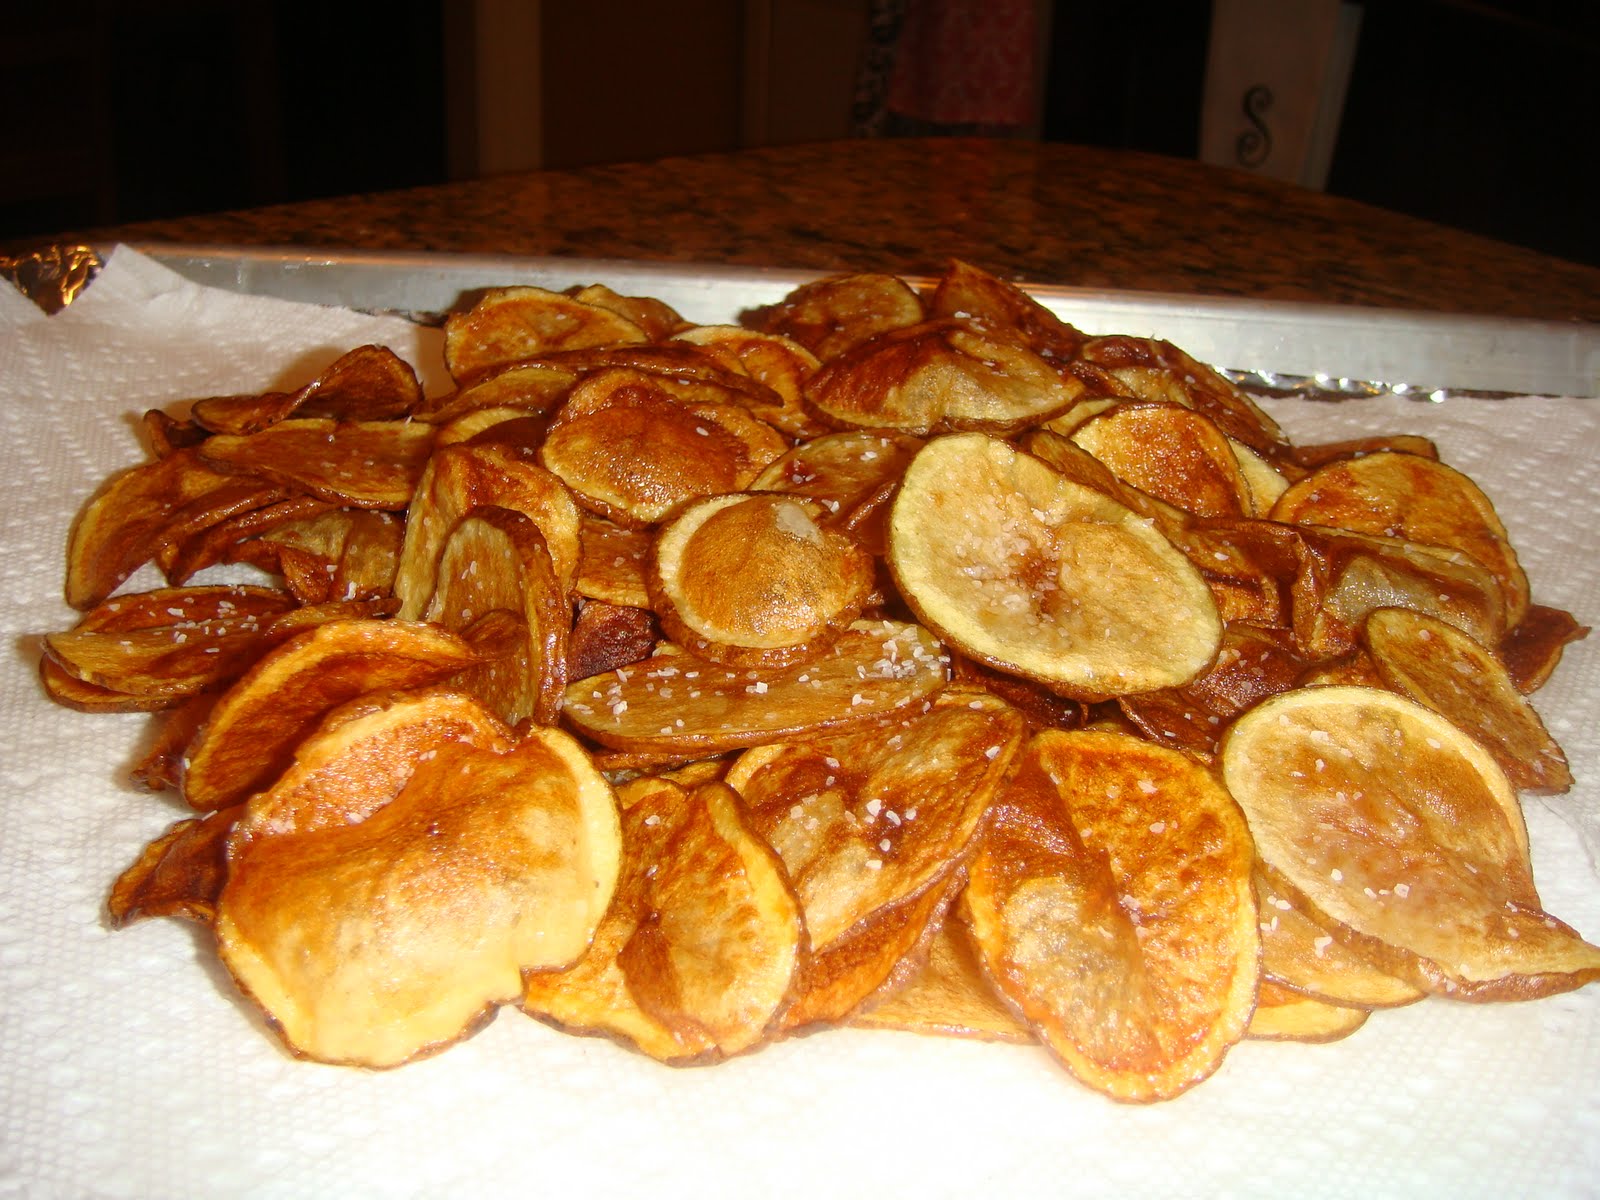
Place the cooked chips on layers of paper towels to absorb the excess grease. Season the chips immediately after coming out of the fryer!
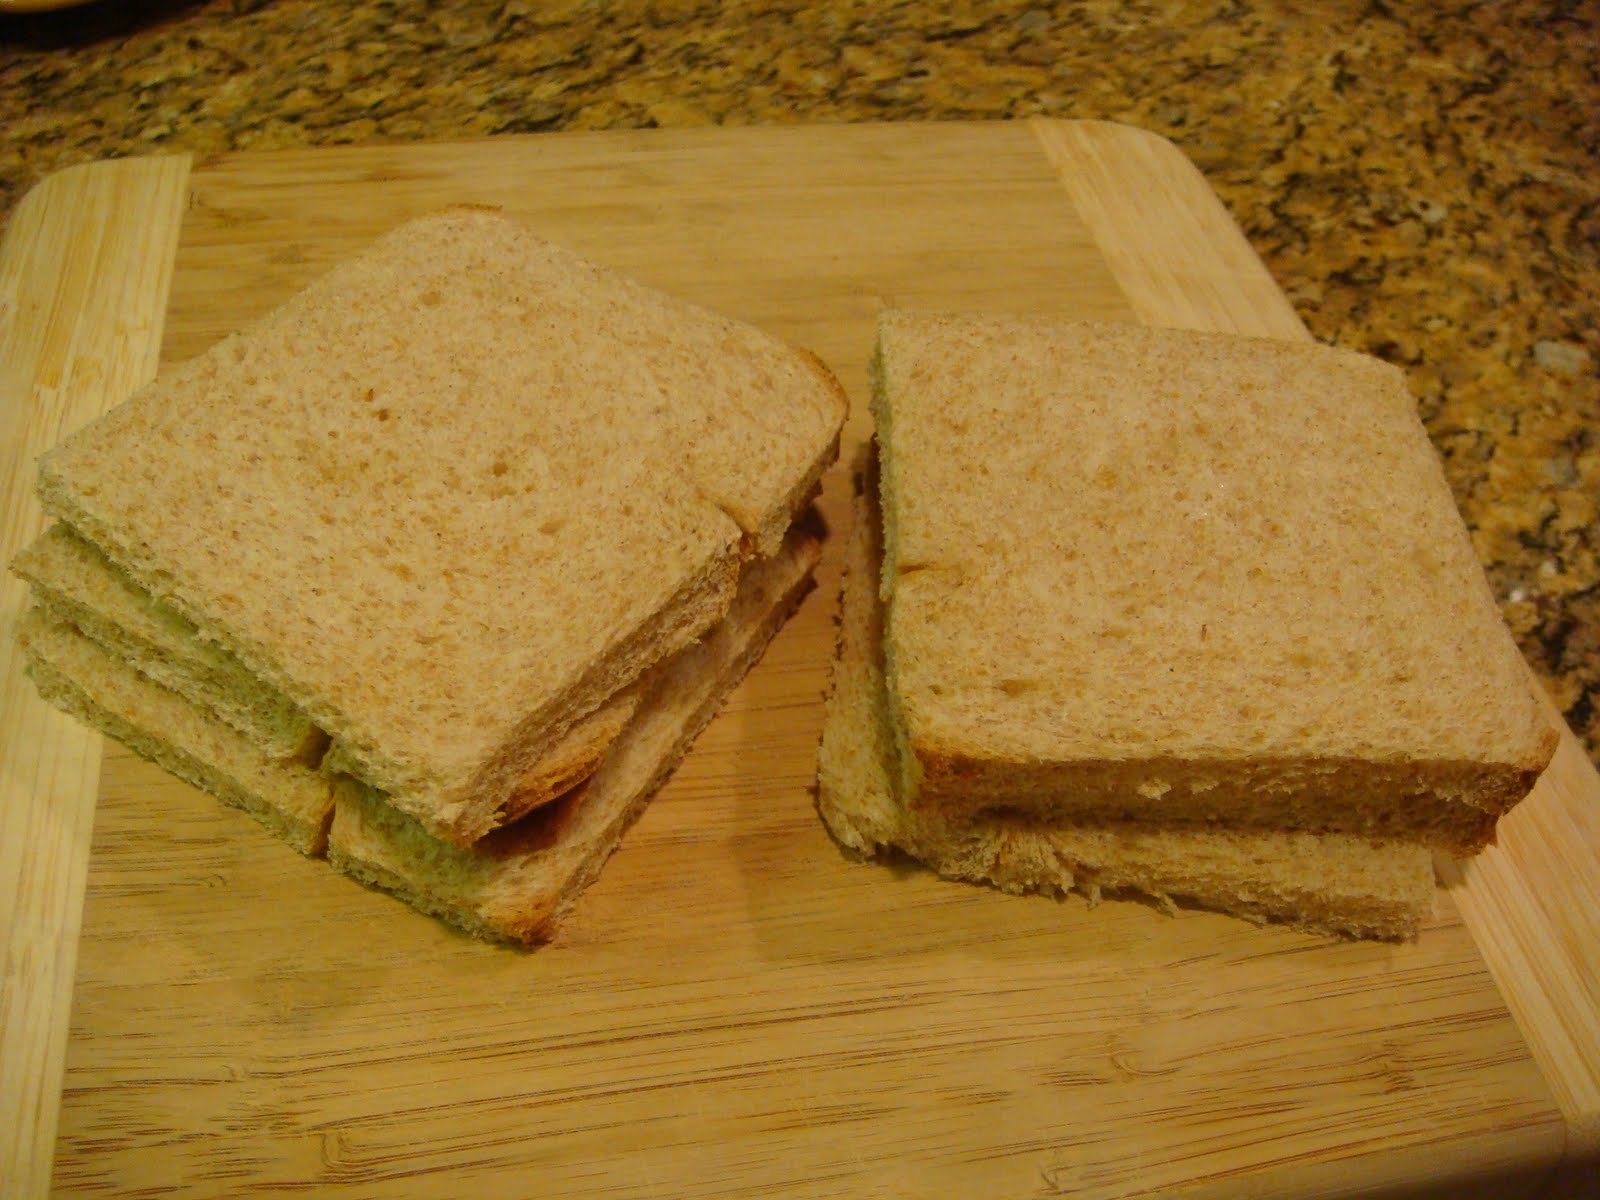
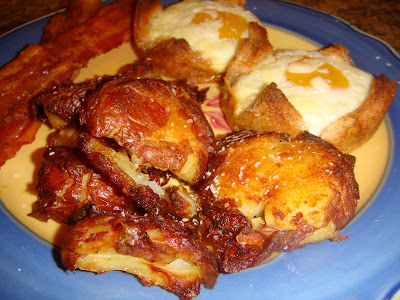
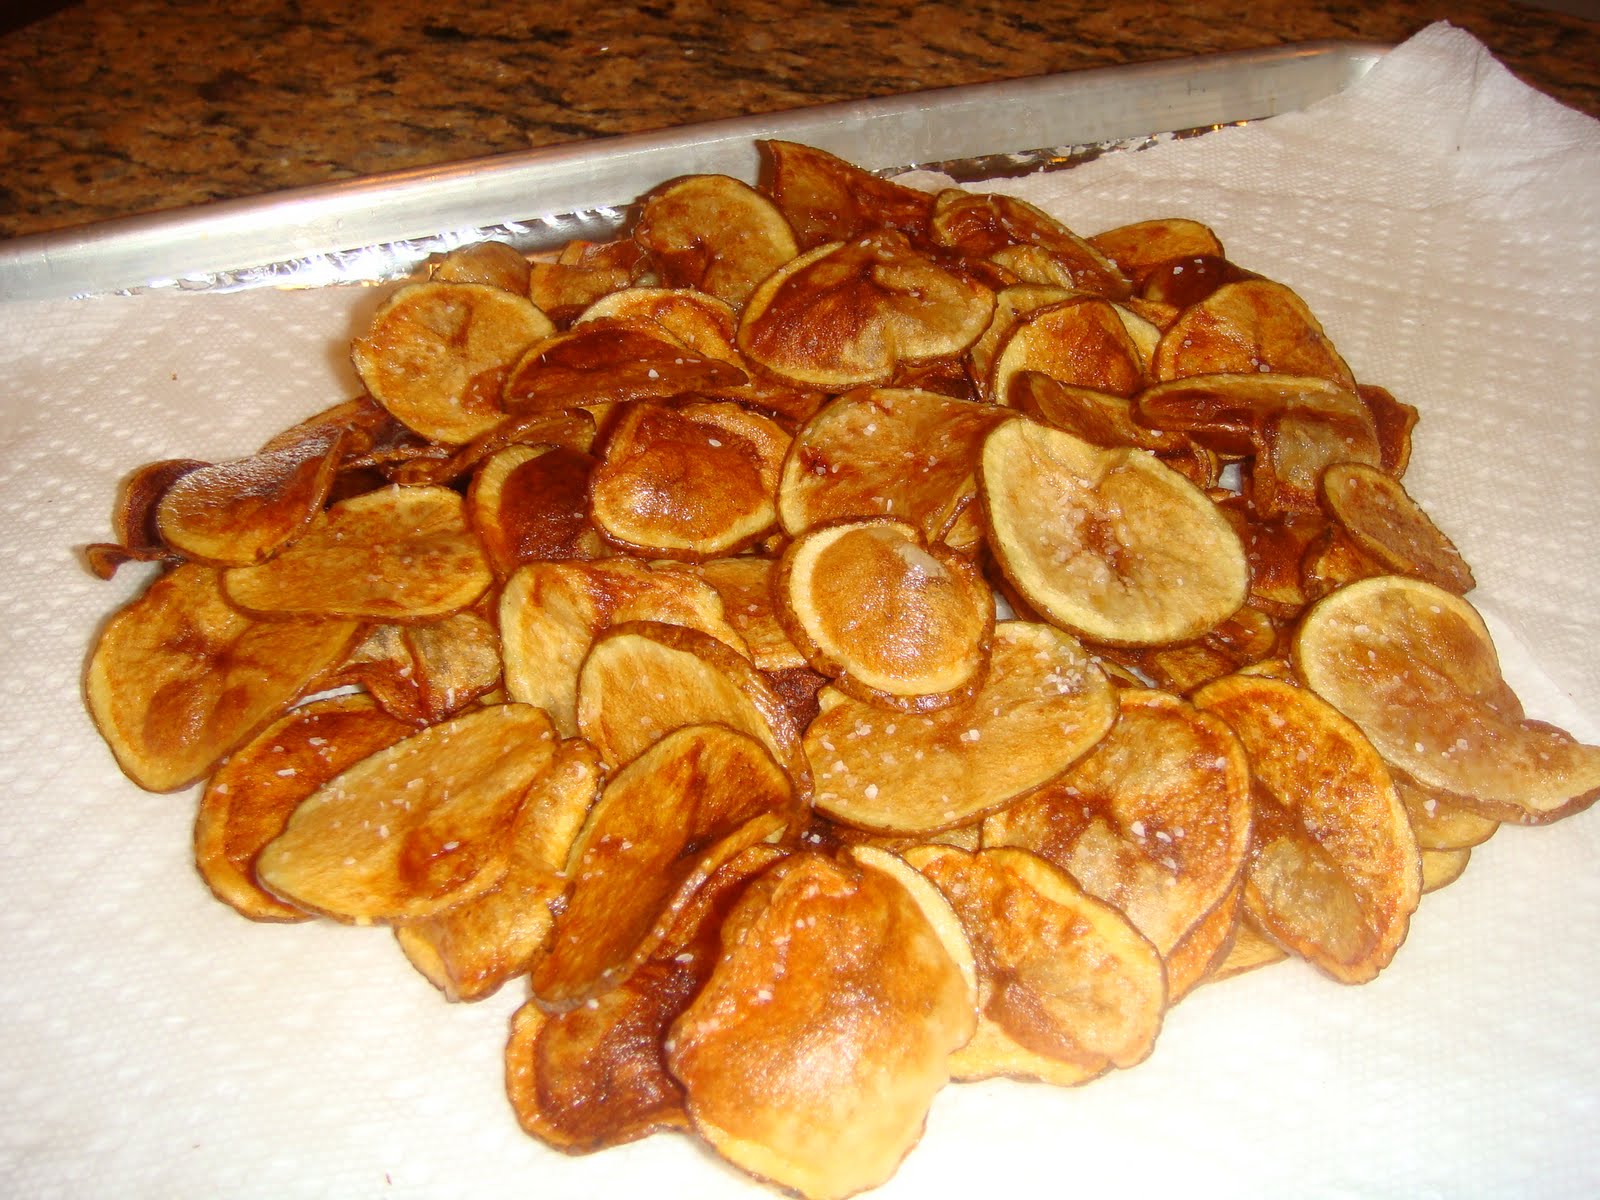
These go perfectly with burgers, sandwiches or hot dogs! Really, don't potato chips go well with just about anything??

Chicken Tostadas with Jalapeno Queso

These are a new favorite! They are so good, my husband & I literally said to each other, "Why haven't we made these before?!?!" It's just as easy as making tacos, but SO much better. Just look at the oowey gooey cheese!
Ingredients:
2 Boneless Skinless Chicken Breasts
1 medium Yellow Onion, cut in half then sliced
1 whole Jalapeno Pepper, chopped
1 cup of Corn Kernels
1 can of Refried Beans
Adobe Seasoning
Olive Oil
Flour Tortillas (small- taco or fajita size)
(Toppings)
Shredded Lettuce
Sliced Tomatoes
Sliced Black Olives
Sour Cream
Hot Sauce

Directions:
Roast the chicken breasts, seasoned with Adobe Seasoning & drizzled with Olive Oil in a 350 degree oven for 30-35 minutes, or until fully cooked. While the chicken is cooking, saute the onion & the jalapeno in a little olive oil over medium heat until softened.
While the chicken is roasting, make the Jalapeno Queso which is the same recipe as my Jalapeno Cheese Dip. The only thing I did differently this time is using fresh Jalapenos. I chopped them, removing the seeds & white veins & sauteed them in a little olive oil to soften before adding them to the cheese. Super easy & super tasty!
When the chicken is cool enough to touch, shred with your fingers. This is the Adobe Seasoning- and it is SOOOOO good!! You can find it at any grocery store. If it isn't in the seasoning isle, check Mexican food section.
In the skillet that you cooked the onion & jalapeno, add the shredded chicken. Drizzle lightly with olive oil & season well with more Adobe Seasoning. Add the corn & fold to combine. Taste & adjust seasoning. You want to be able to taste the Adobe! Cover & keep warm on low heat.
Fry your tortillas. We fried them in a counter top deep fryer at 350 degrees, for 3-3 1/2 minutes, flipping once. We poked holes in some of them as they were frying so they didn't puff up too much. You could definitely buy these already fried at the grocery store. But they are so easy to do your self & OMG they are delicious! They are perfectly crispy with just enough chewiness to not fall all apart while you are eating them. YUM! We tried both flour & corn tortillas & hands down, liked the flour ones best!! Save your corn ones for making homemade tortilla chips. :) Heat up the refried beans, I just microwaved them. Then assemble your tostadas! Here is how I made ours: Start with the tortilla, spread some refried beans on, then add the chicken & corn mixture. Drizzle melted cheese over the chicken mixture. Top with chopped lettuce, tomatoes & black olives and a big dollop of sour cream.
To simplify this more, you could just top with shredded cheese instead of making the Jalapeno Queso. You could also add black beans to the chicken & corn mixture instead of using refried beans. Keep in mind that the refried beans help the other things stay in place so substitute accordingly!
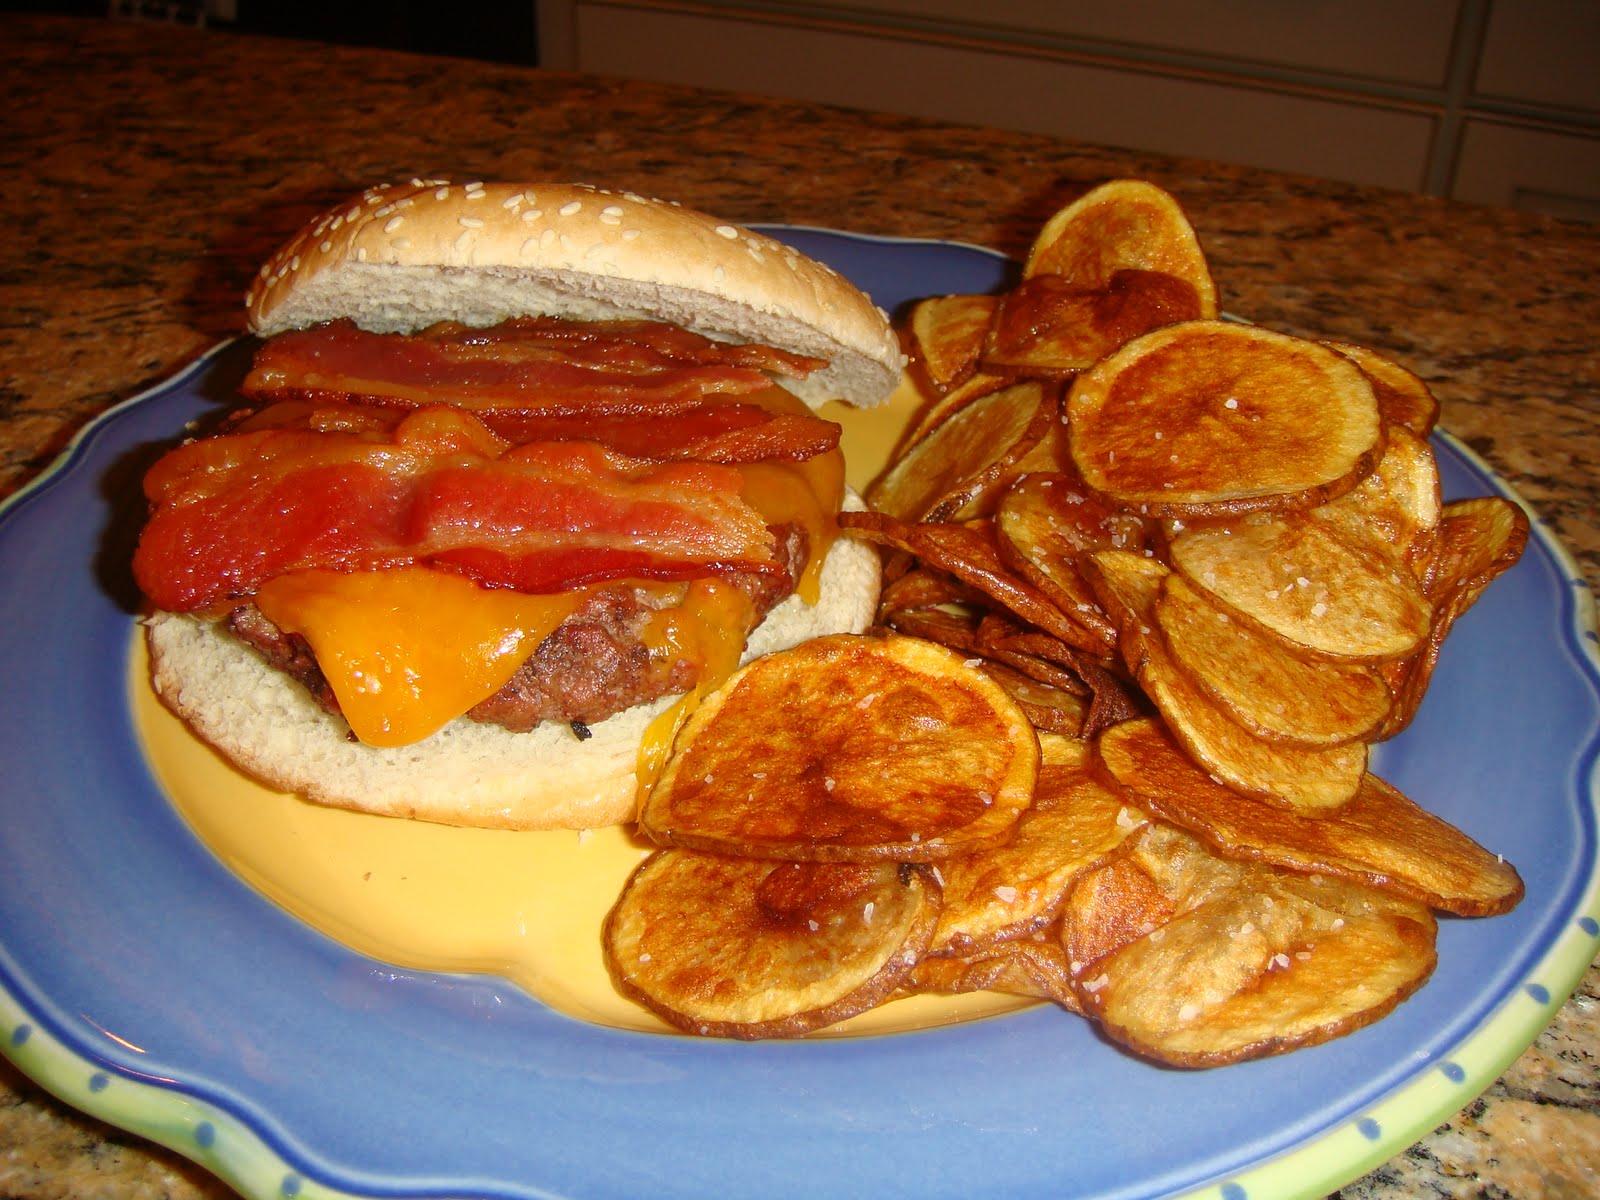
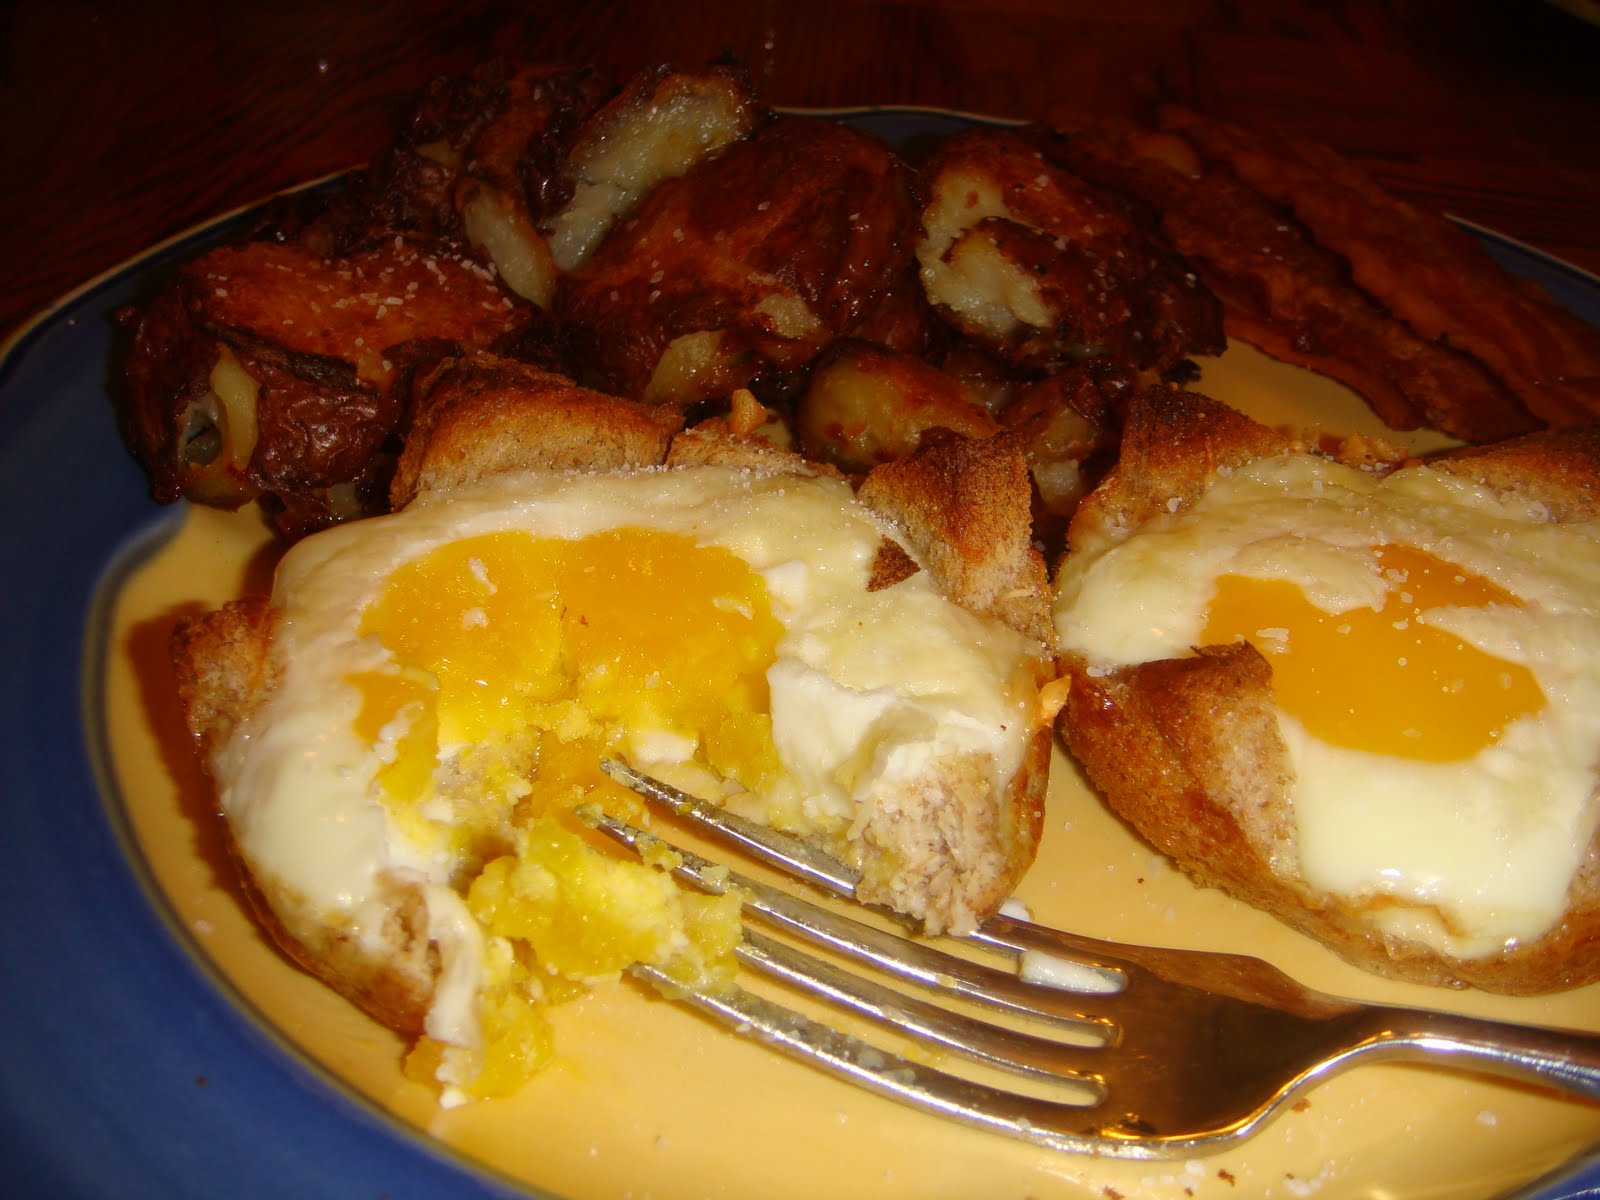
This picky girl LOVED them!! Don't hesitate to add the Jalapenos- even with little ones eating them! Just make sure you remove all the seeds & all the white vein inside & they won't be spicy at all!
Oops- dropped some.
Do I have anything on my face?
Thanks Daddy!
Maybe I'll try eating it with my fingers...
YUMMMMMMMMMMMMM

Eggs In a Nest

Aren't these little eggs cups the cutest little things that you've ever seen? I just love them! Not only are they cute but they are delicious! The buttered bread on the bottom toasts perfectly while holding & cooking the egg. Oh, and did I mention there was cheese between the bread & the egg?? YES! You must give these a try!! Ingredients:
Eggs
Whole Wheat Bread
Shredded White Cheddar
Butter (room temperature)
Salt & Pepper
Directions:
Preheat your oven to 450 degrees. Butter or spray with non stick cooking spray individual ramekins or muffin tins. Cut the crusts off all 4 sides of your bread. Then butter both sides of the bread.
Push the buttered bread into the bottom of the buttered ramekins (or muffin tin). Place in the oven at 450 degrees for 2-3 minutes, just to slightly toast the bread.
Then place a little shredded cheese in each ramekin, on top of the bread.
Crack 1 egg into each dish, on top of the cheese. Then sprinkle a little more cheese on top & season with salt & pepper.
Bake at 450 degrees until the whites are set & the yolk is cooked to your liking.
Every oven cooks differently so you're just going to have to test yours out, but here's my estimates. Cook it for 8 minutes for over easy (with a runny yolk). I cooked these for 10 minutes & they were medium. Keep in mind, that they will continue to cook as they sit!
YUM! The buttery toast is like a perfectly cooked grilled cheese with the egg on top, it is delicious!! My picky 4 year old ate this UP too! And we can't usually get her to eat eggs. I made these for one of our 'Breakfast for Dinner' nights with Smashed Red Potatoes & Bacon.

These are also called Birds in a Nest, Eggs in a Basket & One Eyed Sailor all of which I get. But they are also called Toads in a Hole, Frogs in Hole, & Chicken in a Basket all of which I don't get. I'm sure there are tons more names too, but I'm going to stick with Eggs in a Nest. :)

Crispy Smashed Red Potatoes

I have died & gone to potato lover's heaven! This is my absolute favorite potato recipe. (Shhhh, don't tell my homemade french fries!) Creamy red potato inside with crispy, salty outside- these are serious good & seriously addicting!! 
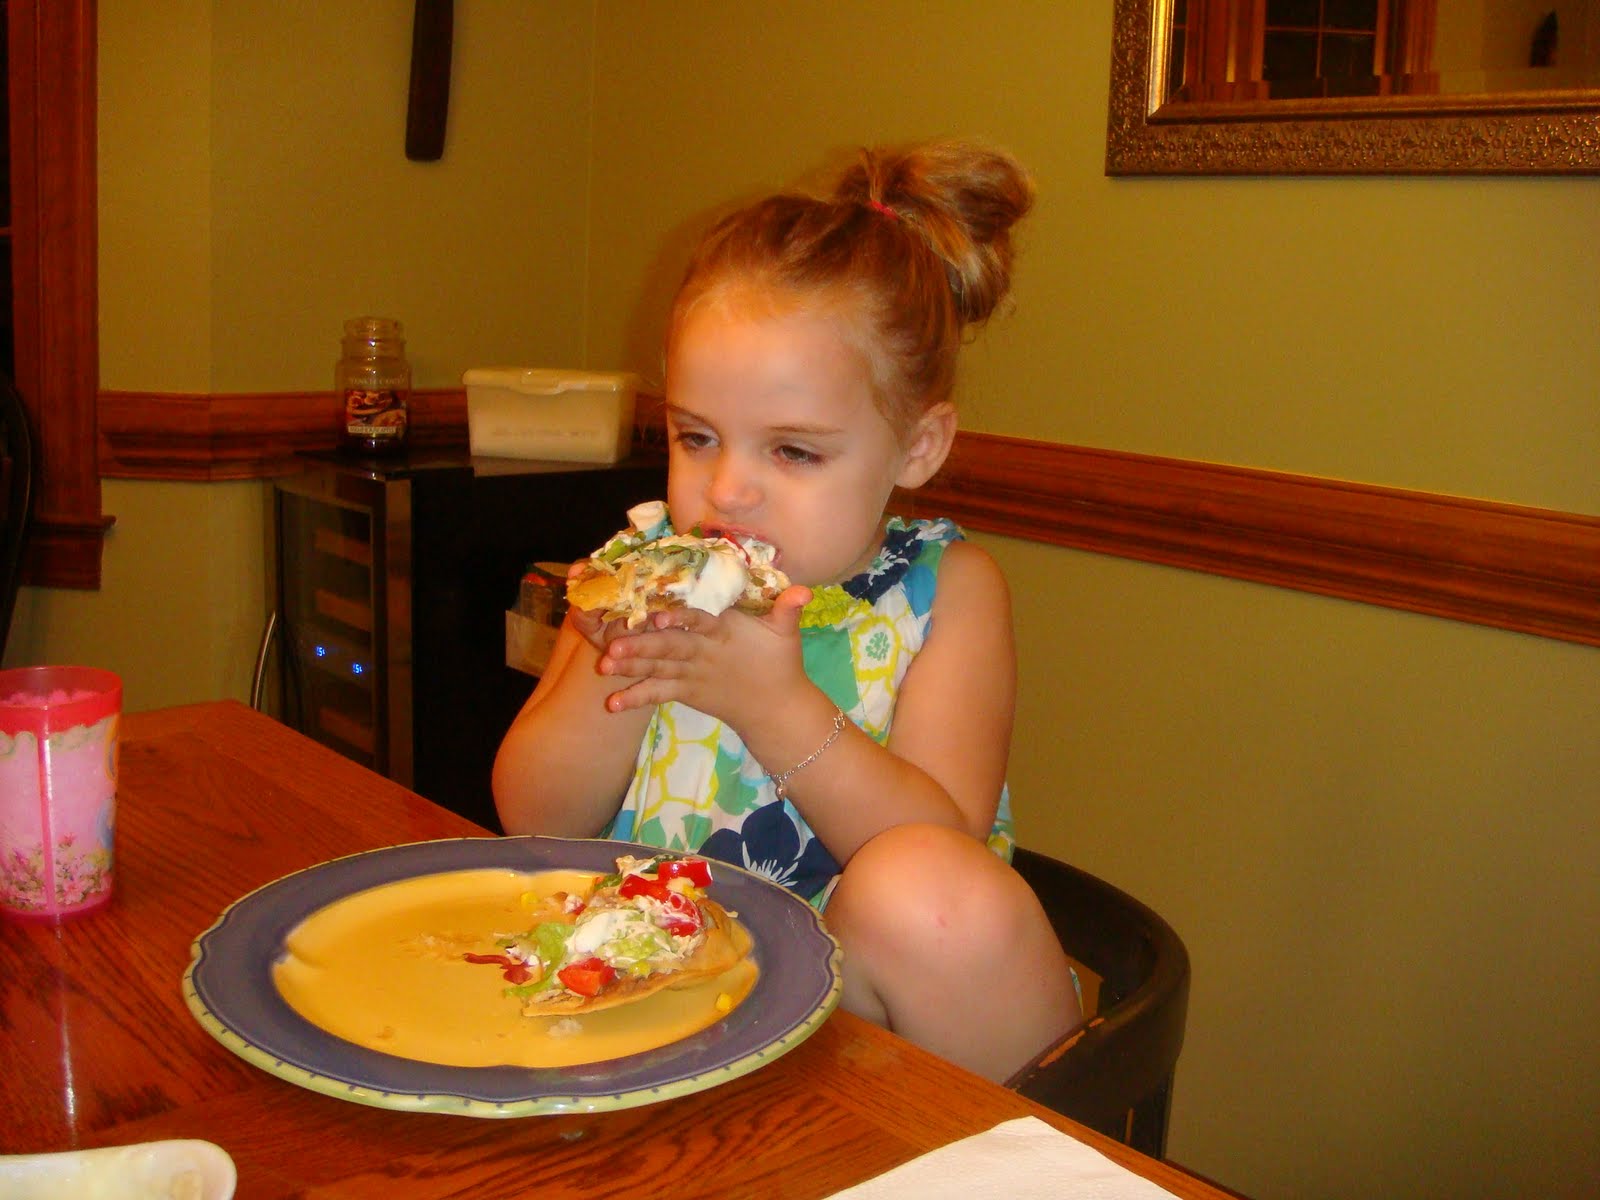
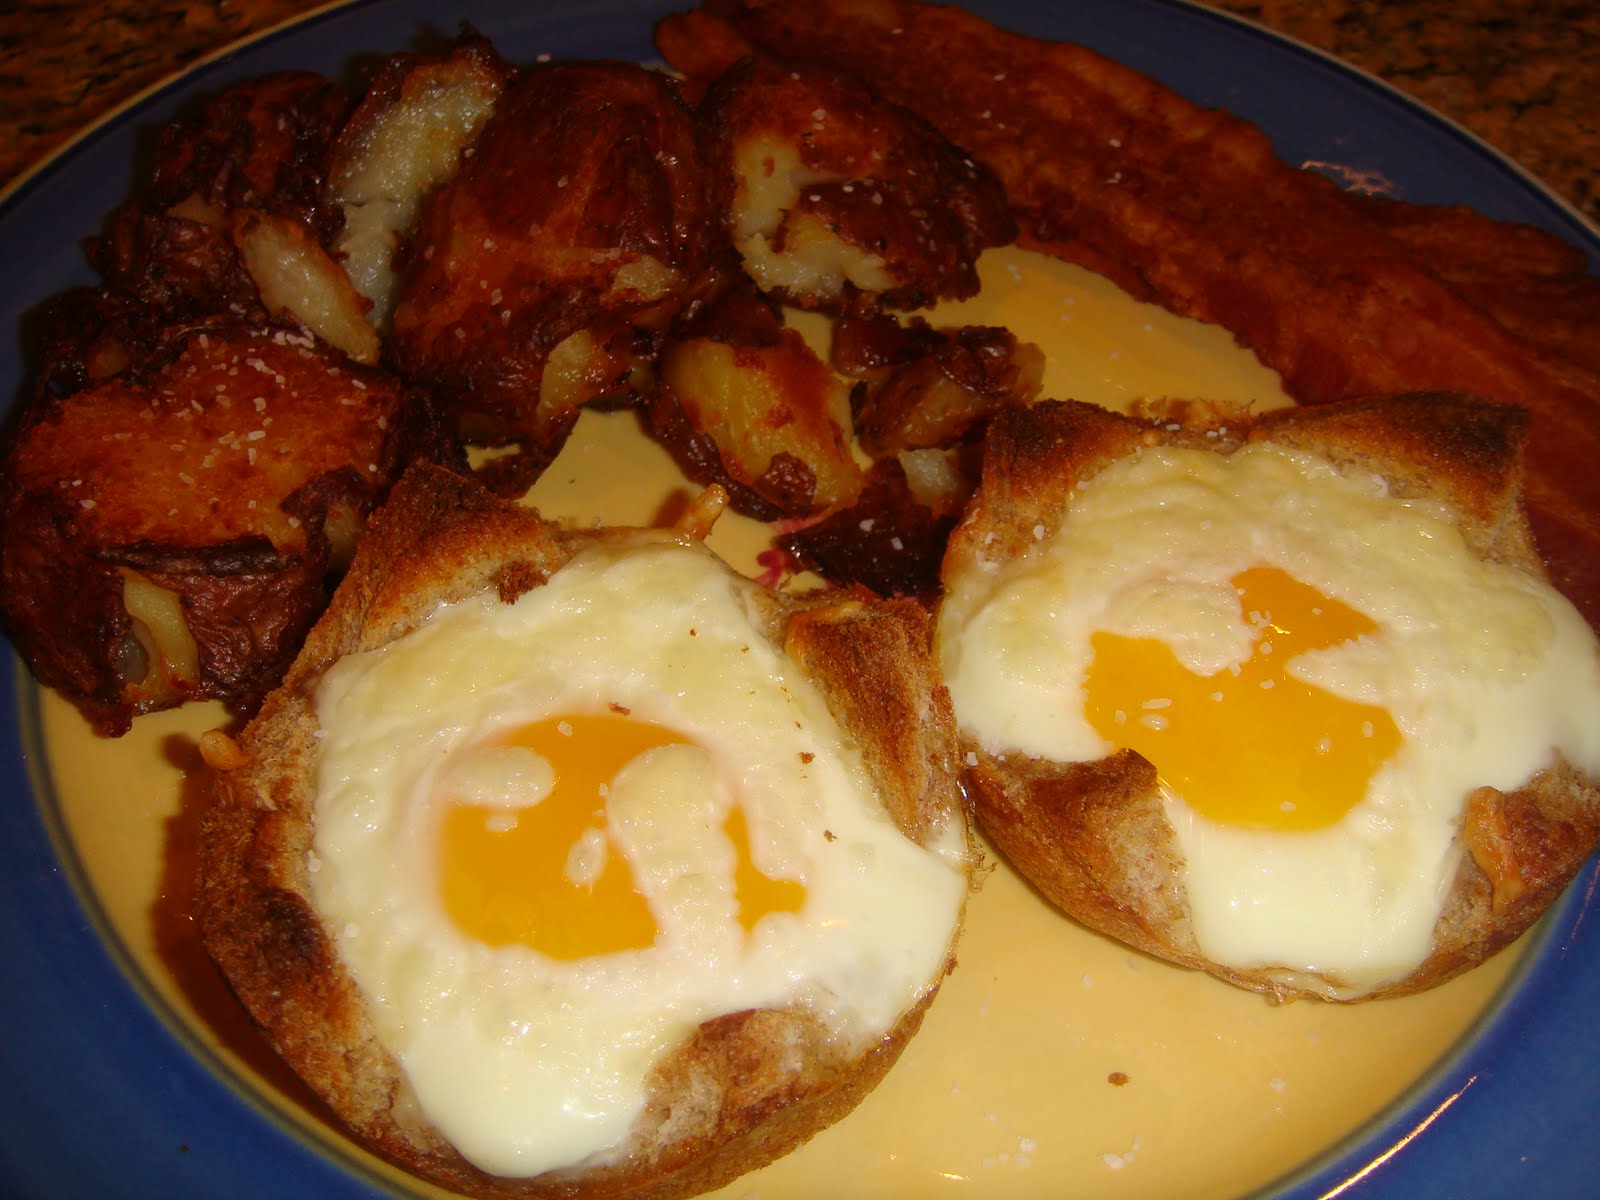
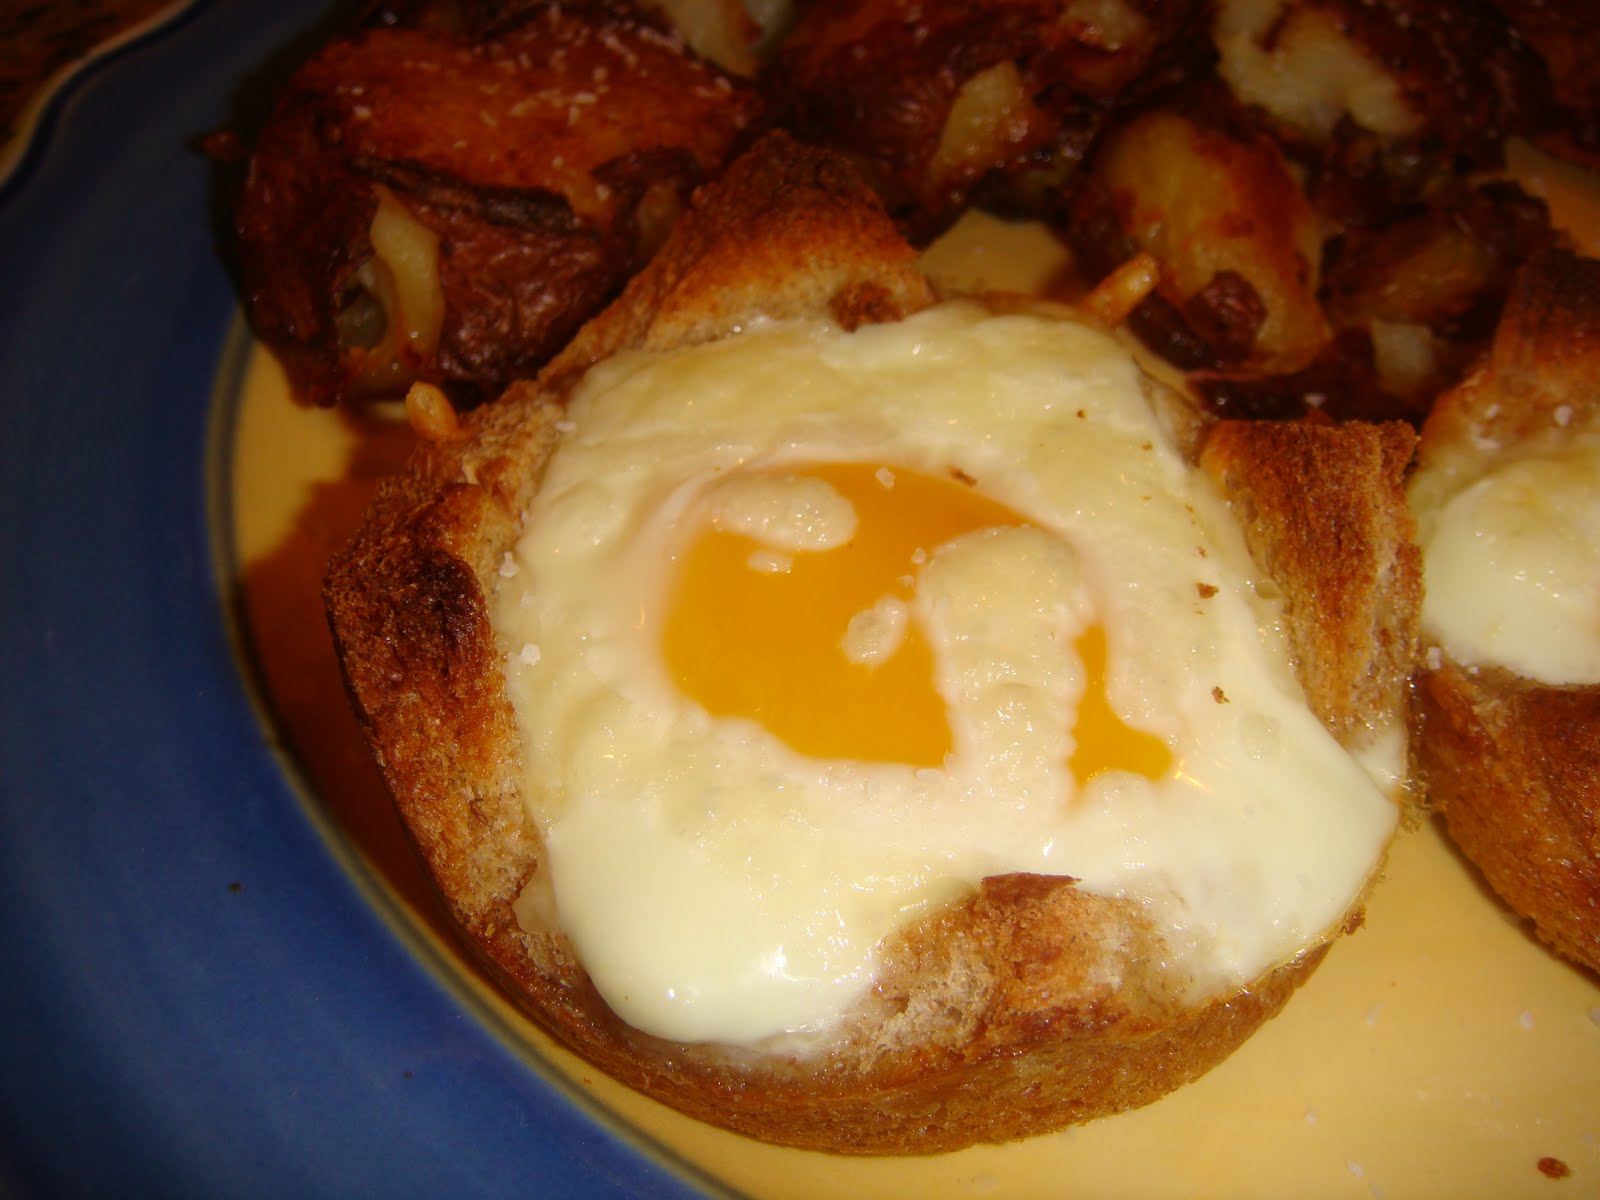
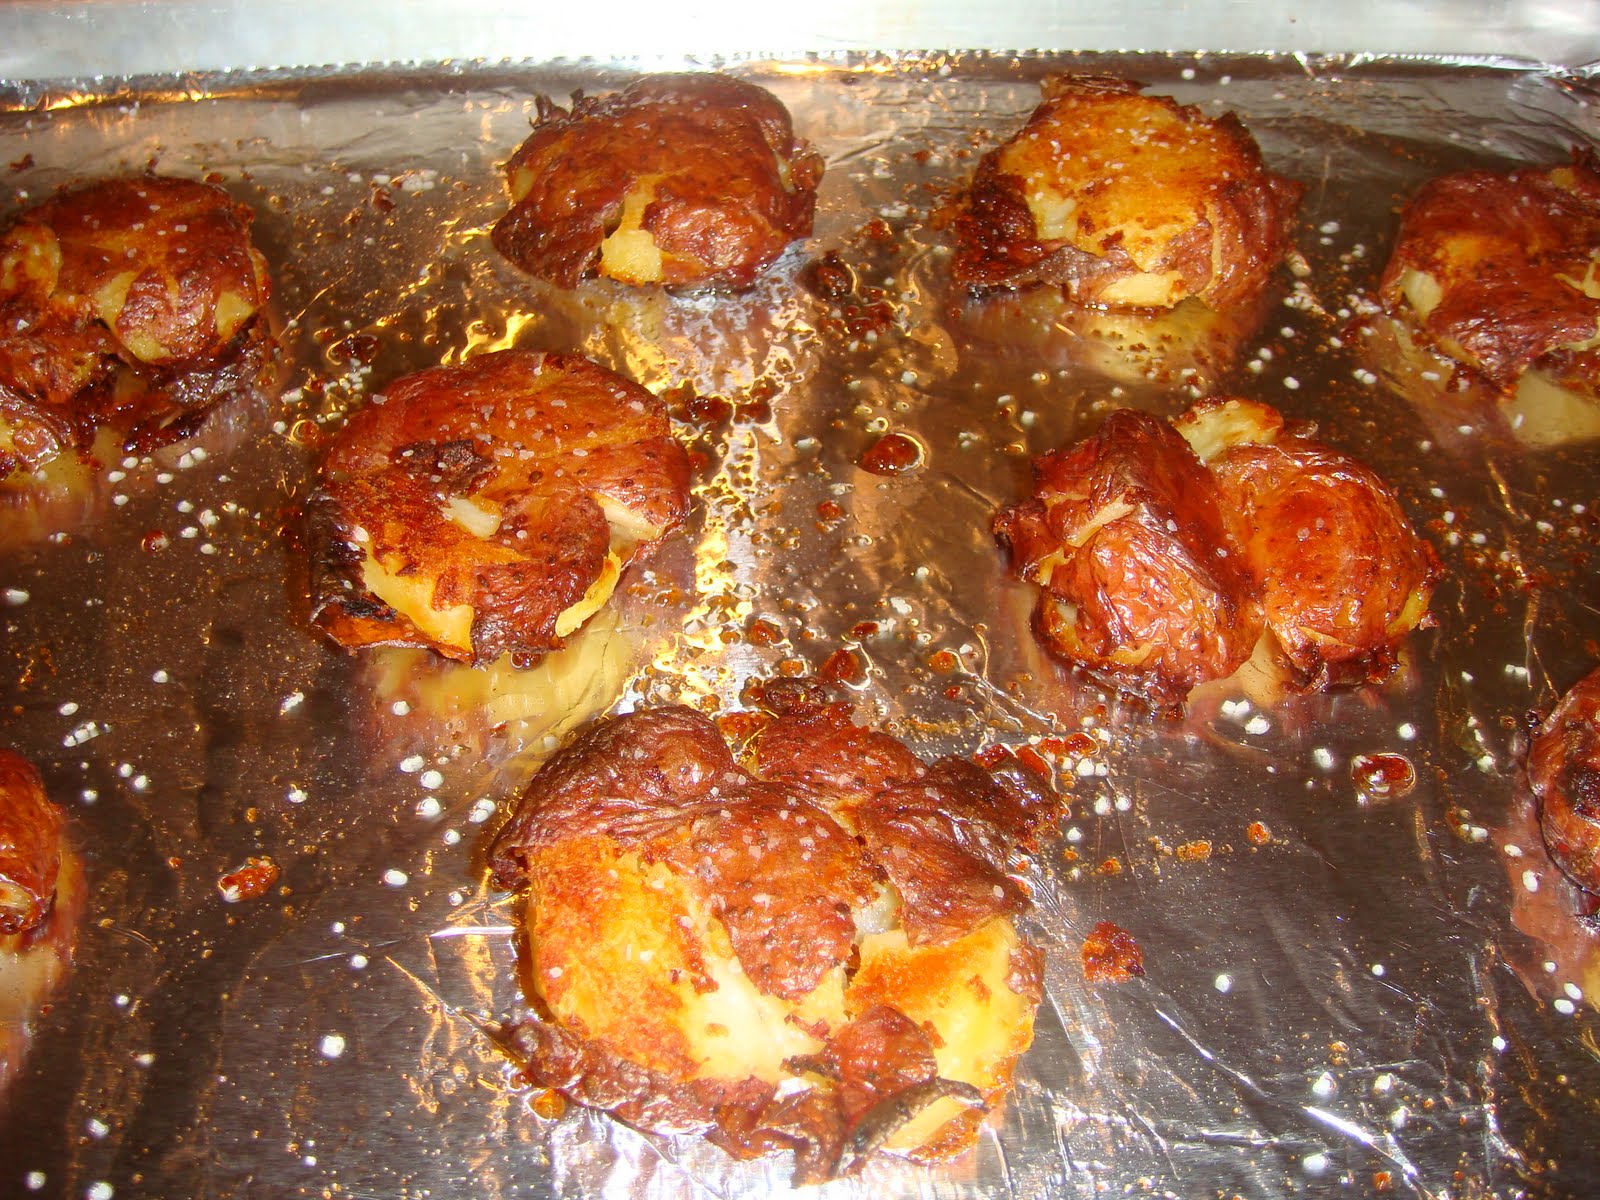
Oh my gosh, just look at that crunchy skin & that creamy white inside!! And they are so easy to make, all you need are red potatoes, olive oil & salt & pepper!! 
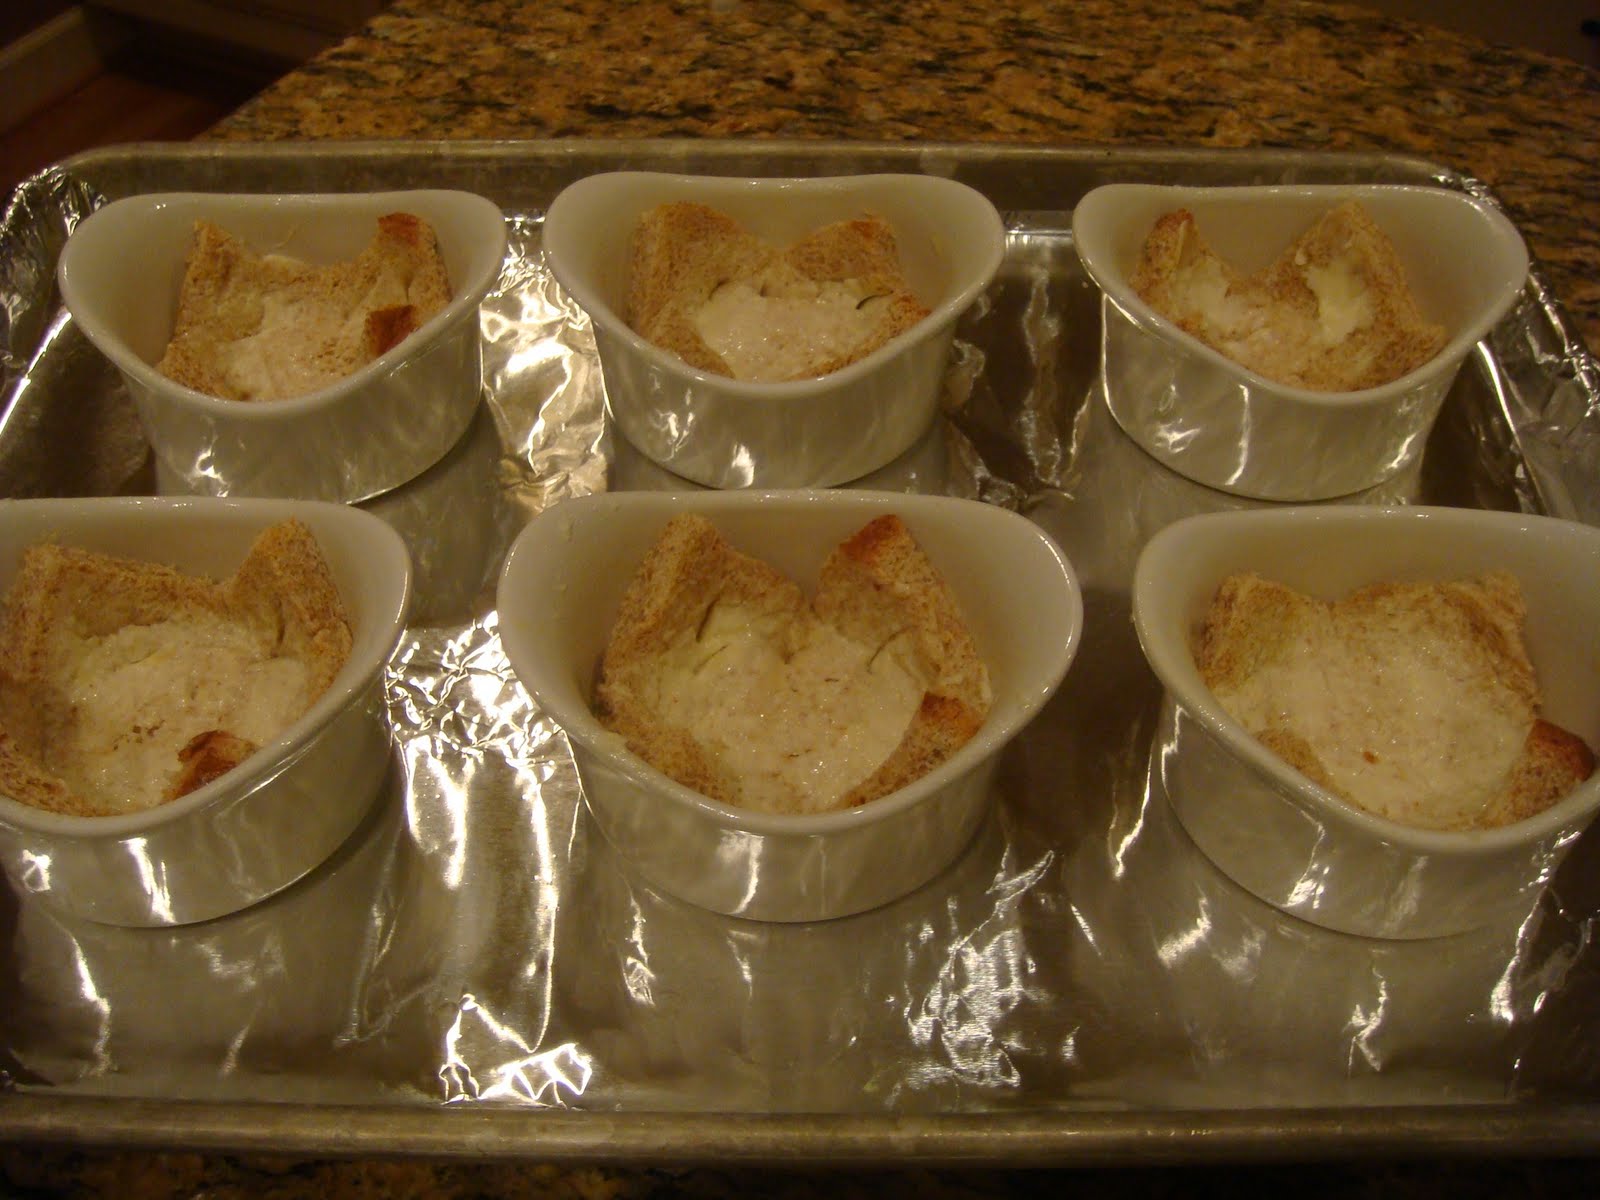
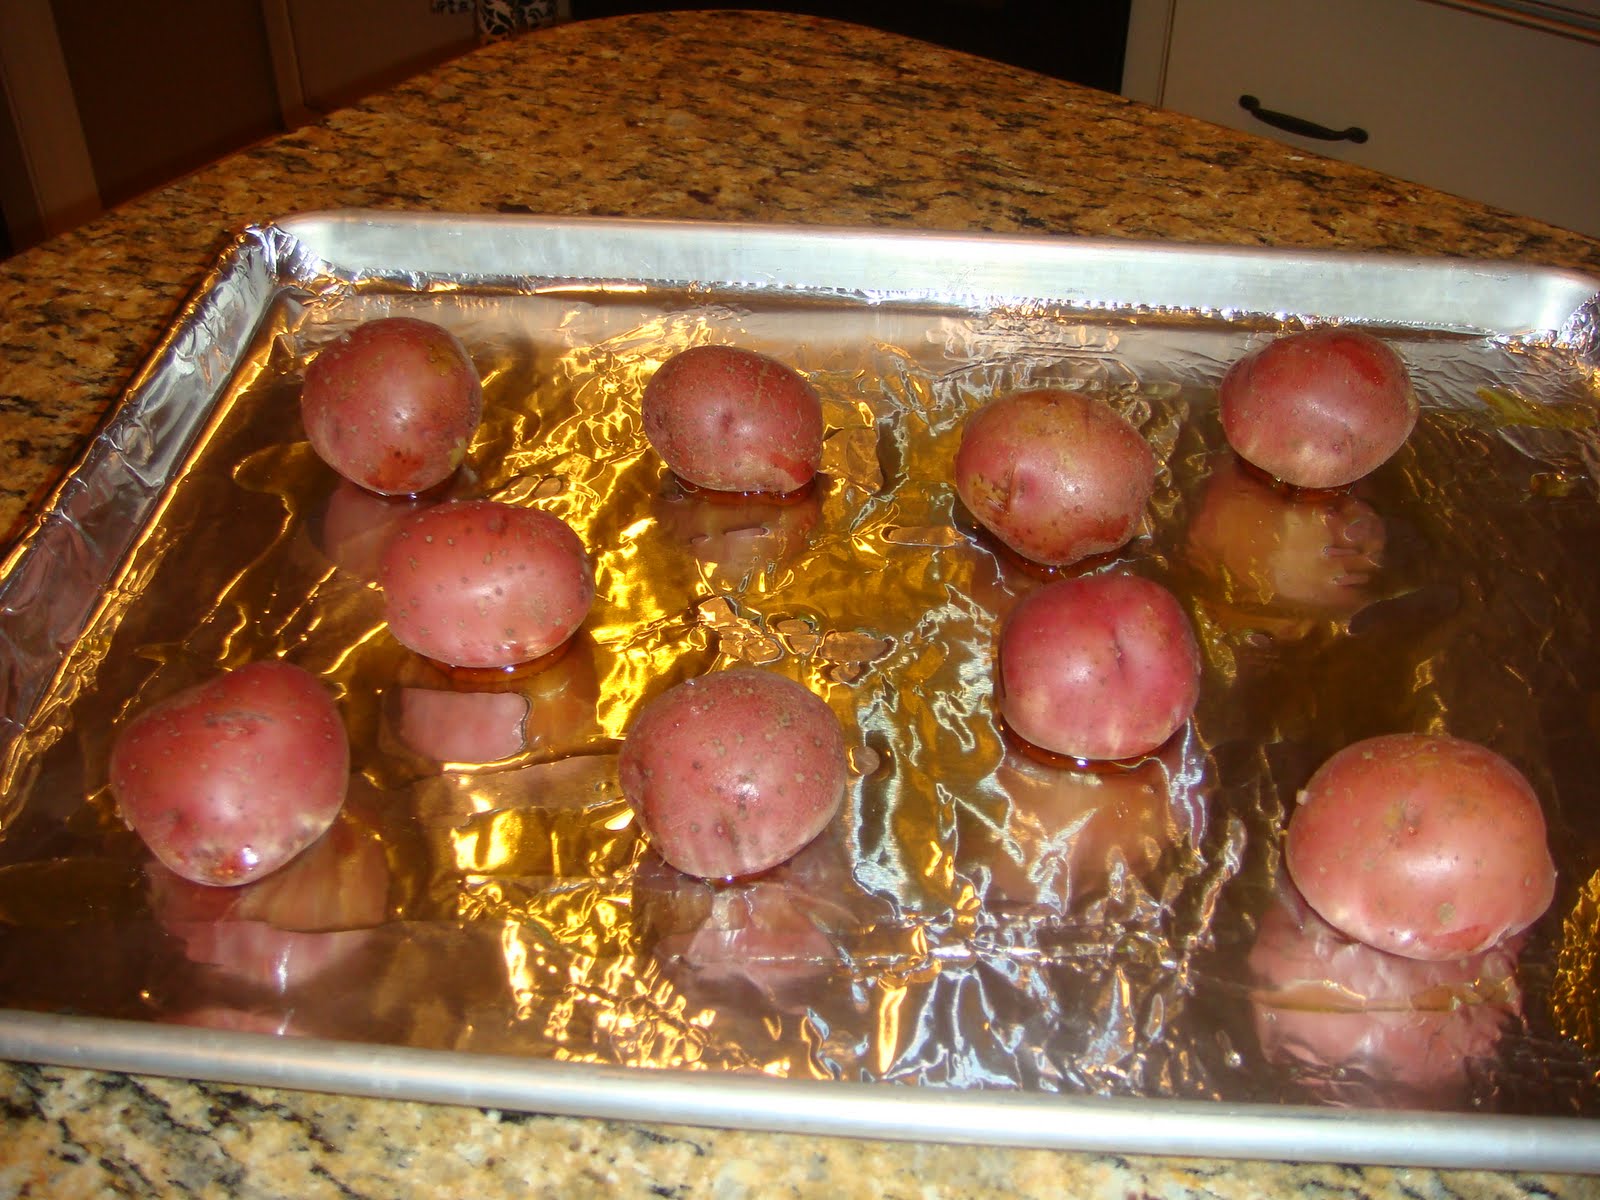
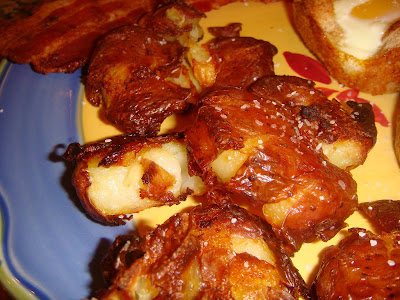
Here is what you do:

Boil your (well scrubbed) potatoes whole until they are fork tender. Then drain them. Preheat your oven to 450 degrees. Drizzle olive oil (liberally) on the bottom of a sheet pan. Put the boiled potatoes on the oiled pan.
Using a potato smasher (yes, I think that it the official name of this utensil) smash the potatoes. You can use anything really, a cup or mug, a plate, what ever works. Just a little note to all my fellow perfectionists- I was really upset the first time I did this. They kept falling apart & the potatoes stuck to the smasher. It is OK! Trust me! Just pick up the pieces that fall apart with your fingers & put them back together. They will be fabulous, no worries!

***The next time I made these, I used my meat mallet, with the smooth side. This worked fabulously. It was much easier & the potatoes didn't stick to it & fall apart as much. See:
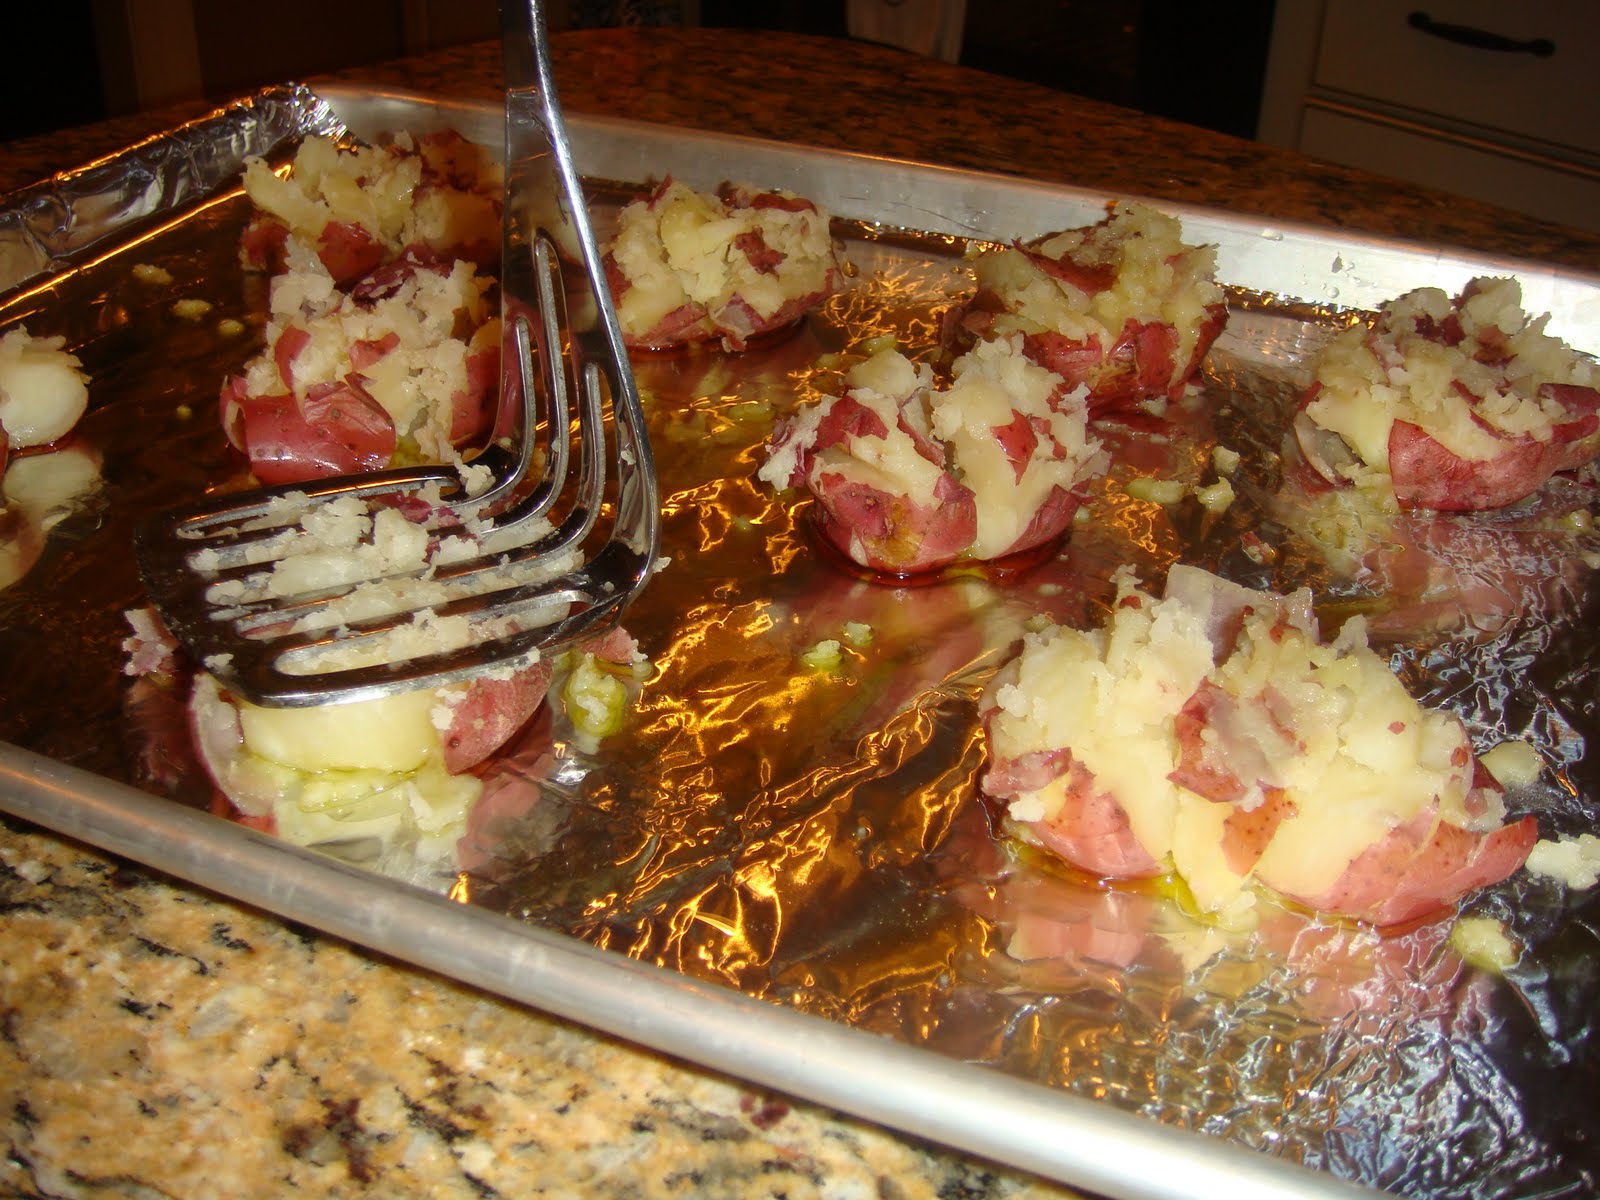
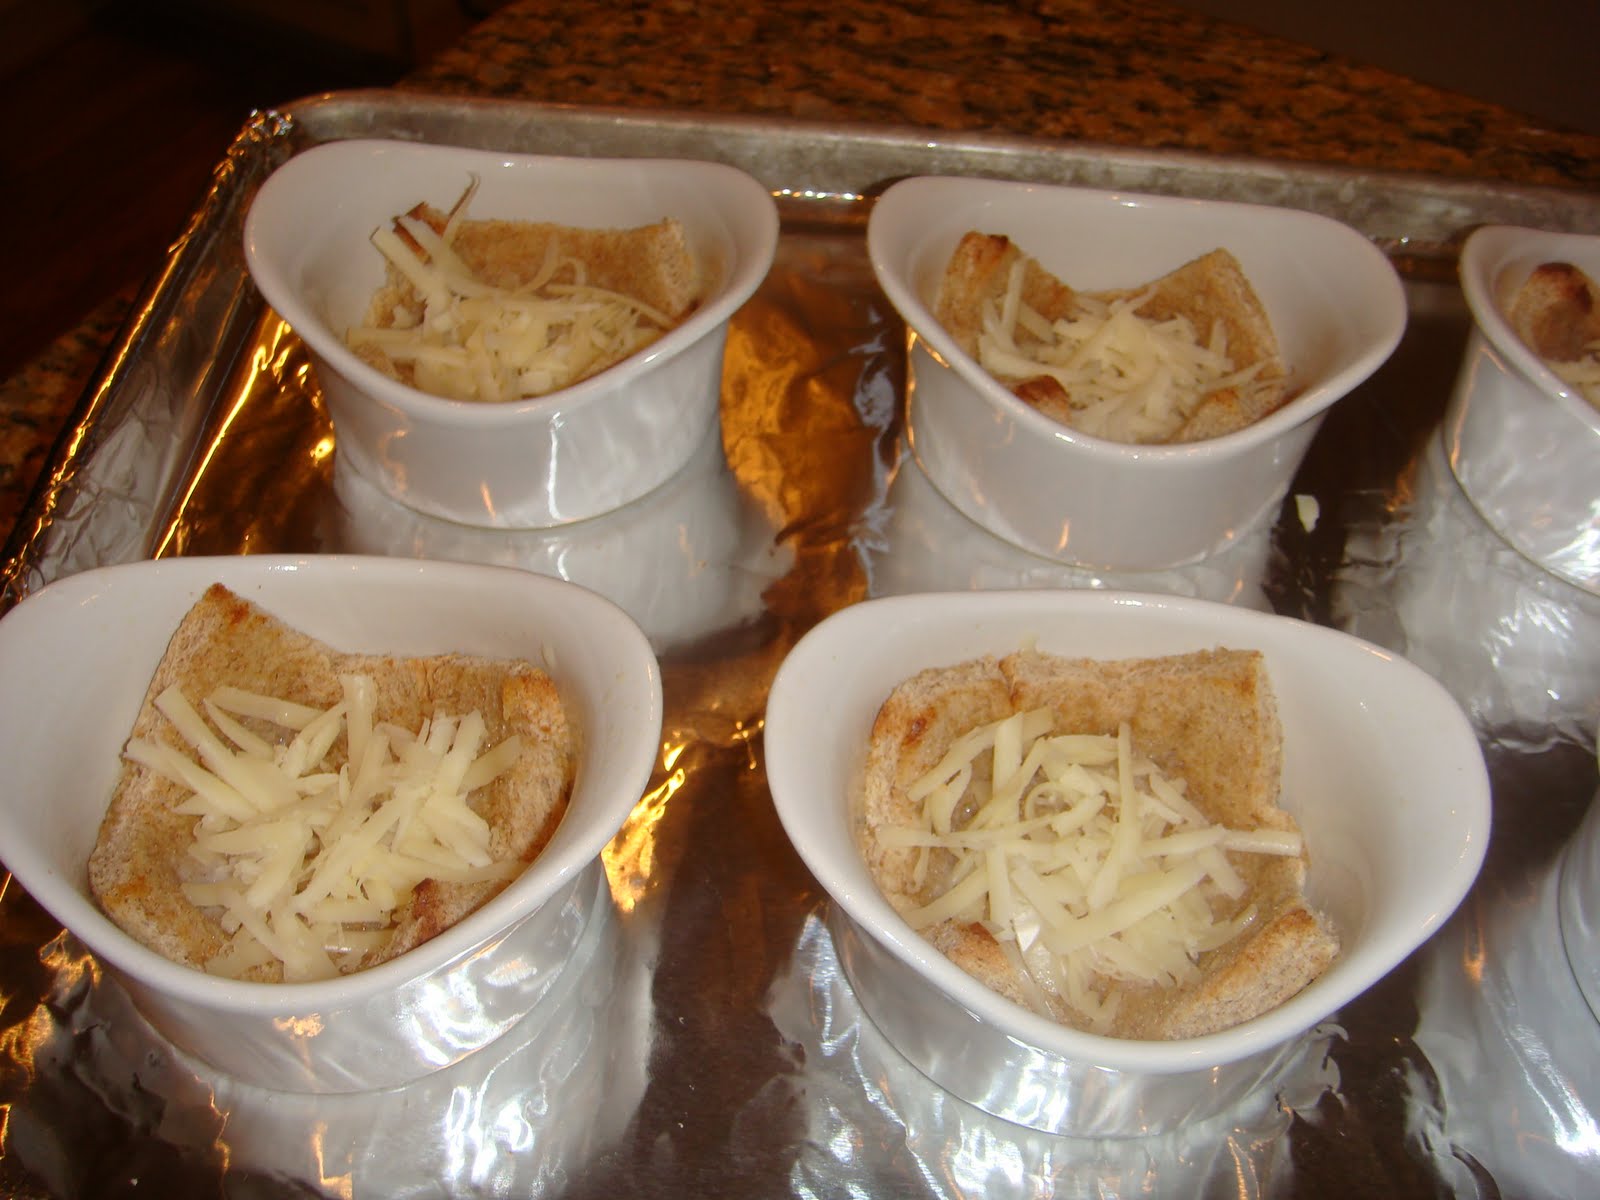
Then drizzle more olive oil over the
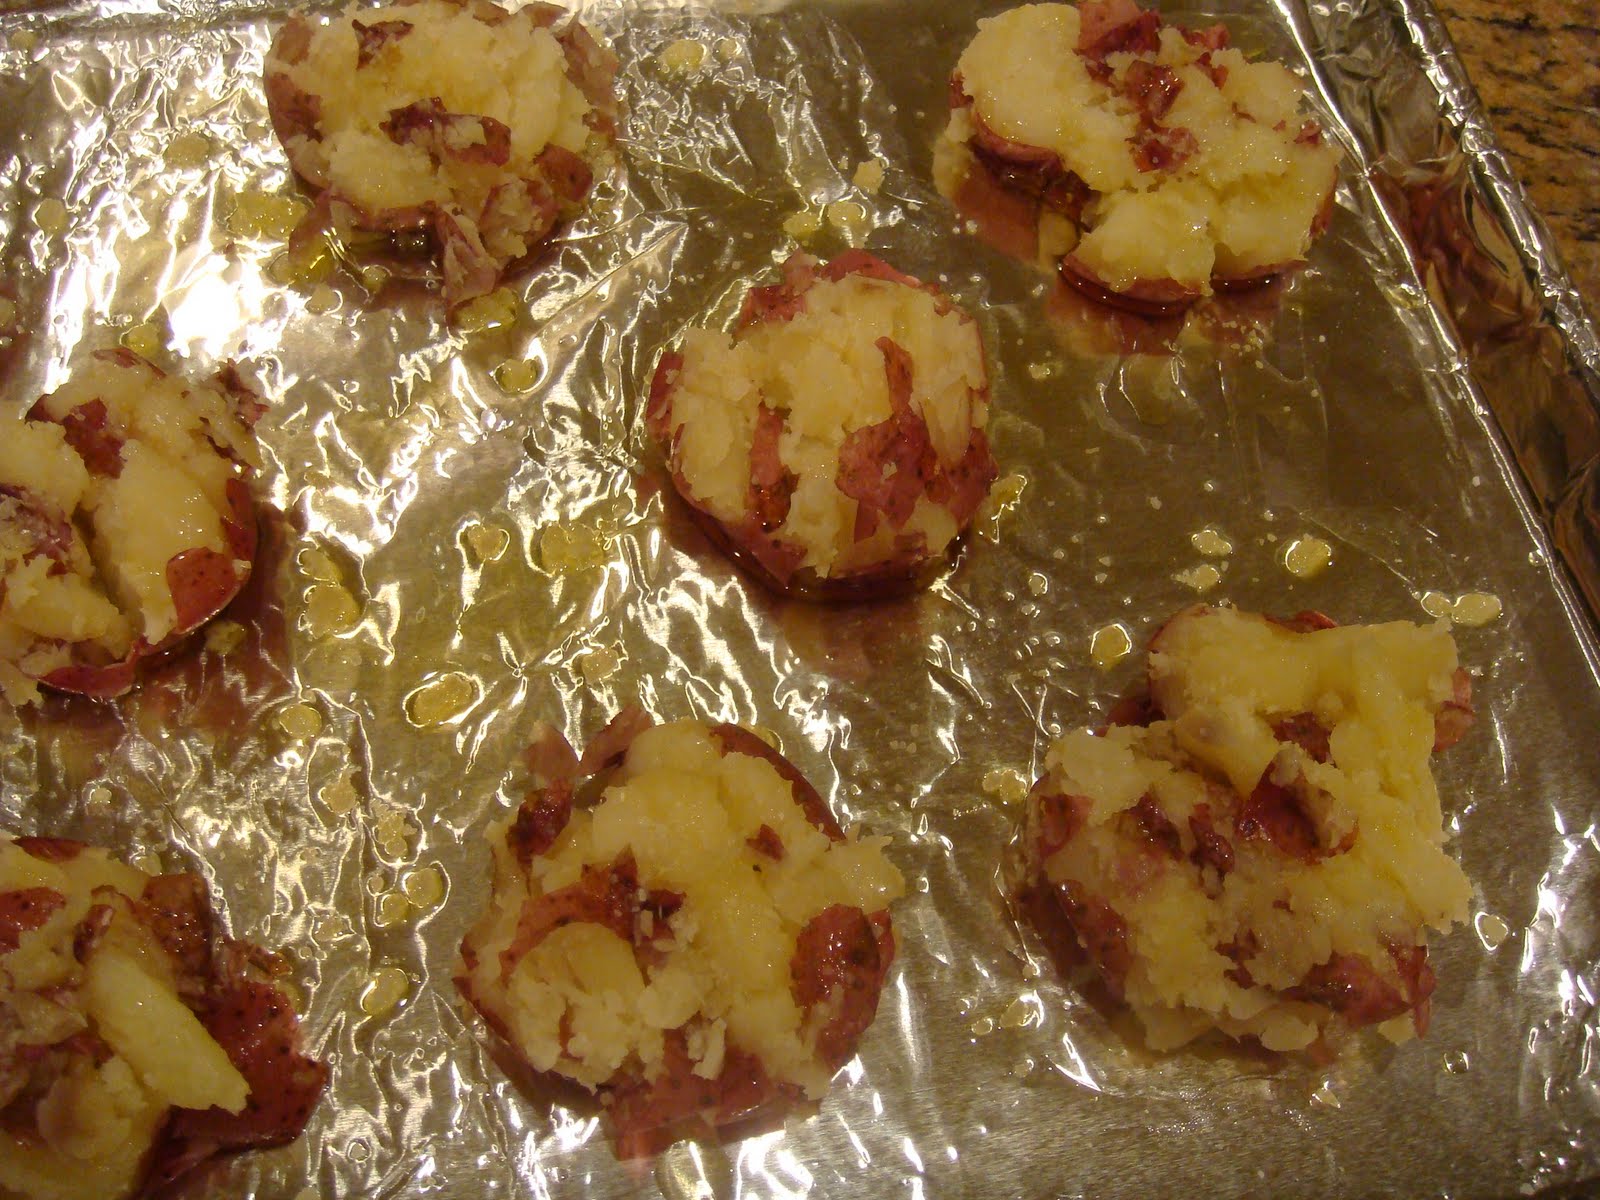
 smashed potatoes & season with some salt & pepper. Bake in a 450 degree oven for 15 minutes then carefully flip. This may also cause stress as they may not hold together threw the flip. Again- it's ok! Just put them back together!!
Bake for another 15 minutes, until they are wonderfully crispy on the outside.
Oh my goodness- I can't wait to make them again! I made this on one of our 'breakfast for dinner' evenings with my Eggs in a Nest & Bacon. But they would pair nicely with just about anything!

Fettuccine alla Bolognese

This classic Italian dish is meant to be cooked for a long period of time. It's rustic & comforting yet elegant enough to serve to guests. Start it in the afternoon & let the sauce simmer on the stove all afternoon, perfect for a Sunday dinner! Slowly cooking & adding a little cream at the end produces a beautifully rich & thick meat sauce. This is traditionally served with Tagliatelle (Italians say never with Spaghetti!) but I love it with Fettuccine! Ingredients:
2-3 oz of Pancetta or Bacon, chopped
1 medium Onion, finely chopped
1 small/ medium Carrot, finely chopped
1 Celery Stalk, finely chopped
2 cloves of Garlic, minced
1 lb Lean Ground Beef
28 oz can diced Tomatoes
8 oz can Tomato Sauce
6 oz can Tomato Paste
6 oz can Water
1 Beef Bouillon Cube
1/2 tsp dried Thyme
1/2 tsp dried Oregano
1 tsp Fresh Flat Leaf Parsley, chopped
2-3 tbsp Half & Half or Heavy Cream
Salt & Pepper
Olive Oil (if needed)
Fettuccine
Parmesan Cheese, freshly grated

Directions:
In a large pot or dutch oven, cook the pancetta or bacon ( I used 3 stripes of Bacon) over medium heat. When the bacon is mostly cooked, add the chopped onion, celery & carrot. Cook until the veggies are soft. You may need to add some olive oil, depending on the fat content of your bacon. I didn't need to add any.
Add the garlic & ground beef. Season with salt & pepper. Cook until the beef is no longer pink.
Add the diced tomatoes with all their juices, the tomato sauce, & the tomato paste. Using the can from the tomato paste, add the water. Stir to incorporate. Add the bouillon cube, thyme & oregano.
Cook until it starts bubbling. Then turn the heat to low & cover. Simmer on low for as long as you can. I let it cook all afternoon, about 4-5 hours. Of course, you don't have to let it cook that long. But I would try to let it simmer for 1-2 hours. The longer it cooks, the thicker & tastier it gets!
Cook your pasta, according to the package directions. Add the half & half or cream & stir to incorporate. I used half & half this time.
Toss sauce with the pasta, top with Parmesan cheese & fresh chopped parsley.
YUM! Serve with a green salad & crusty garlic bread!
This makes a lot of sauce. I would say it would easily serve 6-8 people. I always freeze half of it for an easy dinner later. (Just make sure you freeze just the sauce- not the pasta with it!)