Yakitori (Teriyaki Chicken Skewers)

 I'm so excited to share this recipe with you!!  It's quickly become new favorite in our house this summer & I know you all will love it too.  The sauce is so simple but so delicious!  It comes together quickly on the stove while the chicken is on the grill.  Brushing the glazed sauce over the chicken just at the last minute while on the grill caramelizes it over the chicken.  It is so yummy!!  If you have a hard time finding Mirin (sweet Japanese cooking wine) you can substitute white wine.  You may want to add a little more sugar if you do, since Mirin is sweeter than most other white wines, but it'll work just fine.  This is such a quick & easy recipe- it's perfect for any day of the week!!
Ingredients:
4 Boneless, Skinless Chicken Breasts, cut into 1" pieces
1 Large, Yellow Onion
1/2 cup Soy Sauce
1/2 Cup Water
4 tbsp Mirin
6 tbsp Sugar
3/4 tsp Cornstarch
2 Cloves Garlic, minced
2-3 tsp Freshly Grated Ginger
Salt & Pepper, to taste
1 tbsp Toasted Sesame Seeds (optional)
Skewers
Directions:
If using bamboo skewers, don't forget to soak them in water!
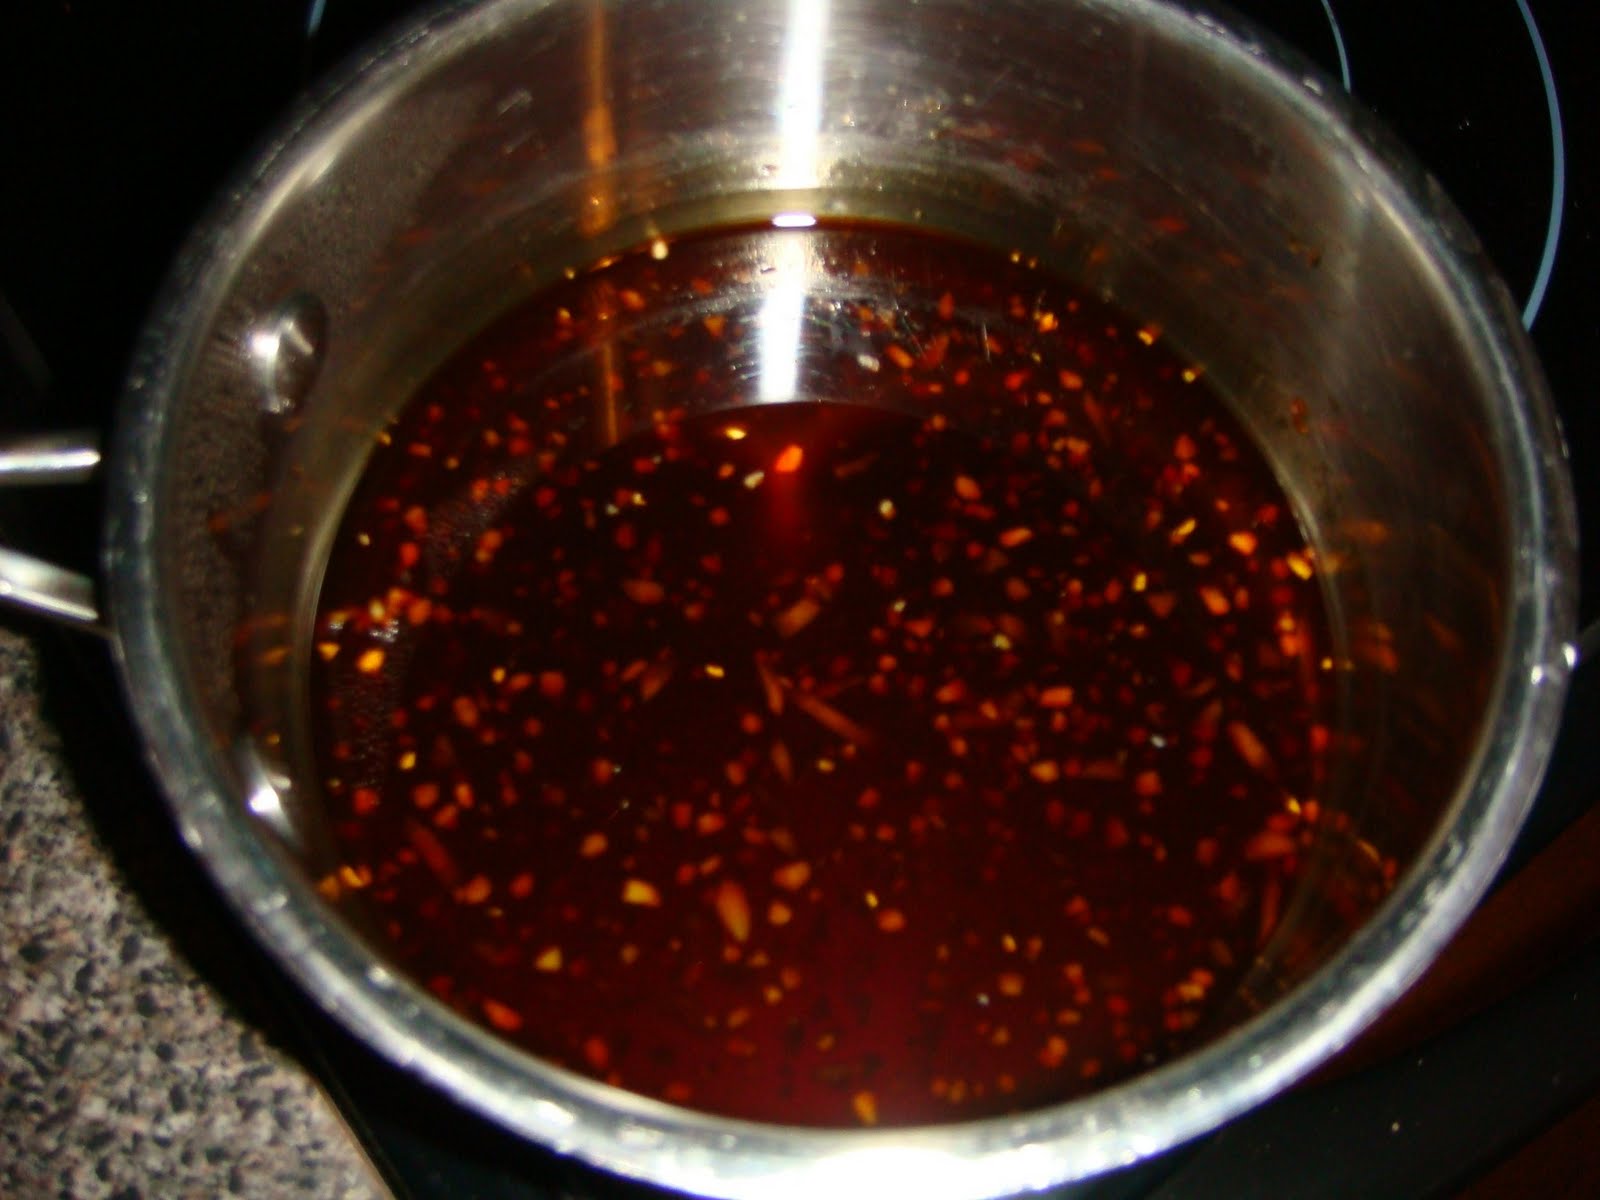
In a small sauce pan, whisk to combine the soy sauce, water, mirin, ginger, garlic, sugar & cornstarch over medium heat.  Simmer, whisking often, until the sauce has thickened & reduced. 
Turn off the heat until the chicken is ready.
Meanwhile, assemble the kebobs.  Quarter the onion & peel each layer apart.  Then cut the larger, outer layers in half so all the pieces are about the same size as the chicken.
 Traditionally, green onion would be used for this but we just love the flavor of regular onion on the grill!
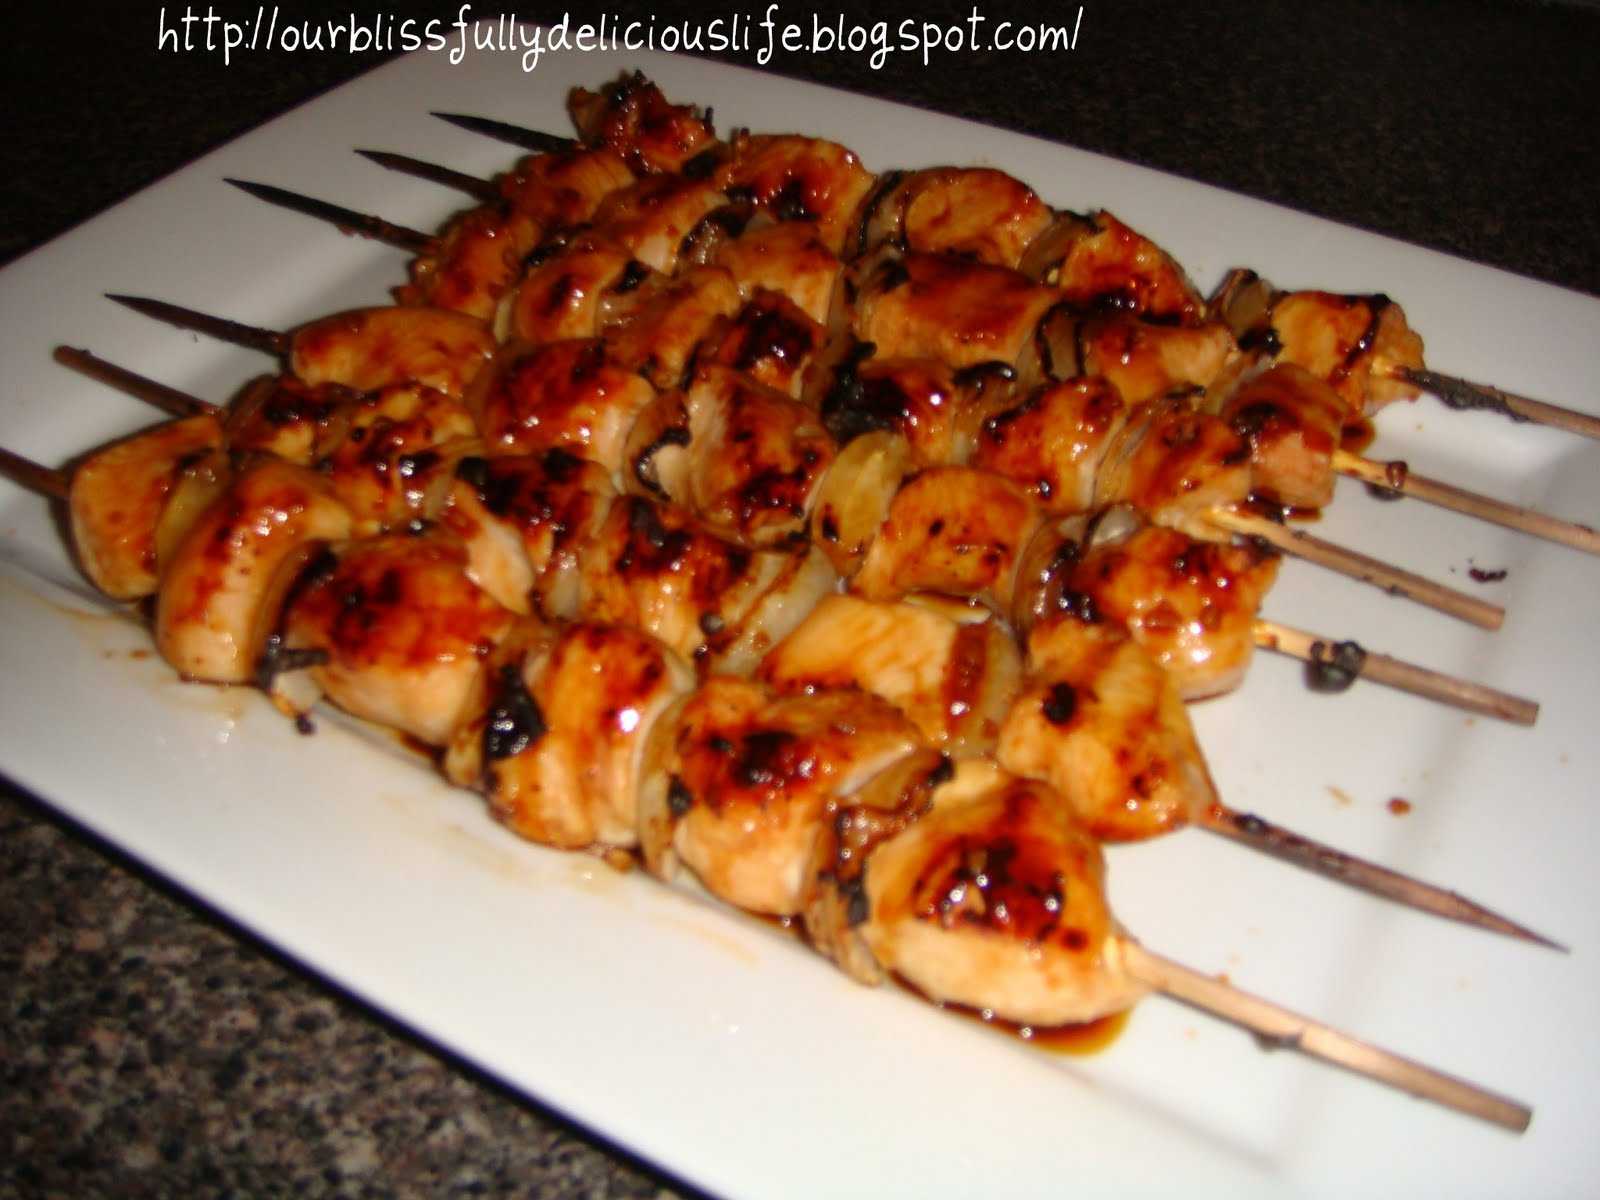
Thread the chicken & onion pieces, alternating onto the kebobs.  We get about 2 kebobs per chicken breast. 
Season the assembled kebobs with salt & pepper & grill.  When the kebobs are just about finished cooking, brush all sides of the kebobs with the sauce & rotate, making sure all side are coated & grilled.  Transfer to a platter & brush again with the sauce.
Pour the remaining sauce in a bowl & serve at the table. 
Garnish with some toasted sesame seeds, if desired & serve!
I like to serve this with steamed white rice & broccoli roasted with garlic & ginger.  YUM!!
I developed this recipe from Cook's Country's Grilled Chicken Teriyaki. 

Peanut Butter, Oatmeal & Chocolate Chip Cookies

Do yourself a favor & make these a.s.a.p. today now!!  I bet you have everything that you need in your pantry.  And they are so quick & easy.  But oh man.  They are really, really good.   I mean peanut butter, oatmeal & chocolate chips...how could they not be?!?  They are perfectly soft & chewy.  Trust me, you'll be thanking me in about 10-15 minutes when these are coming out of your oven!!
Ingredients:
1 cup Flour (All Purpose)
1 tsp Baking Soda
1/4 tsp Salt
1/2 cup Butter (1 stick), at room temperature
1/2 cup Creamy Peanut Butter
1/2 cup White, Granulated Sugar
1/3 cup Light, Brown Sugar
1/2 tsp Vanilla Extract
1 egg
1/2 cup Old Fashioned Rolled Oats
1 cup Semi-Sweet Chocolate Chips
Directions:
Preheat the oven to 350 degrees.  Line 2 baking sheets with parchment paper.  
In a small bowl, whisk together the flour, baking soda & salt.  Set aside.
With a mixer on medium speed, cream together the butter, peanut butter, both sugars, & vanilla extract, about 3 minutes.
Add the egg & beat to combine.  On low speed, gradually add in the flour mixture until just combined.
Stir in the oats & then the chocolate chips.  I used mini chocolate chips & loved them in it.
Use a large cookie scoop (or about 3 tbsp) & drop onto the prepared baking sheets about 2 inches apart.
Bake for 10 minutes, until lightly golden brown.  Take care not to over cook these.  They may not look 'done' when you pull them out but they will continue to cook some as they cool.  
Cool completely on the baking sheet.
Enjoy!!
This makes about 16, good sized cookies.  I found this wonderful cookie recipe on the Brown Eyed Baker's site.  Check her out, she has lots of other goodies too!!  

Fusilli with Spinach, Tomatoes, & Parmesan Cheese

This is a great summer pasta dish that I've been making for years.  It only has a few ingredients & comes together in minutes making it perfect for week nights.  You can serve it as a main dish or as a side with grilled chicken or fish.  It's a great way to get more spinach in your diet too!  Even my 5 year old, who has a fear of all things green, loves it.  I slightly adapted this from Giada De Laurentiis
Ingredients:
1 lb Fusilli Pasta
1 9-10 oz bag Fresh Spinach, coarsely chopped
1/2 pint Cherry or Grape Tomatoes, halved
2 Cloves of Garlic, minced
1/4 cup Olive Oil
1 cup Fresh Parmesan Cheese, shredded
Salt & Pepper
Directions:
Cook the pasta in a large pot of generously salted boiling water, until al dente. You want it tender but firm to the bite.  Drain the pasta & reserve 1/2 cup of the starchy pasta water.
While the pasta is cooking, add the olive oil to a large chefs pan or deep skillet.  Heat to medium & add the minced garlic.  Cook for 1-2 minutes, being careful not to burn. 
Add the chopped spinach & halved tomatoes.  
Cook until the spinach is wilted, about 2-3 minutes. 
Turn down the heat & add the drained pasta.  
Toss well.  Then add the reserved pasta water, 1/2 of the cheese, & toss.  Season with salt & pepper to taste.  
Serve immediately, topped with the reserved Parmesan Cheese.
Yumm!!  This makes 4 main coarse servings.

Ice Cream Cone Cupcakes

Happy Birthday America & Happy Birthday to our little blog!  Our Blissfully Delicious Life is officially 1 year old!  With over 150 recipes & 23,000 hits, I'd say it's been a good year!!  To celebrate, we made these super cute cupcakes.  They were so easy, I used a store bought cake mix & frosting.  Truth be told, I wanted to make homemade butter cream frosting, but the only 4th of July Sprinkles I could find were sold with the frosting (Funfetti). So that's what we made.  The little one had a blast making them & even more fun eating them!  Thank you so much for sharing the past year with us & we hope you all have a happy & safe 4th of July!
Ingredients:
1 Box Cake Mix 
2 Cans of Frosting
Colored Sprinkles
24 Ice Cream Cones
Directions:
Preheat oven & mix the cupcake batter according to the box's directions.  (I highly recommend finding a cute helper like I did!)

Place the ice cream cones, standing upright, in the cups of cupcake tin. (I made some in cones & some in paper cups.)
Fill the cones about half full with batter.  You want to be careful not to over fill the cones.  I filled them just about to the top of the base of the cone.  
Bake, according to the package directions, about 20 minutes or so.
Allow the cupcakes to cool completely.  
Then pipe frosting in a swirl, like soft serve ice cream.  (I used a Wilton's large star tip.)
Add sprinkles & enjoy!!
Note:  These cupcakes are best if made the day that you want to eat them.  The moisture from the cake tends to make the ice cream cones soggy after a day or so. 
So cute!!  


  HAPPY 4th OF JULY!!