Showing posts with label candy. Show all posts

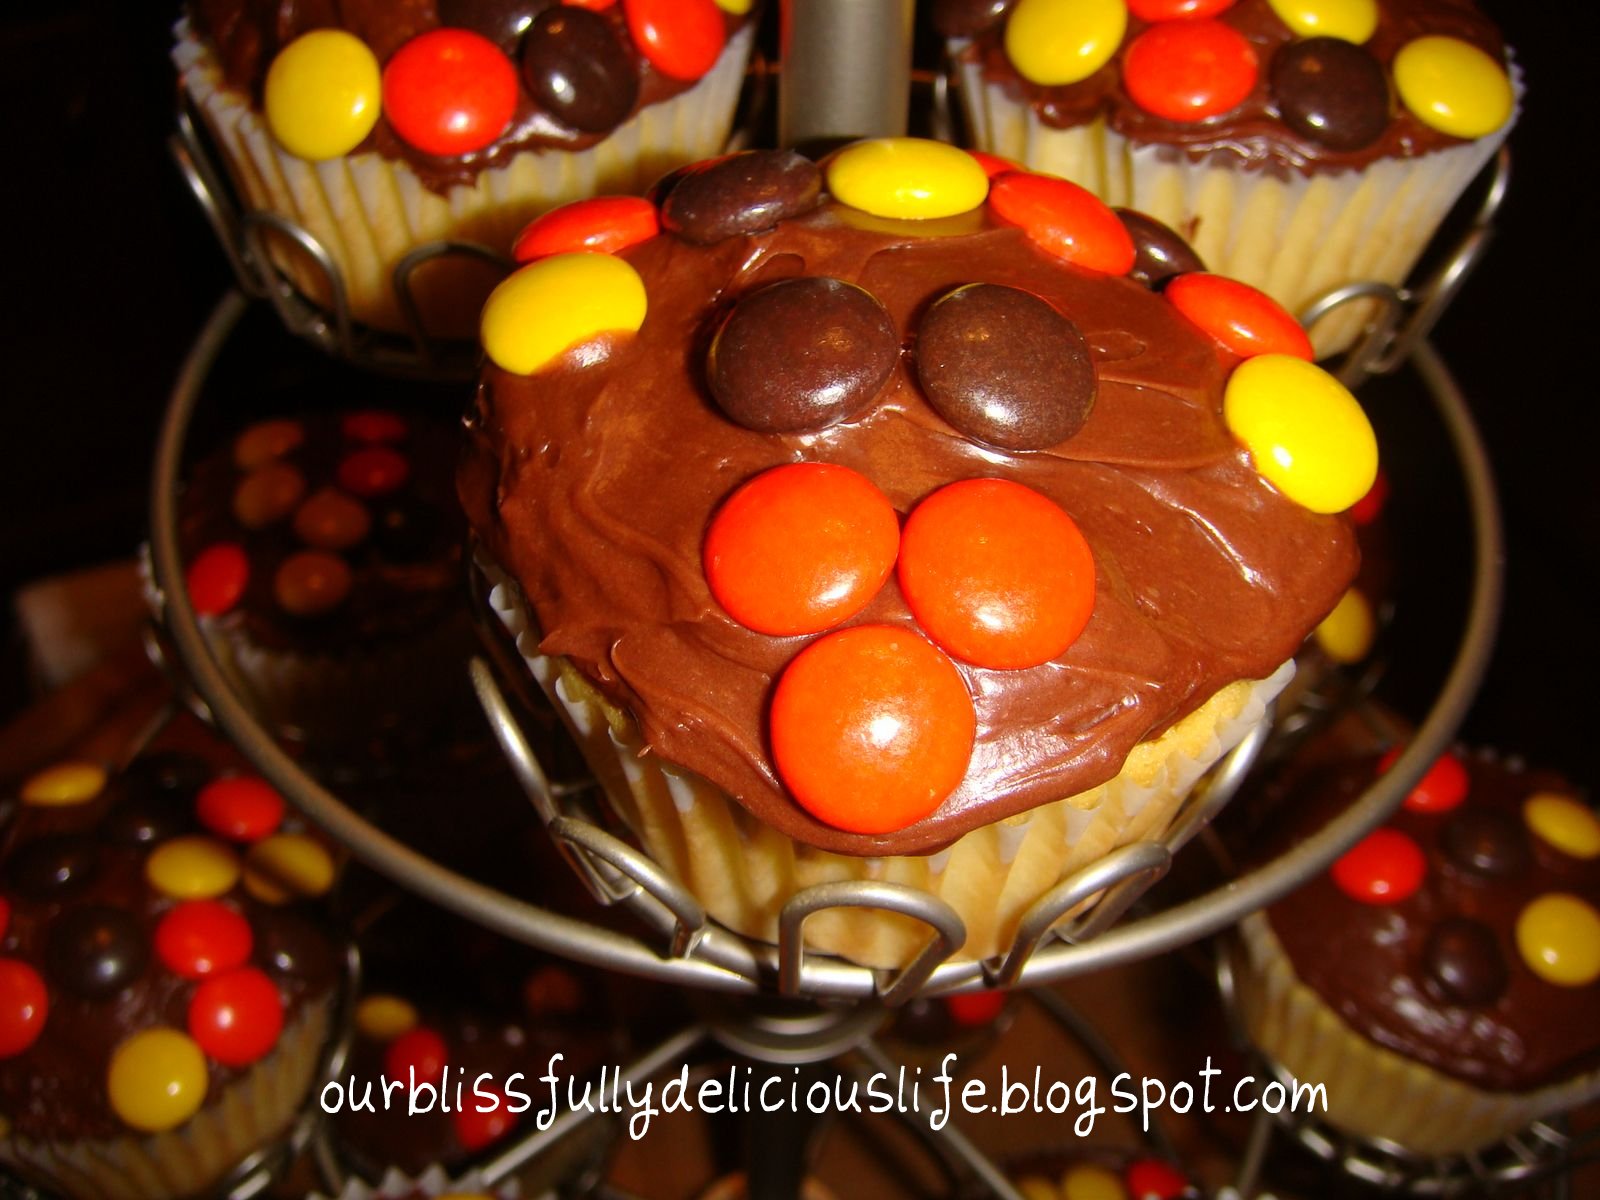
Turkey Cupcakes

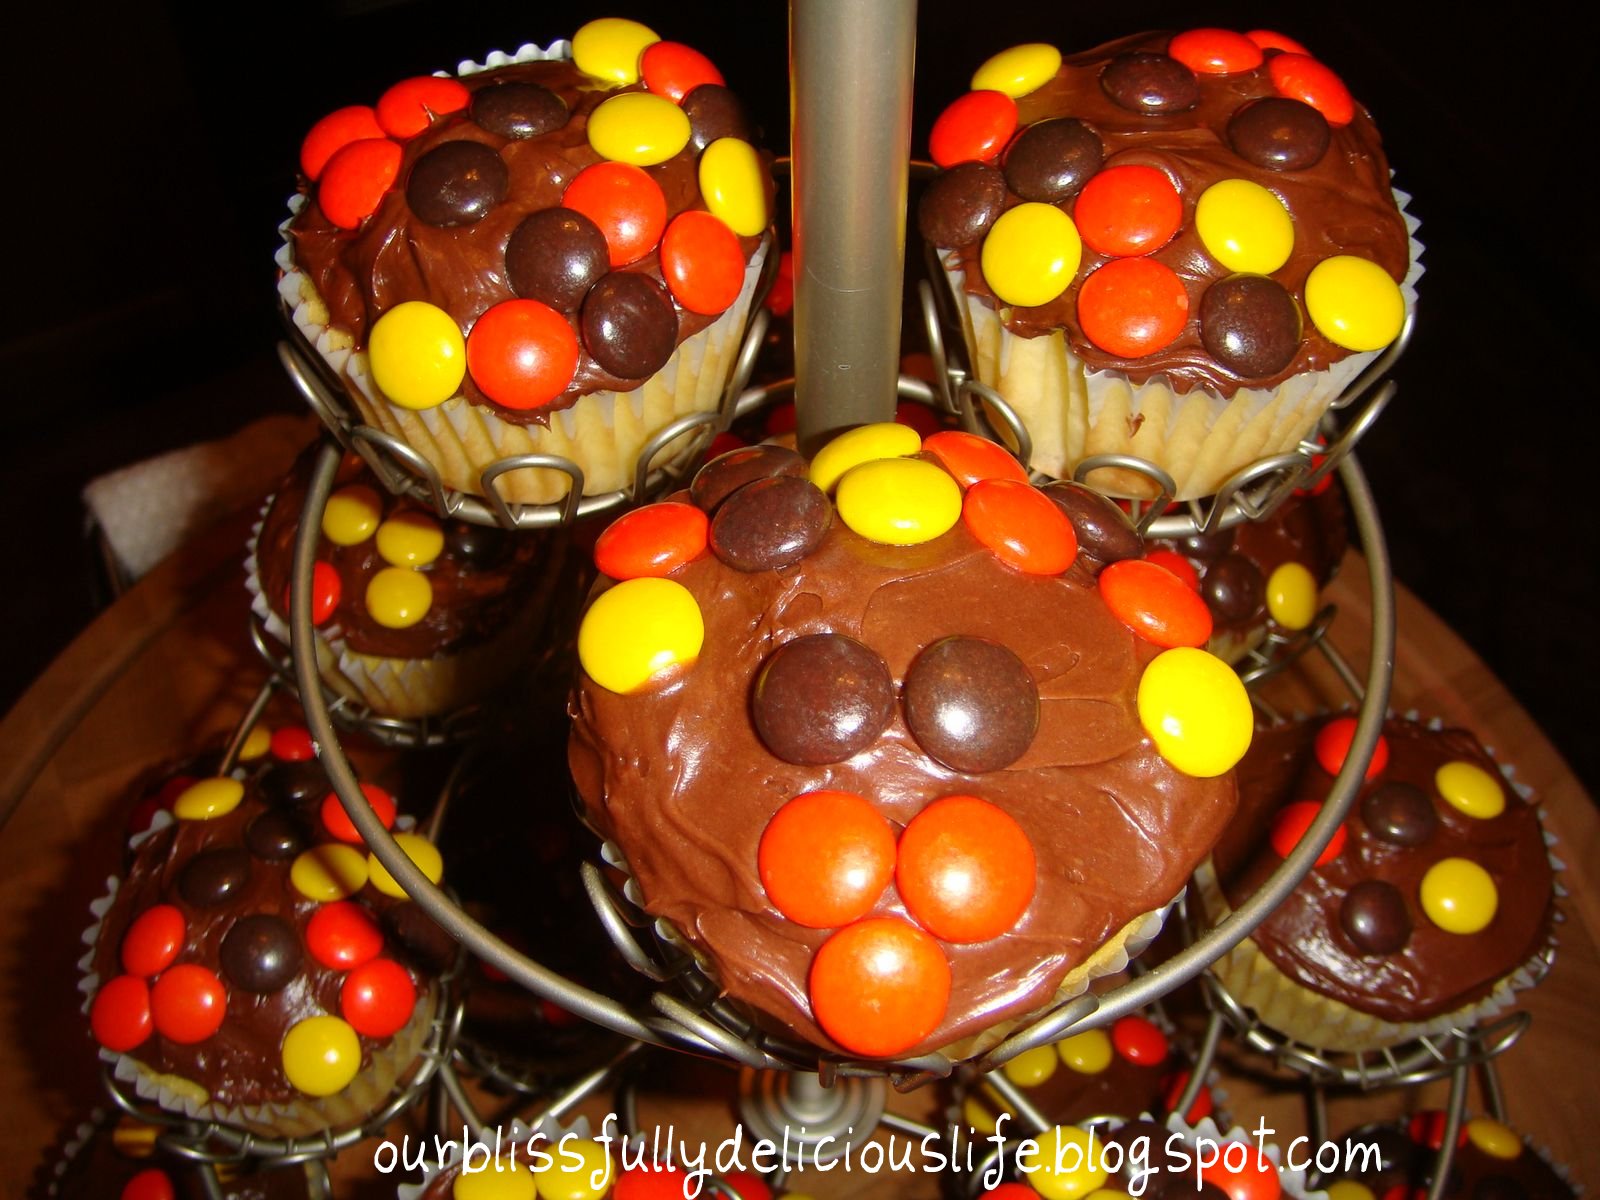
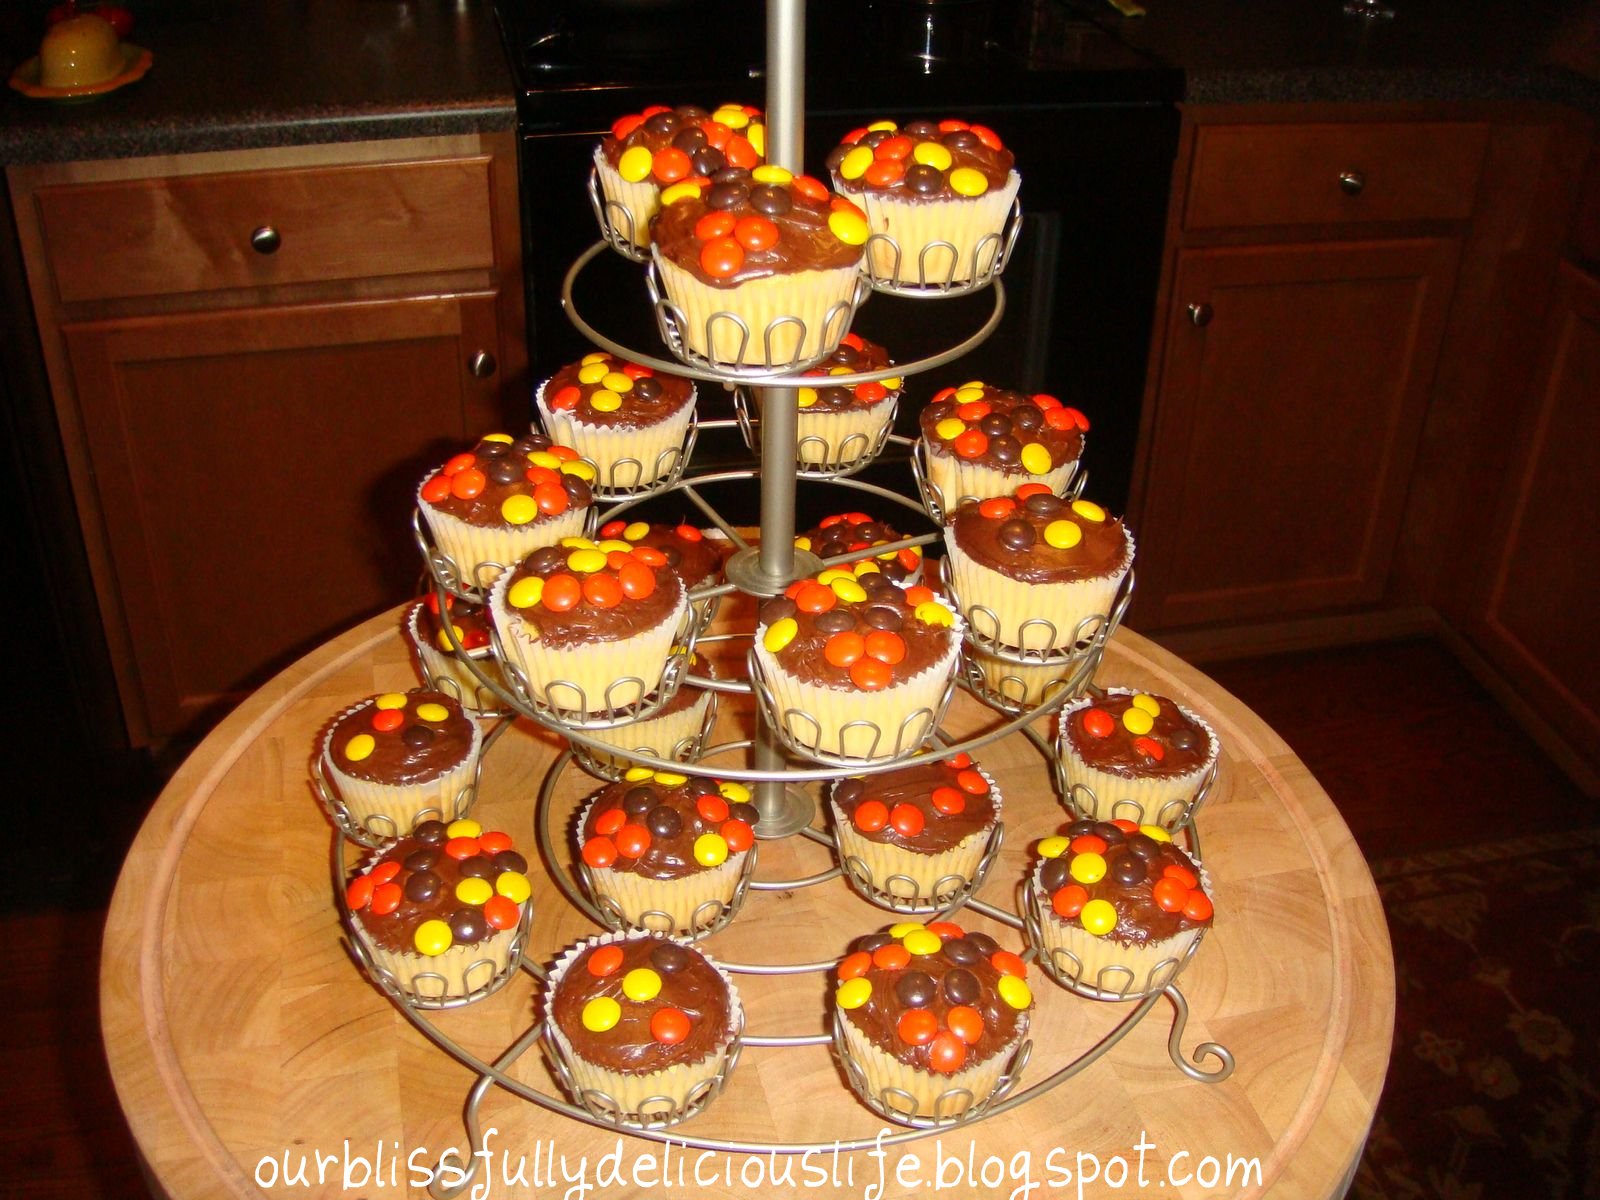
We had a little fun with these Thanksgiving treats!  They are so cute & super easy with a little help from store bought cake mix & icing.   
All you need to make these:
Your favorite cake mix.  (I used a boxed Yellow Cake mix)
Chocolate Icing (I used a store box can.)
Reese's Pieces Candy 
Cupcake Paper Liners
I used 3 orange pieces for the beak, 2 brown pieces for the eyes, & made 2 lines around the top, alternating colors for the feathers. 
 (You could use candy corn instead of the Reese's Pieces too!) 
 Gobble Gobble!!
Happy Thanksgiving from Our Blissfully Delicious Life!

Witches Wands

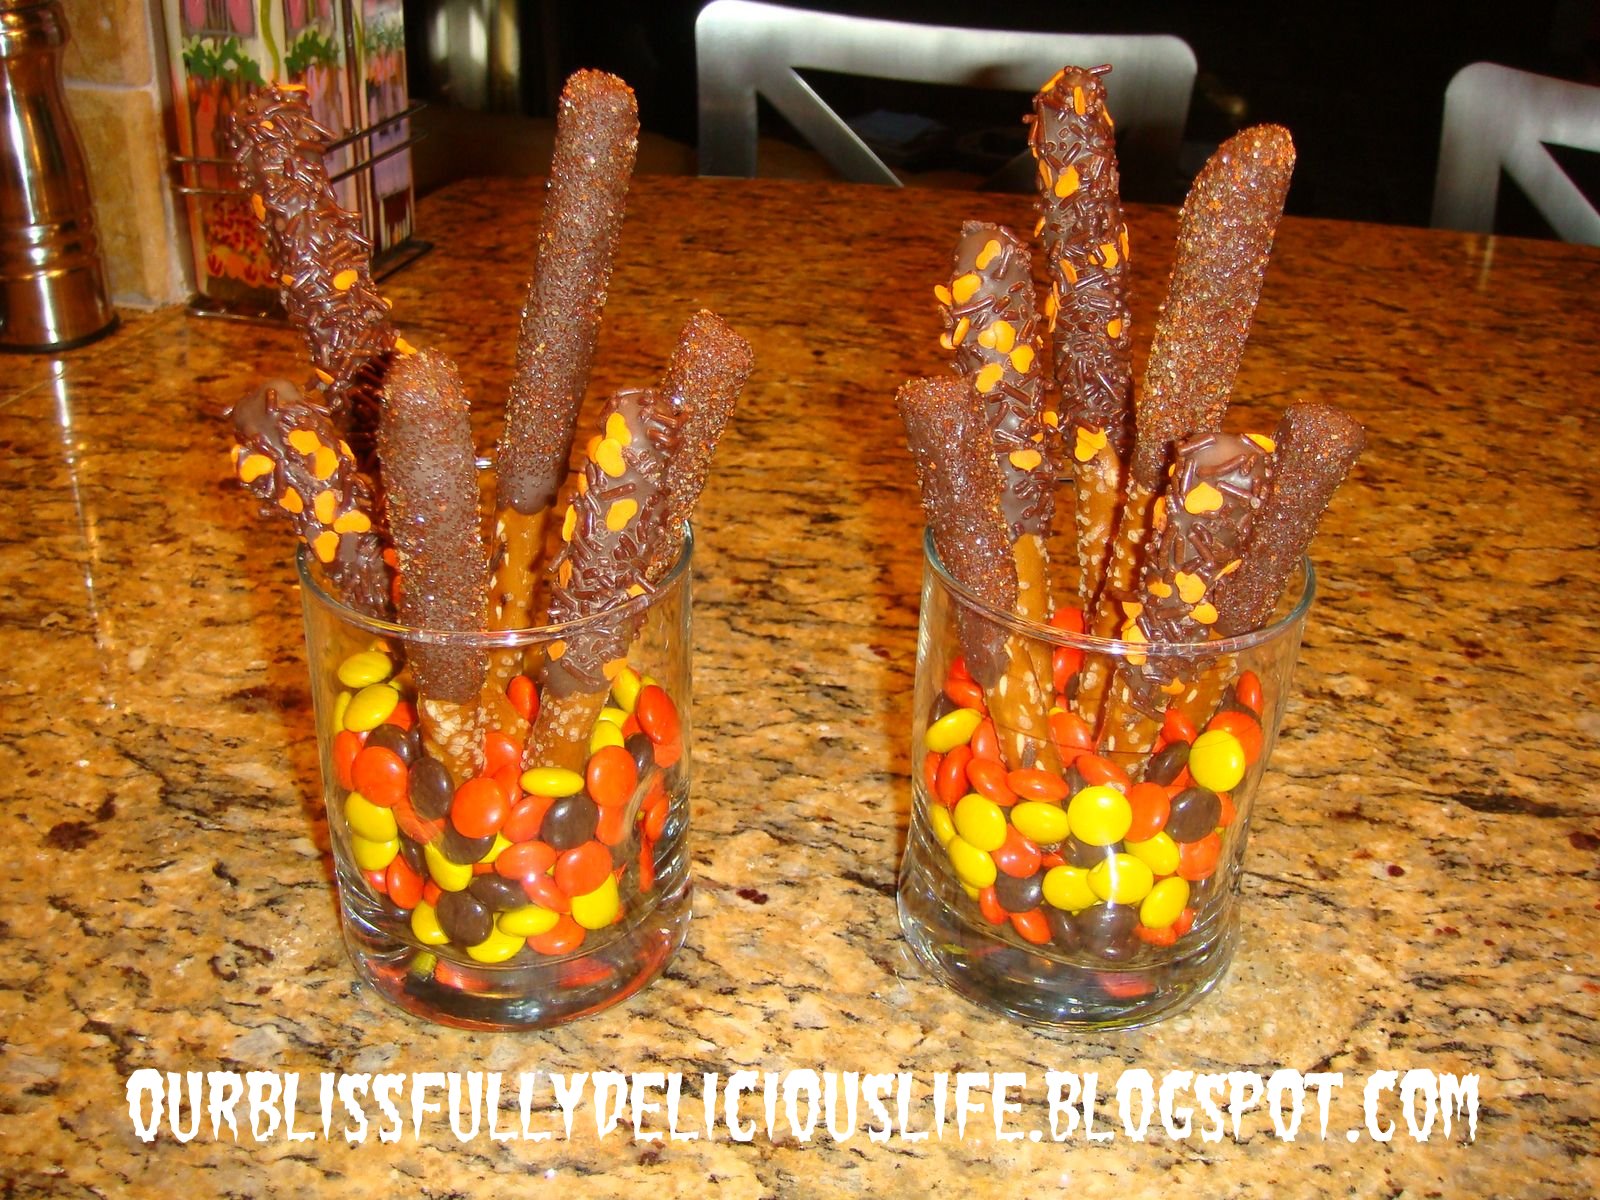
 These little treats are the perfect marriage of salty & sweet.  They are incredibly easy to make & look beautiful too!  They made the most adorable, edible center pieces for our Halloween party this year!
What you need to make these:
Chocolate Almond Bark
Pretzel Sticks
Halloween Sprinkles
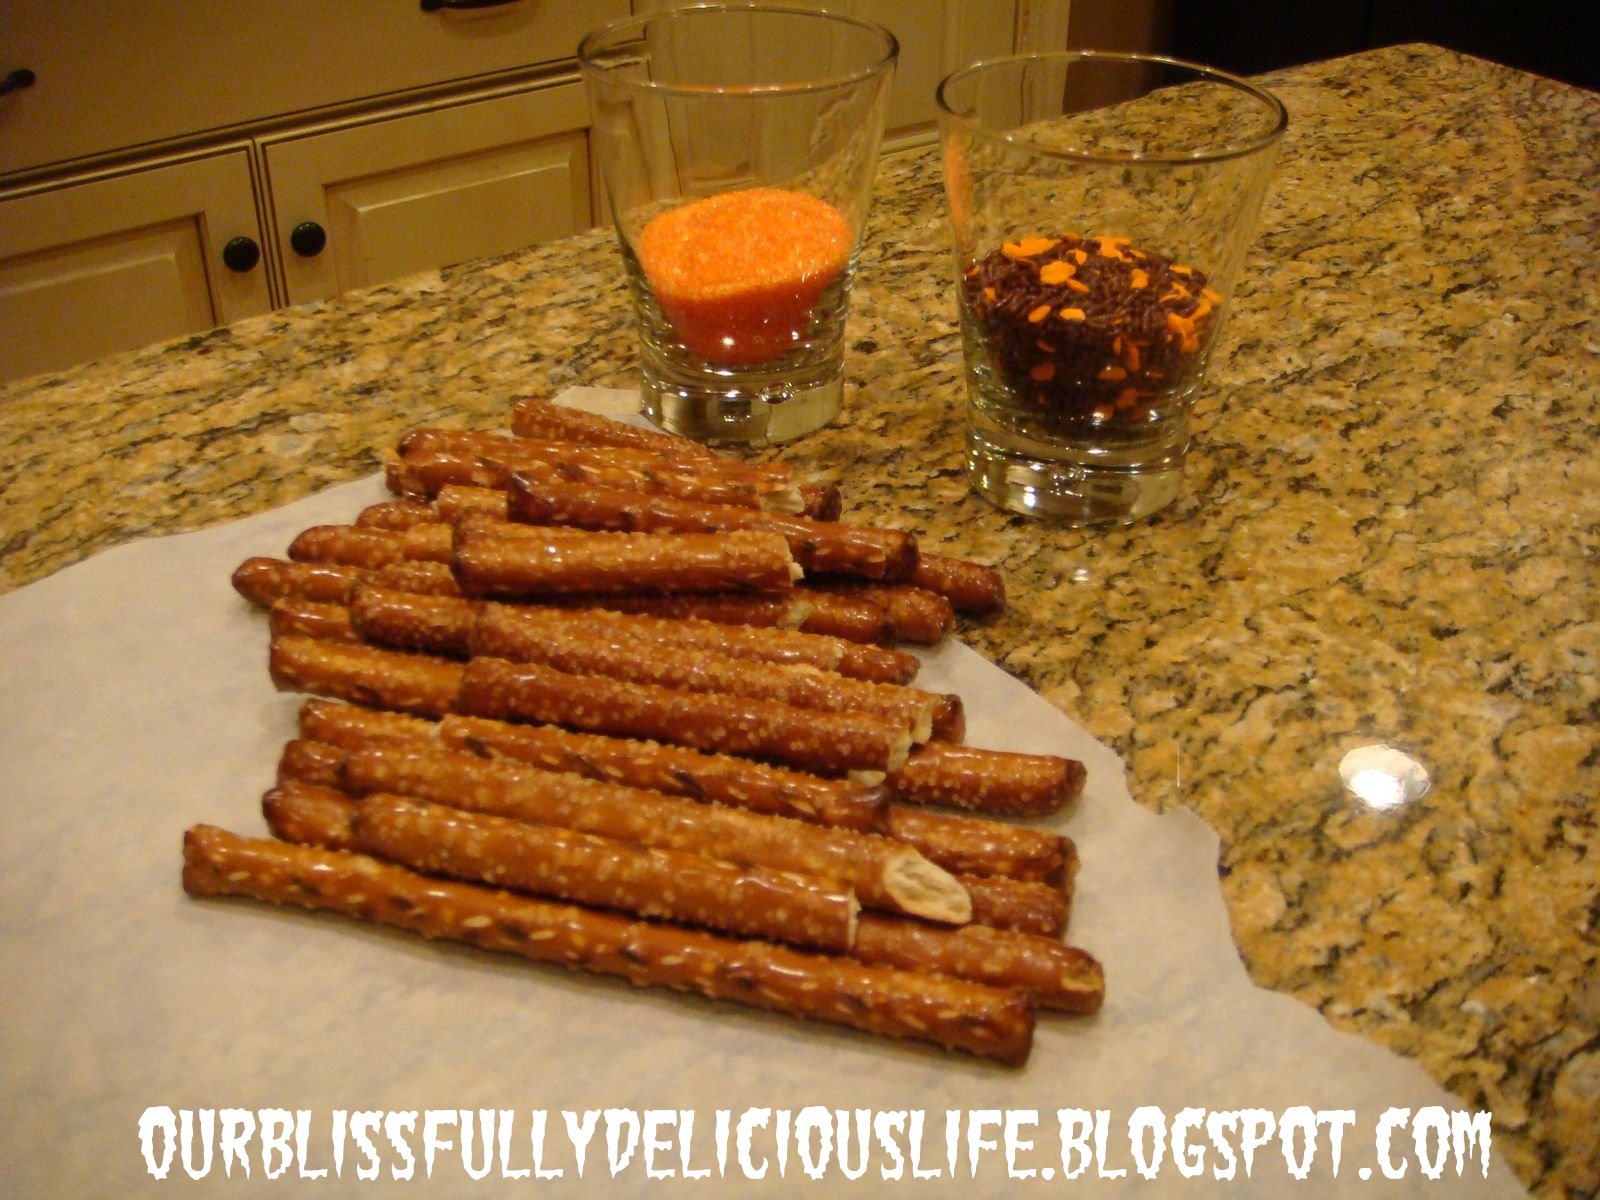
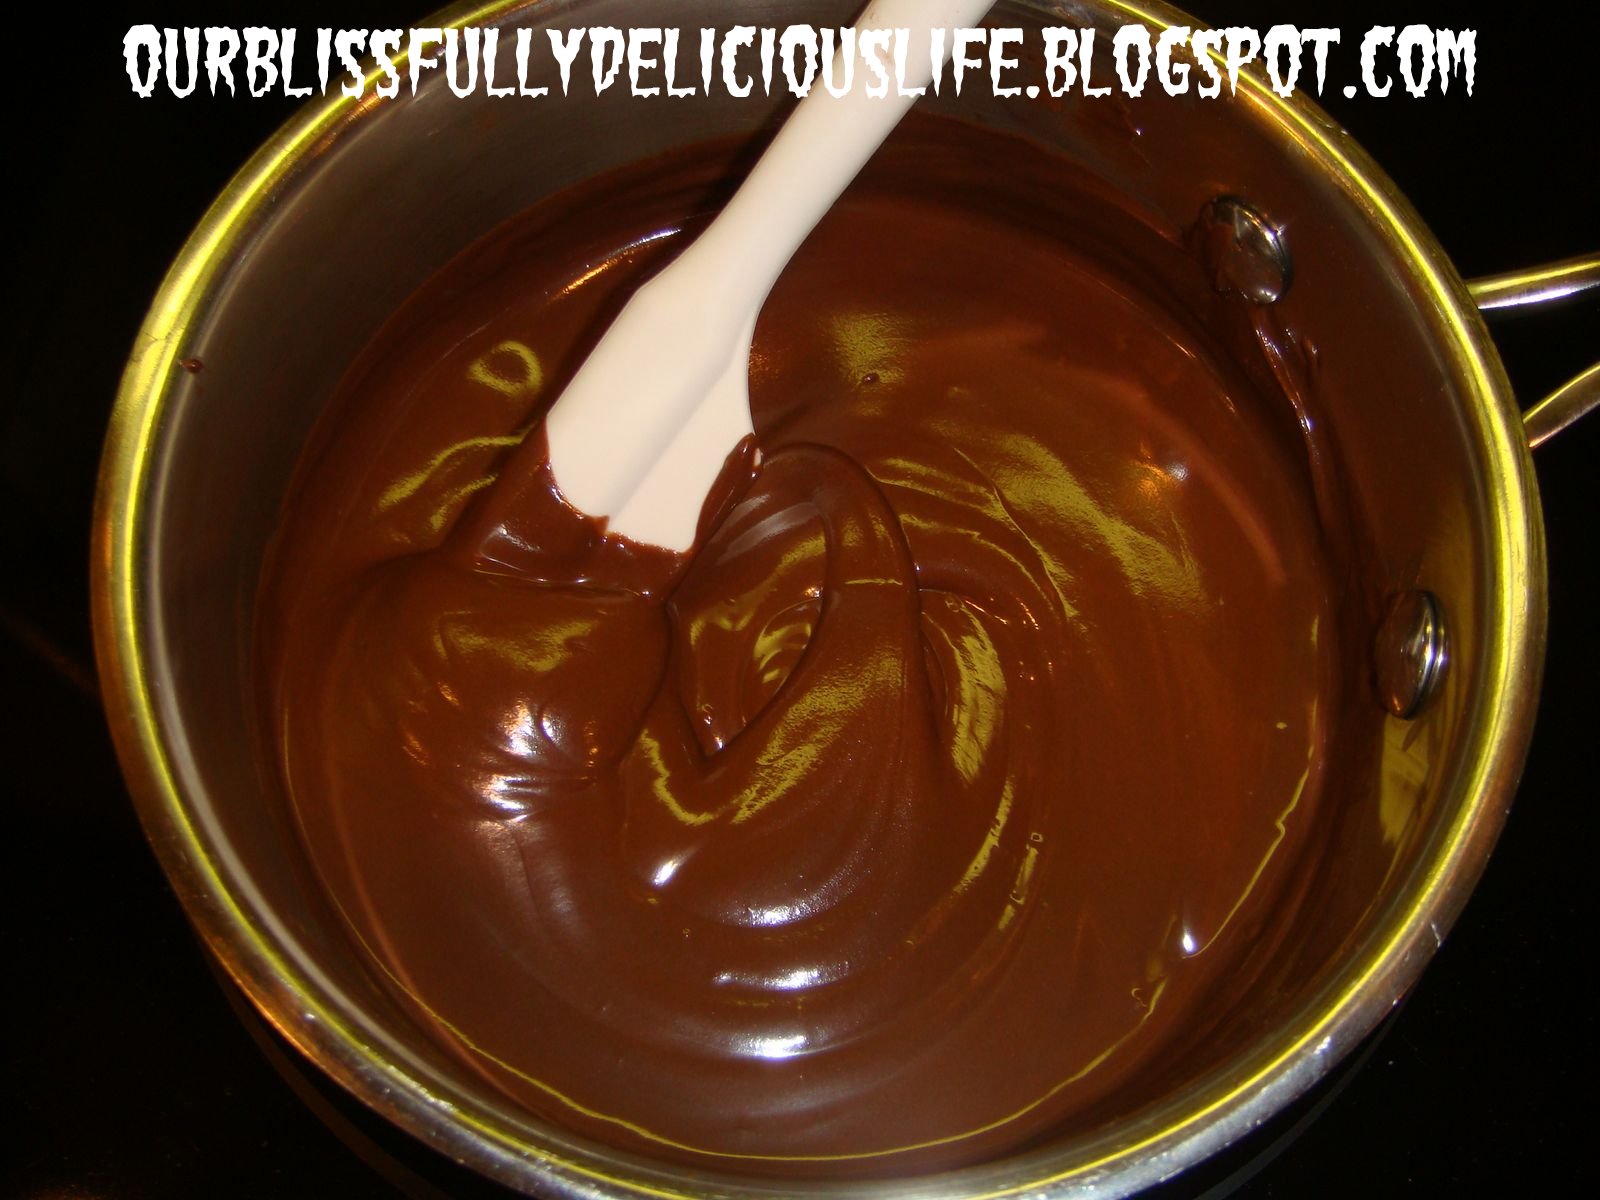
In a small sauce pan, over the lowest heat, melt the almond bark stirring occasionally.  I did 8 squares for the pretzels here.  While the chocolate is melting, I laid a piece of parchment paper out on the counter.  And poured the sprinkles into glasses.  I would recommend putting the sprinkles in bowls though, a wider opening will make it easier to sprinkle on the the pretzels. 
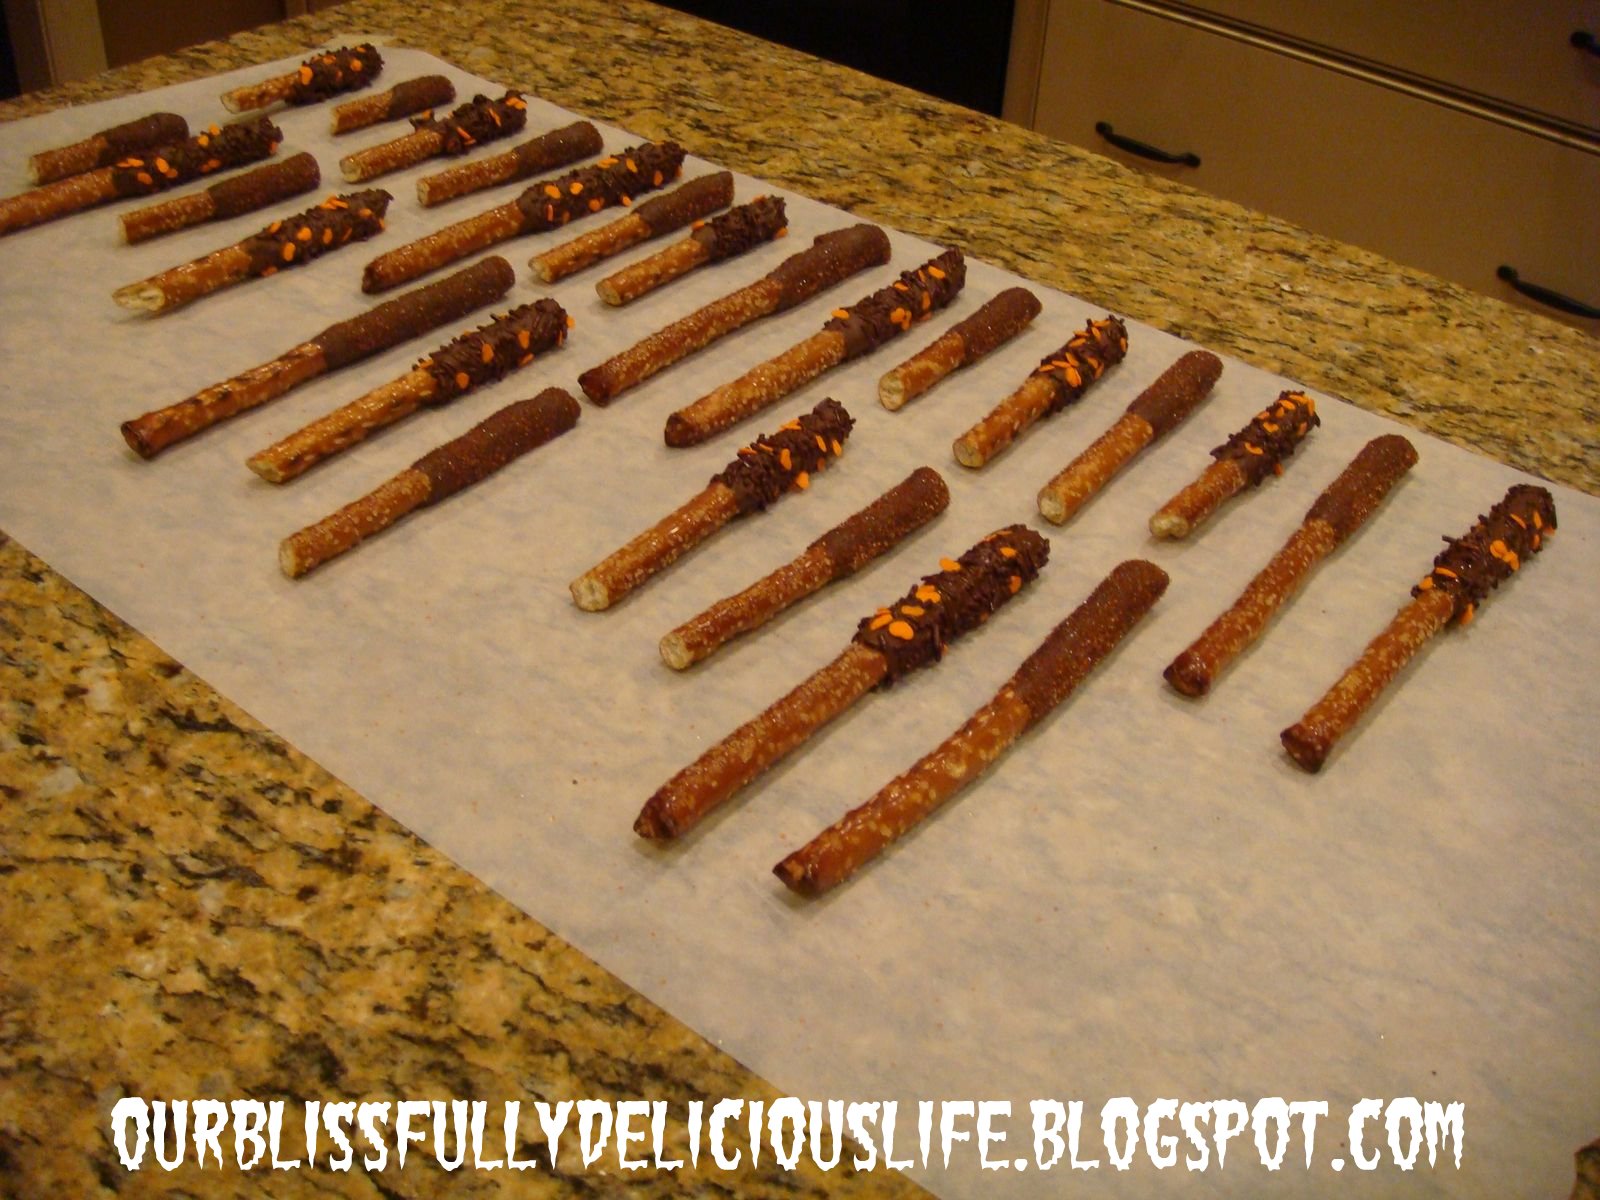
When the chocolate is fully melted, dip the pretzel sticks into the chocolate & let the excess drip off.  If the chocolate is too thick, it will drip off into your sprinkles!  Working quickly, while the chocolate is still wet, add the sprinkles.  Don't dip the pretzels into the sprinkles, pinch the sprinkles in your fingers & while holding the chocolate dipped pretzel over the bowl, sprinkle them on.
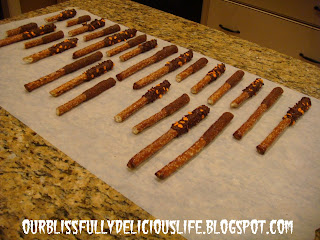
We did 2 different types of sprinkles.  My favorite was the sparkly colored sugar!
This is a perfect project for little helpers.  The chocolate doesn't get too hot so they can easily help with dipping the pretzels or my daughter's favorite, adding the sprinkles!!
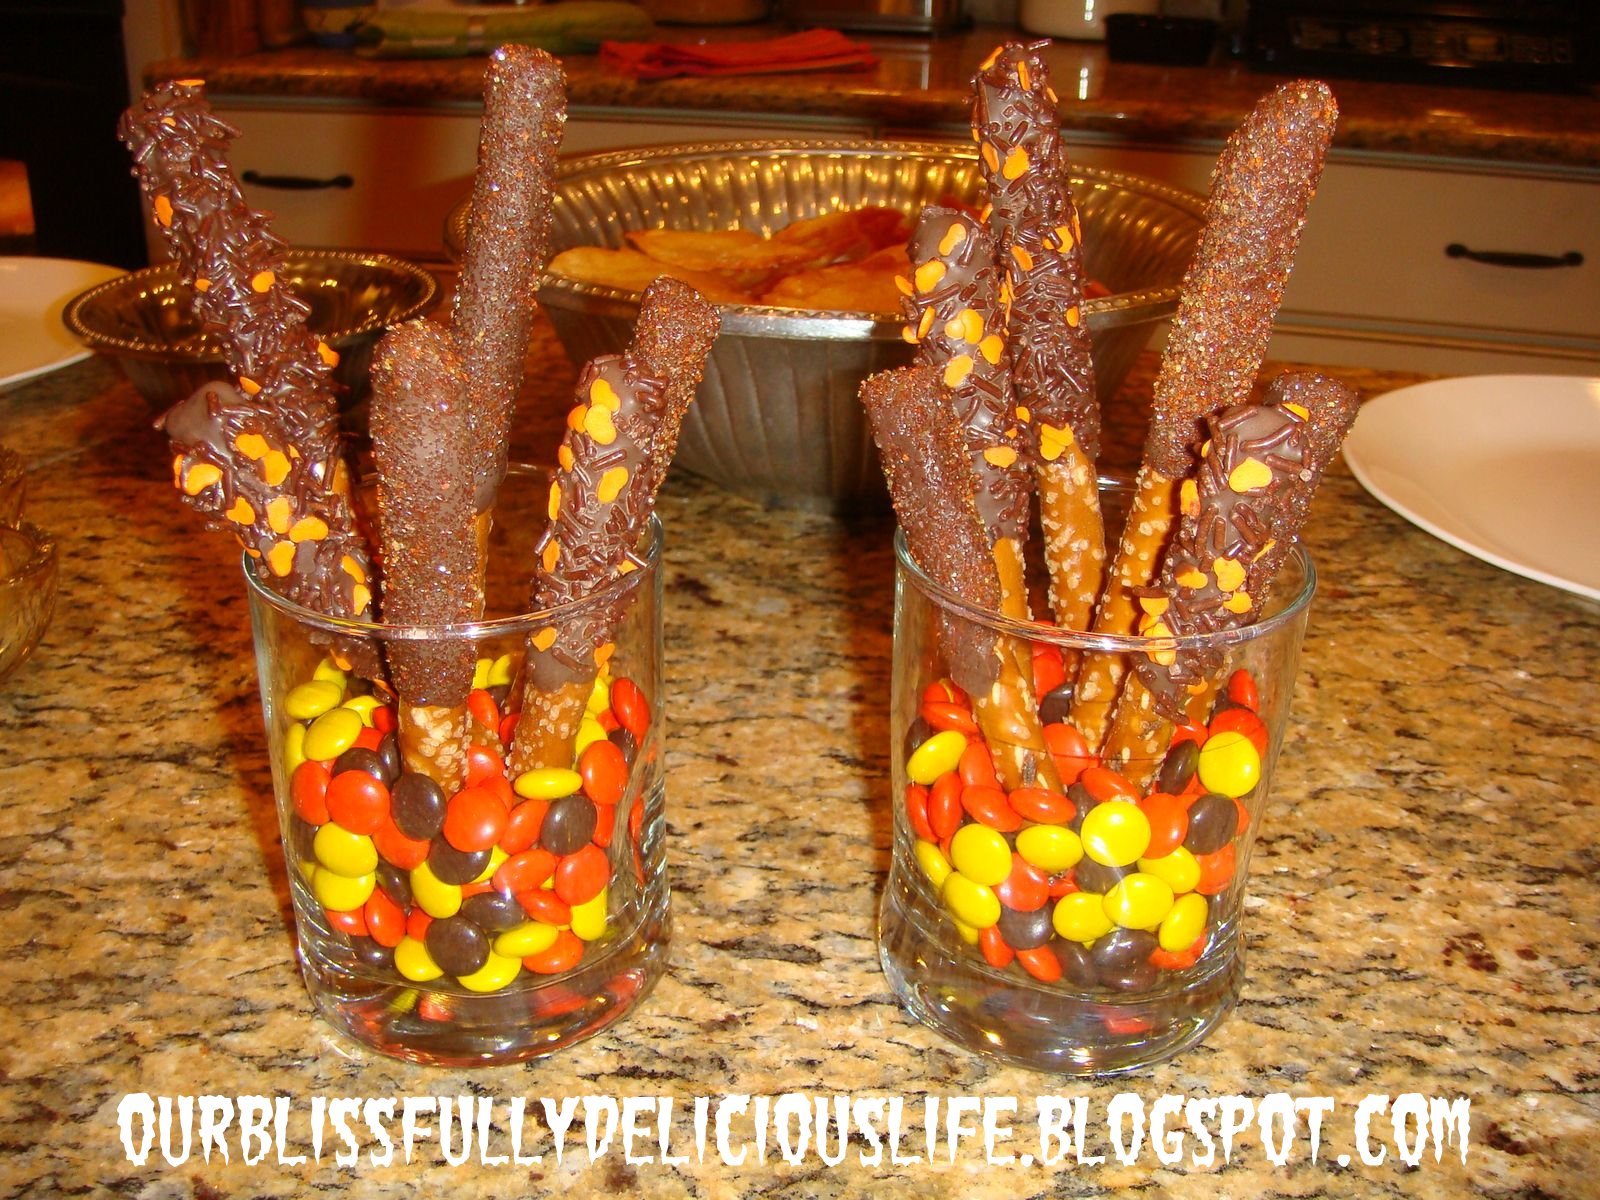
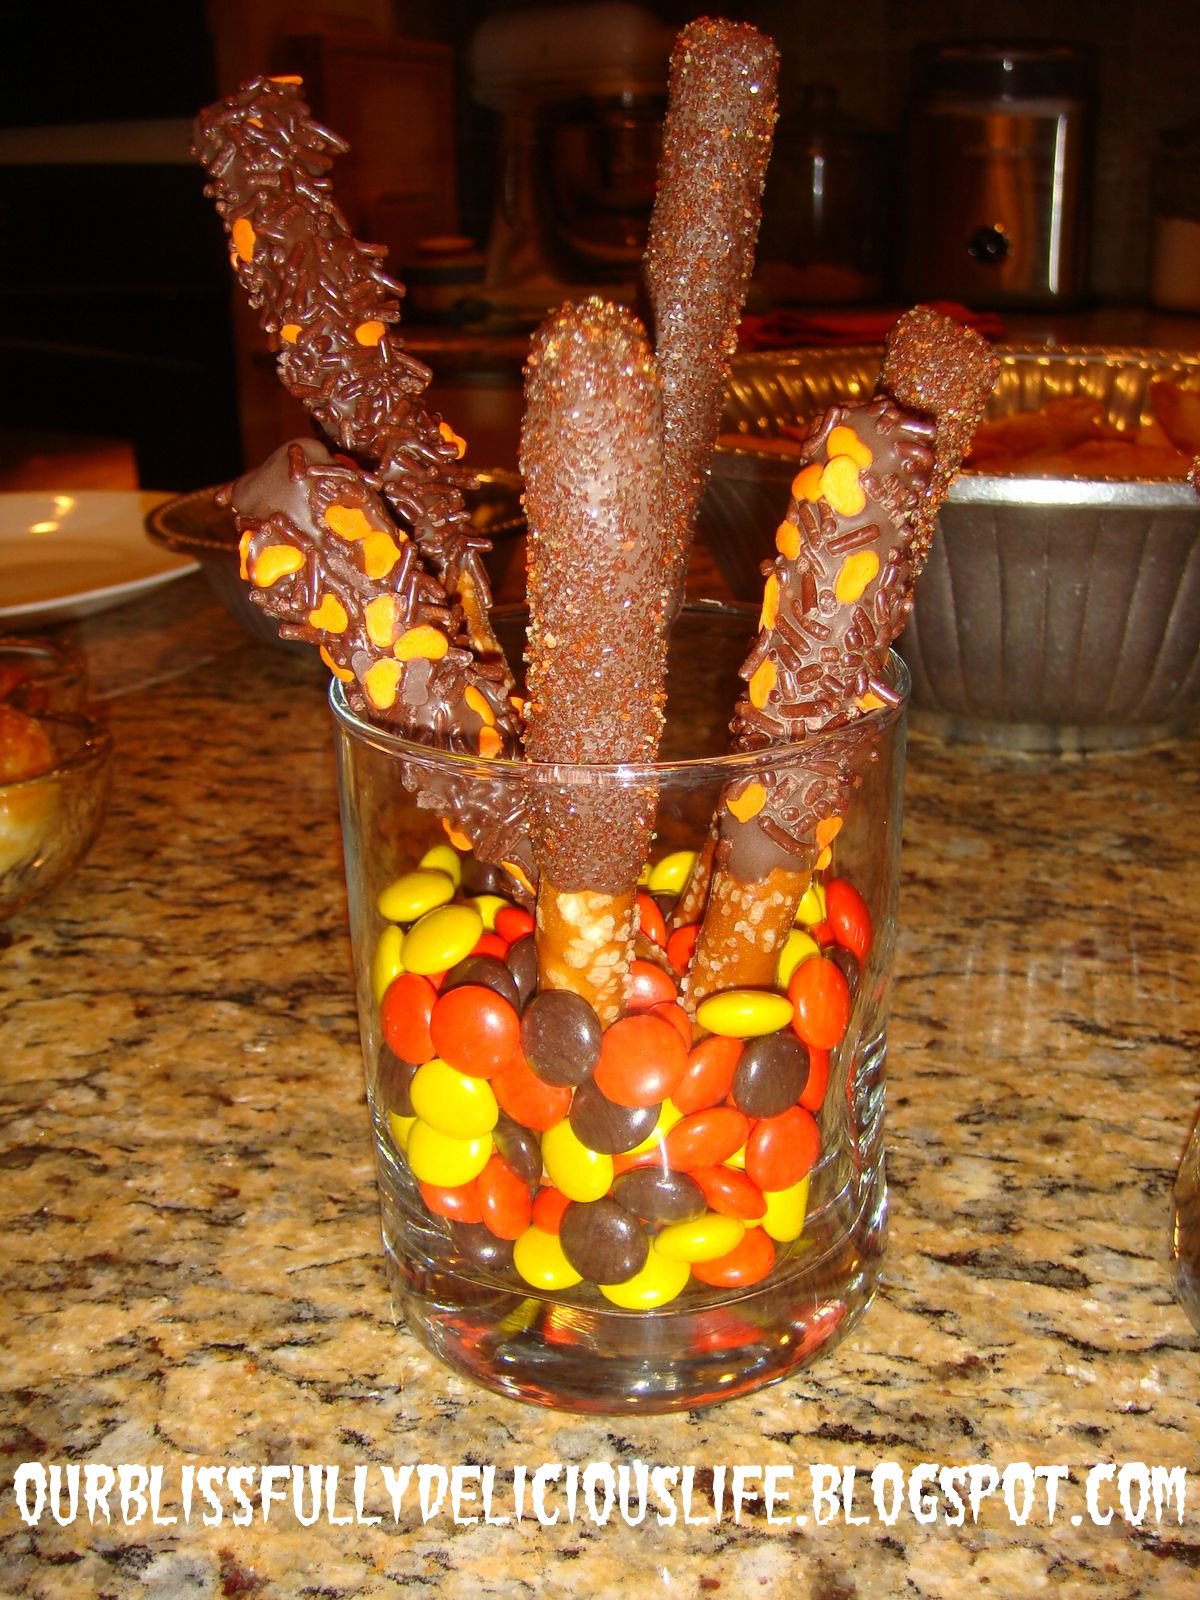
 I put them in glasses filled with candy to serve.  So cute & even more tasty!!
Peanut Butter & Reese Cup Rice Krispie Treats

Oh my goodness- these are dangerous! Who doesn't love Rice Krispie Treats?!? Add Peanut Butter & Reese Cups on top & they become insanely delicious!! This is a perfect recipe for little helpers too! My daughter had a blast making them! Ingredients:
6 cups Rice Krispie Cereal
1 large bag of Mini Marshmallows
3-4 tbsp of Butter
2 cups Creamy Peanut Butter
40-50 Mini Reese Cups
1/2 cup Mini Chocolate Chips
Directions:
I think everyone has forgotten just how easy these yummy treats are to make! Stop buying the pre-packaged ones!! Homemade tastes SO much better & it only takes about 5 minutes! First thing, butter a 9X13 casserole dish. In a large sauce pan, melt 3 tbsp of butter over low/ medium heat. Add the marshmallows & cook, stirring frequently until completely melted.
Add the cereal & remove from heat. Fold gently to incorporate well.
Pour into the buttered dish & press to make even. It will be sticky; the easiest way that I have found to do this is to get a dab of butter on my finger tips & use them press the rice krispies into the dish. Set the RKTs aside.
Open all of the Miniature Reece Cups, this is an excellent job for little helpers!!
Hannah (& Daddy) opened them while I cut them into quarters.
These are going to be SO yummy! (Celebrating while snacking on an extra Reese Cup!)
Put 2 cups of creamy peanut butter into a microwave safe bowl.
This is what 40 Miniature Reece Cups look like, cut into quarters.
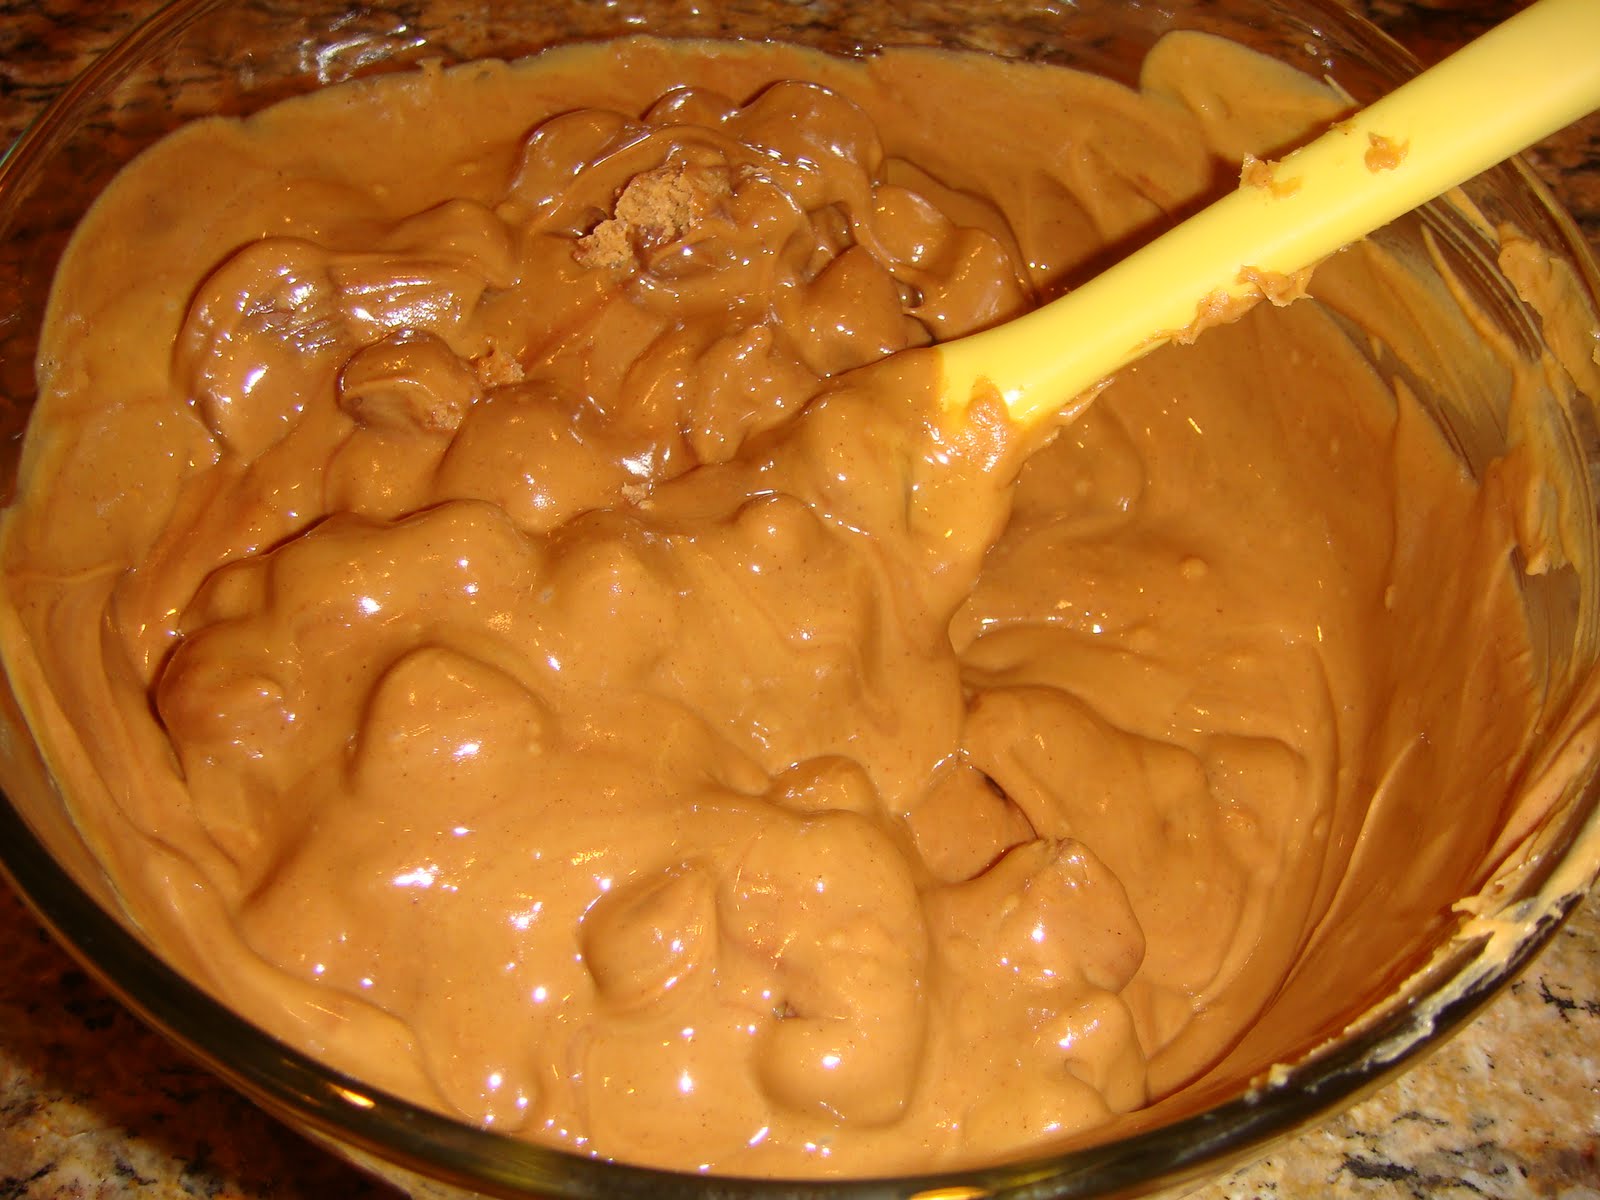
Melt the peanut butter in the microwave, cook for about 45 seconds. Gently fold in the Reece Cups to the melted peanut butter.
Pour over the top of the Rice Krispies, spreading to make an even layer. Sprinkle the mini chocolate chips over top. (You could also melt chocolate & drizzle it over the top with a spoon!)
Let sit (or refrigerate) so the peanut butter & Reece Cup layer hardens for a bit. Then cut & enjoy these insanely delicious treats! I originally found these sweet treats on a fellow foodies site here:

Homemade Lollipops

These are just too cute! I love them & can't wait to make them again! I normally avoid making stuff like this fear of the mess, but there was no mess at all- seriously! They were so much fun, quick & incredibly easy! From start to finish they are ready to eat in 30 minutes, max. That's including clean up! Ingredients:
1 cup of Sugar (White Granulated)
1/3 cup of Water
1/3 cup Light Corn Syrup
1/2 tsp Candy Flavoring Oil
Liquid Food Coloring
Tools:
Lollipop Molds (optional)
Lollipop Sticks
Candy Thermometer
Parchment Paper or Tin Foil
Directions:
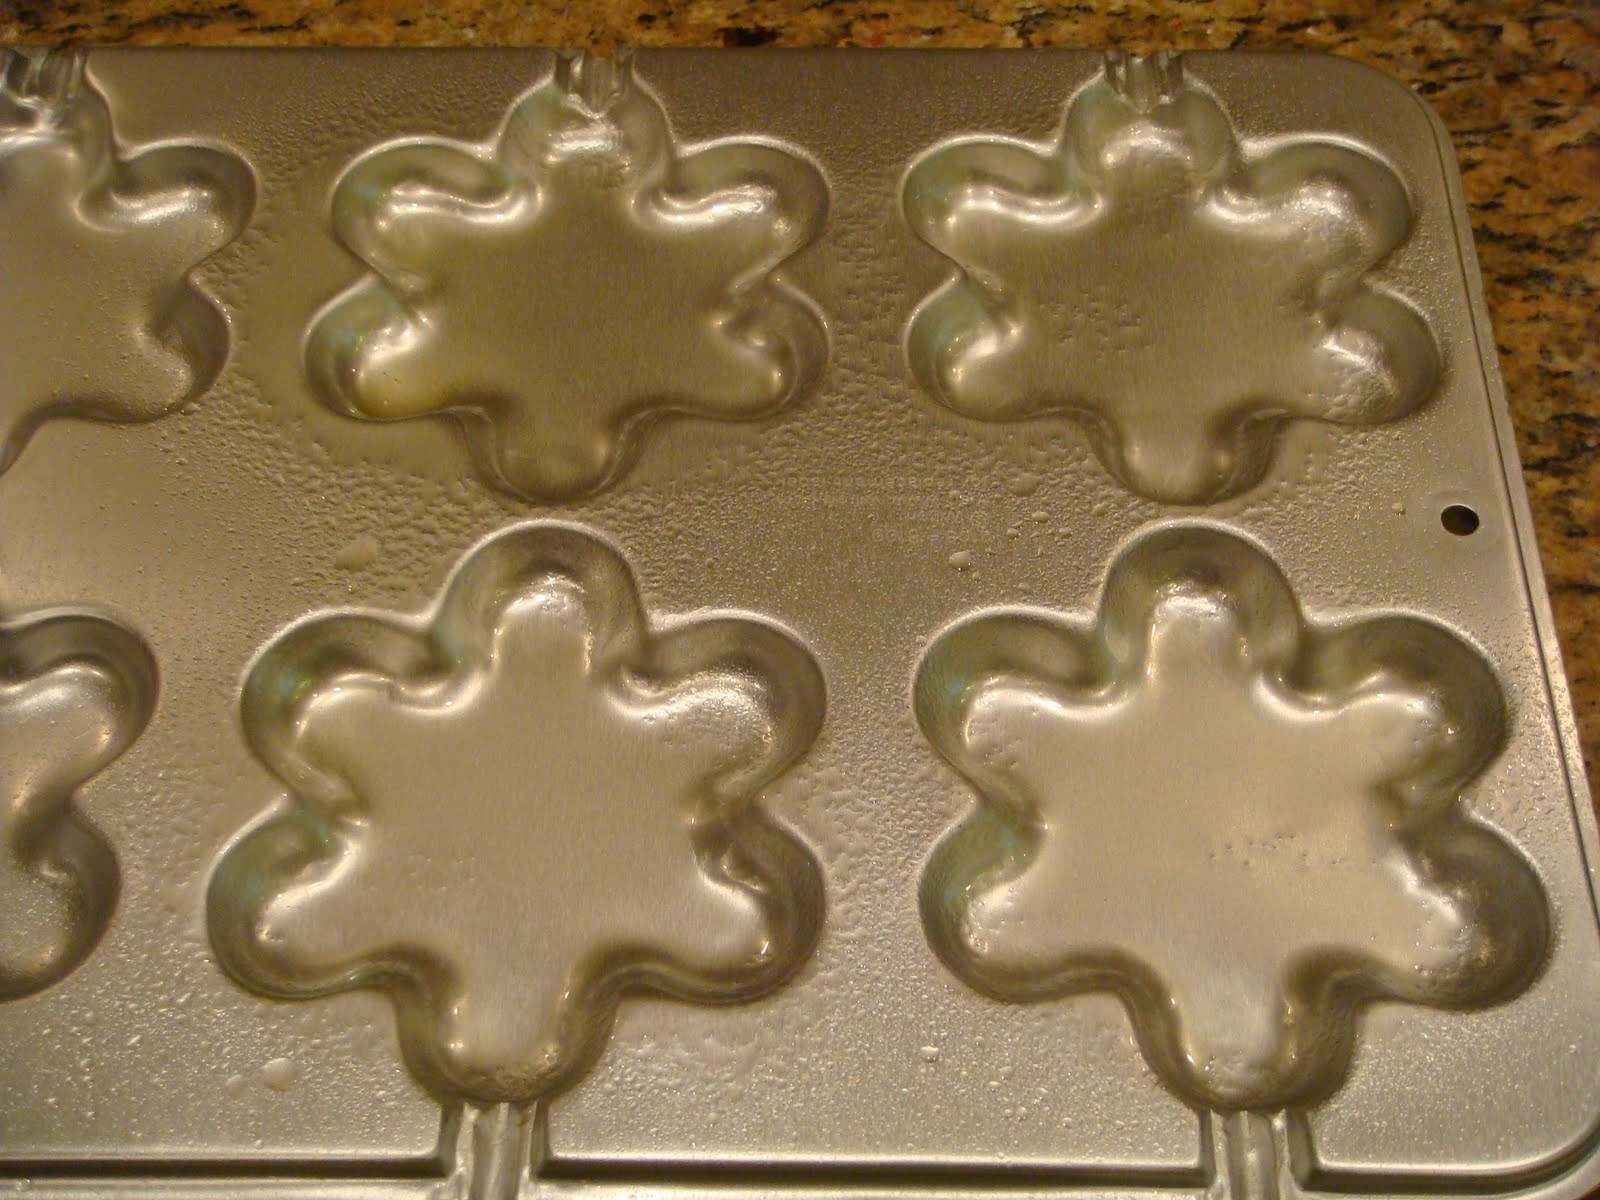
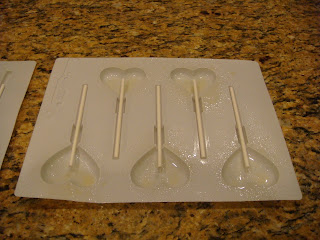
Spray your mold with nonstick spray (like Pam- a non-flavored oil). You don't have to use a mold, you could use a plain sheet pan & just pour the lollipops in rounds, or what ever funky shape you want. Just make sure you spray the pan so they don't stick, or even better, line it with parchment paper & then spray the paper! If you have molds like the smaller white plastic ones, put the sticks in the mold. You will have to add them later for the larger tin molds. In a small sauce pan, combine the sugar, water & light corn syrup. Stir over medium heat, until the sugar dissolves.  Then bump it up to medium- high & bring to a boil.  
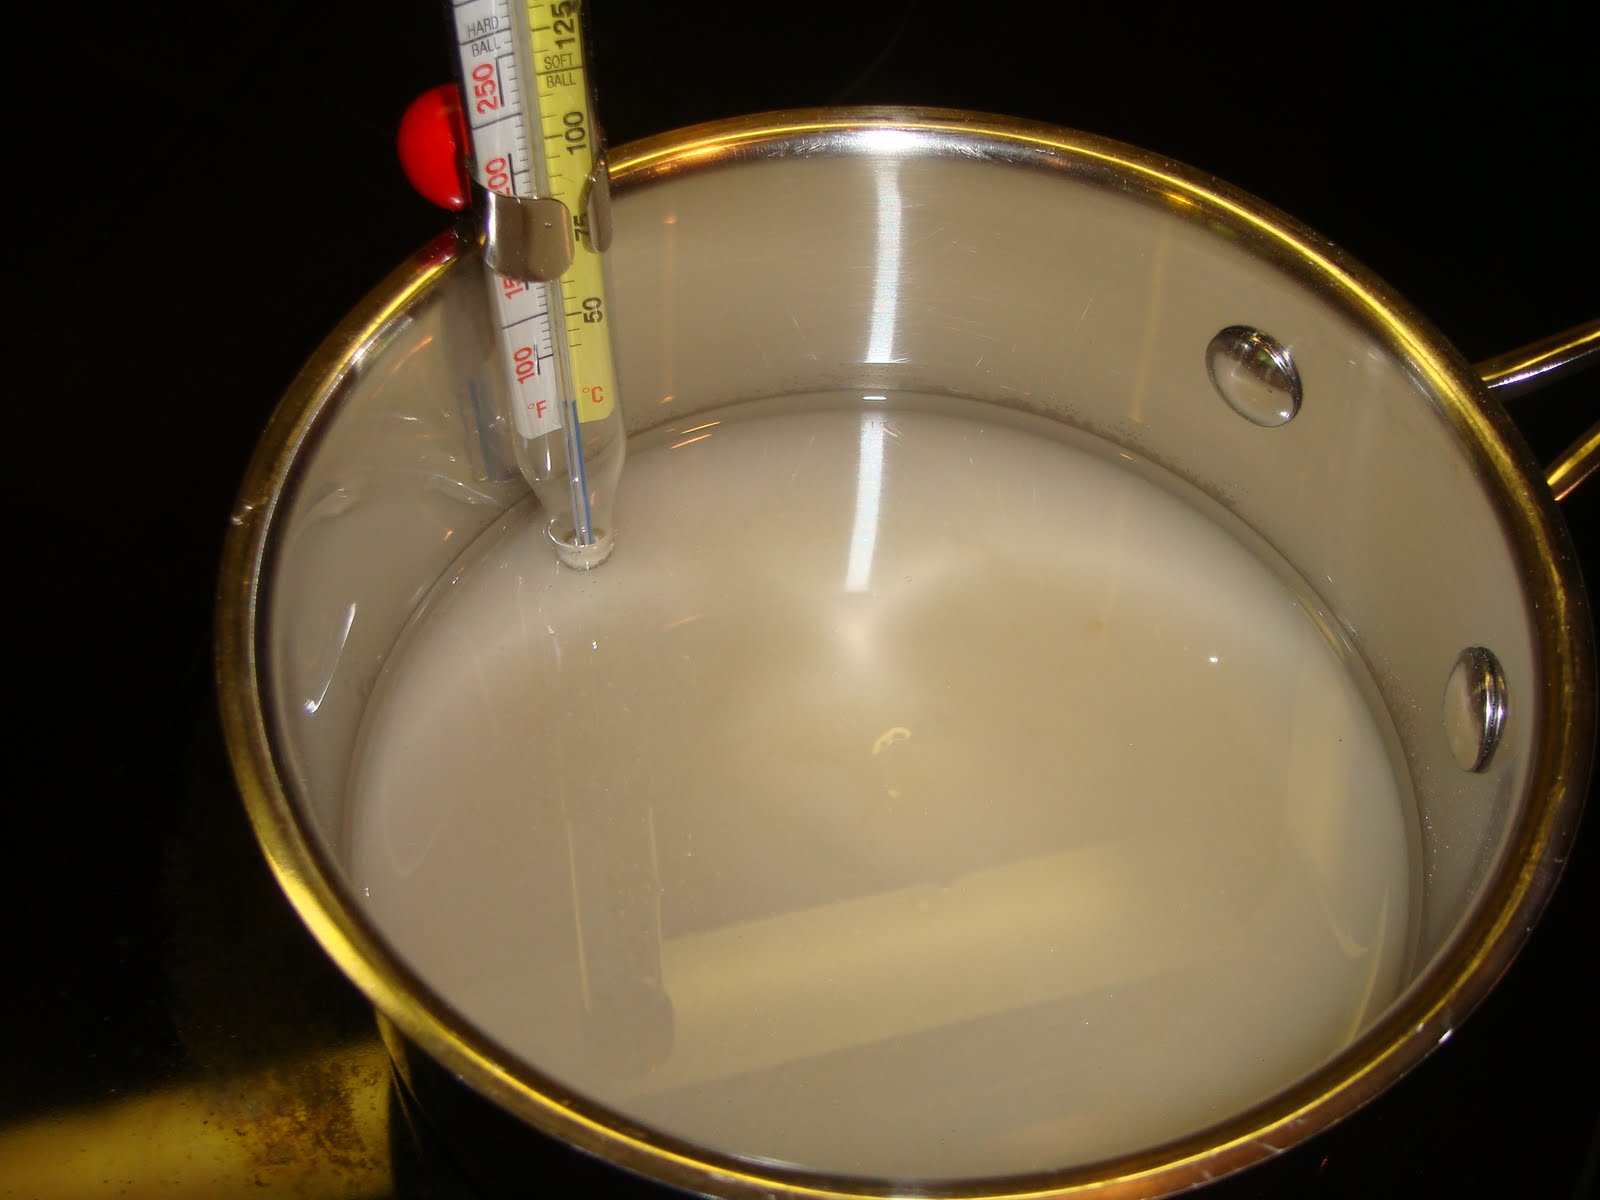
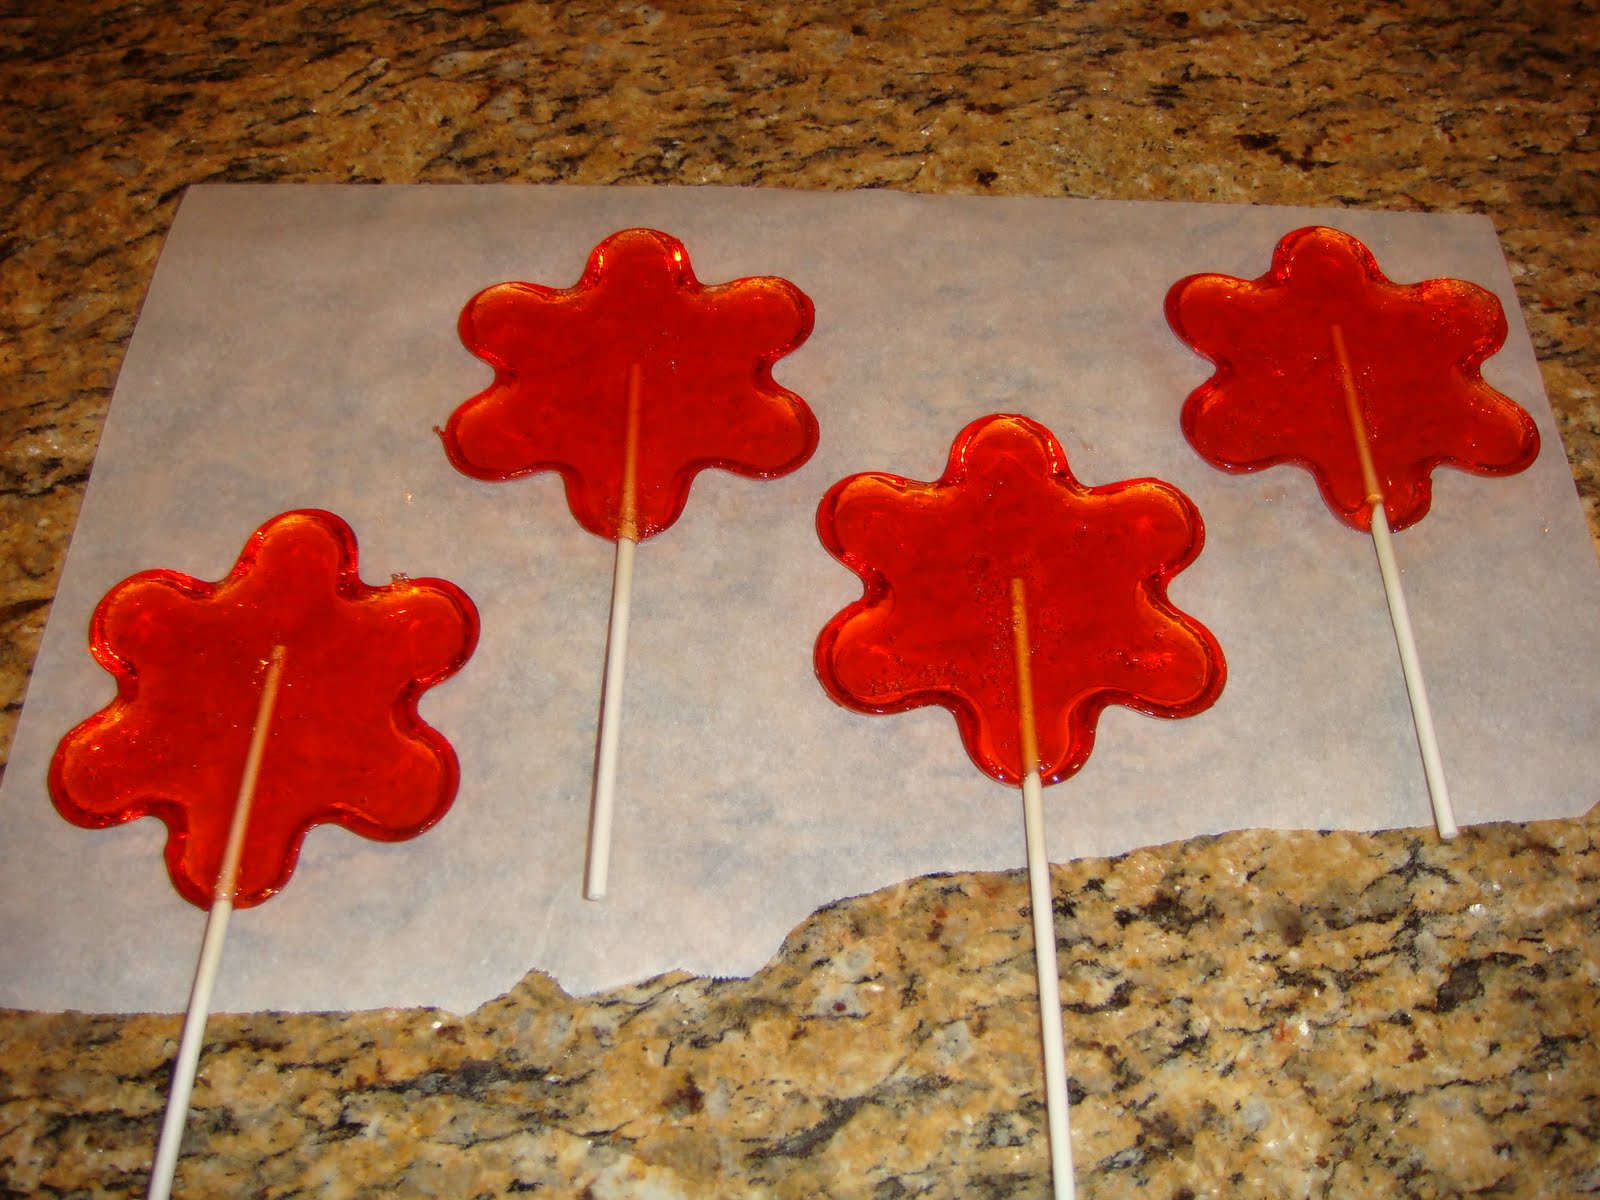
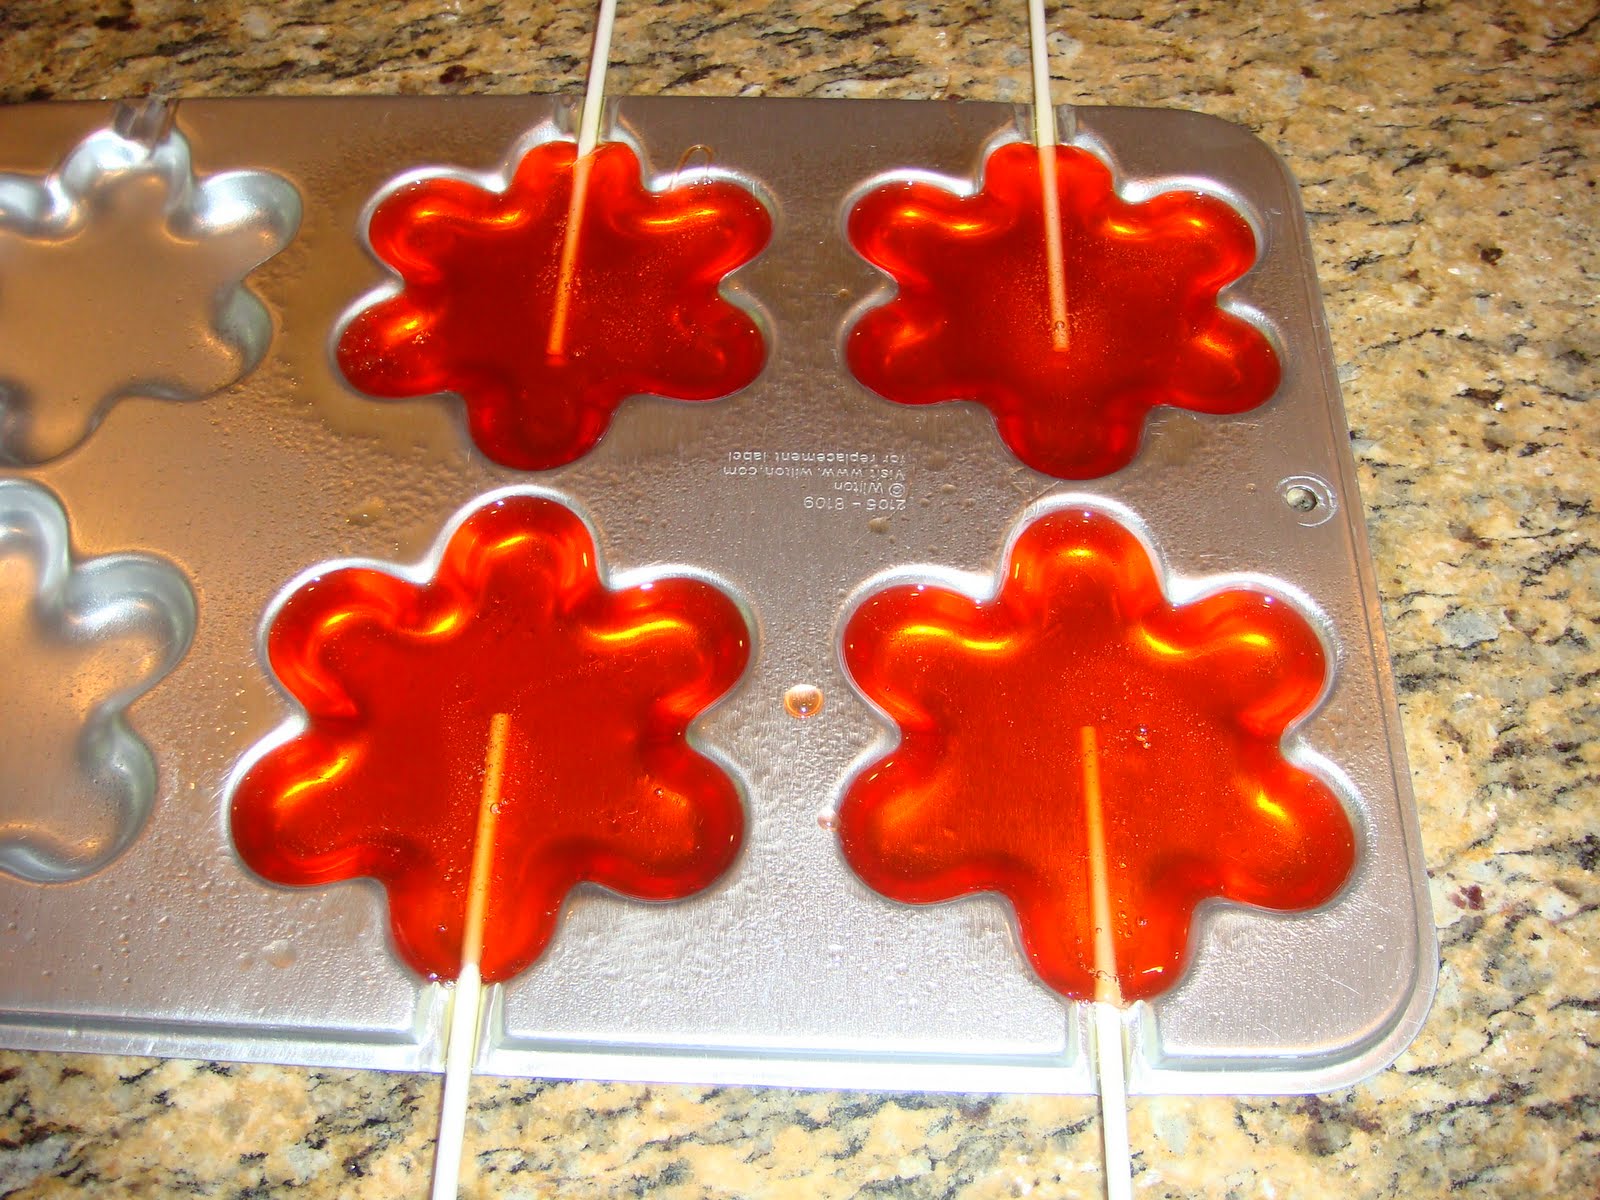
Let it cook to 250-260 degrees, then add your food coloring. I added 3 drops of red to make the large, flower shaped ones. The smaller ones were 1 tiny drop of red & 2 drops of green. Swirl the pan to incorporate the color- don't stir it.
Continue to cook until the the temperature gets to 300 degrees. Remove it from heat & add the flavoring oil (don't use extracts like you use for baking, make sure it's hard candy flavoring oil). I did 2 little 'drops' but you can measure it, about 1/2 tsp.  I did cherry flavoring in the large; cotton candy & watermelon with the smaller ones. It's impossible for me to pick a favorite- I loved all 3! I can't wait to try more flavors!!
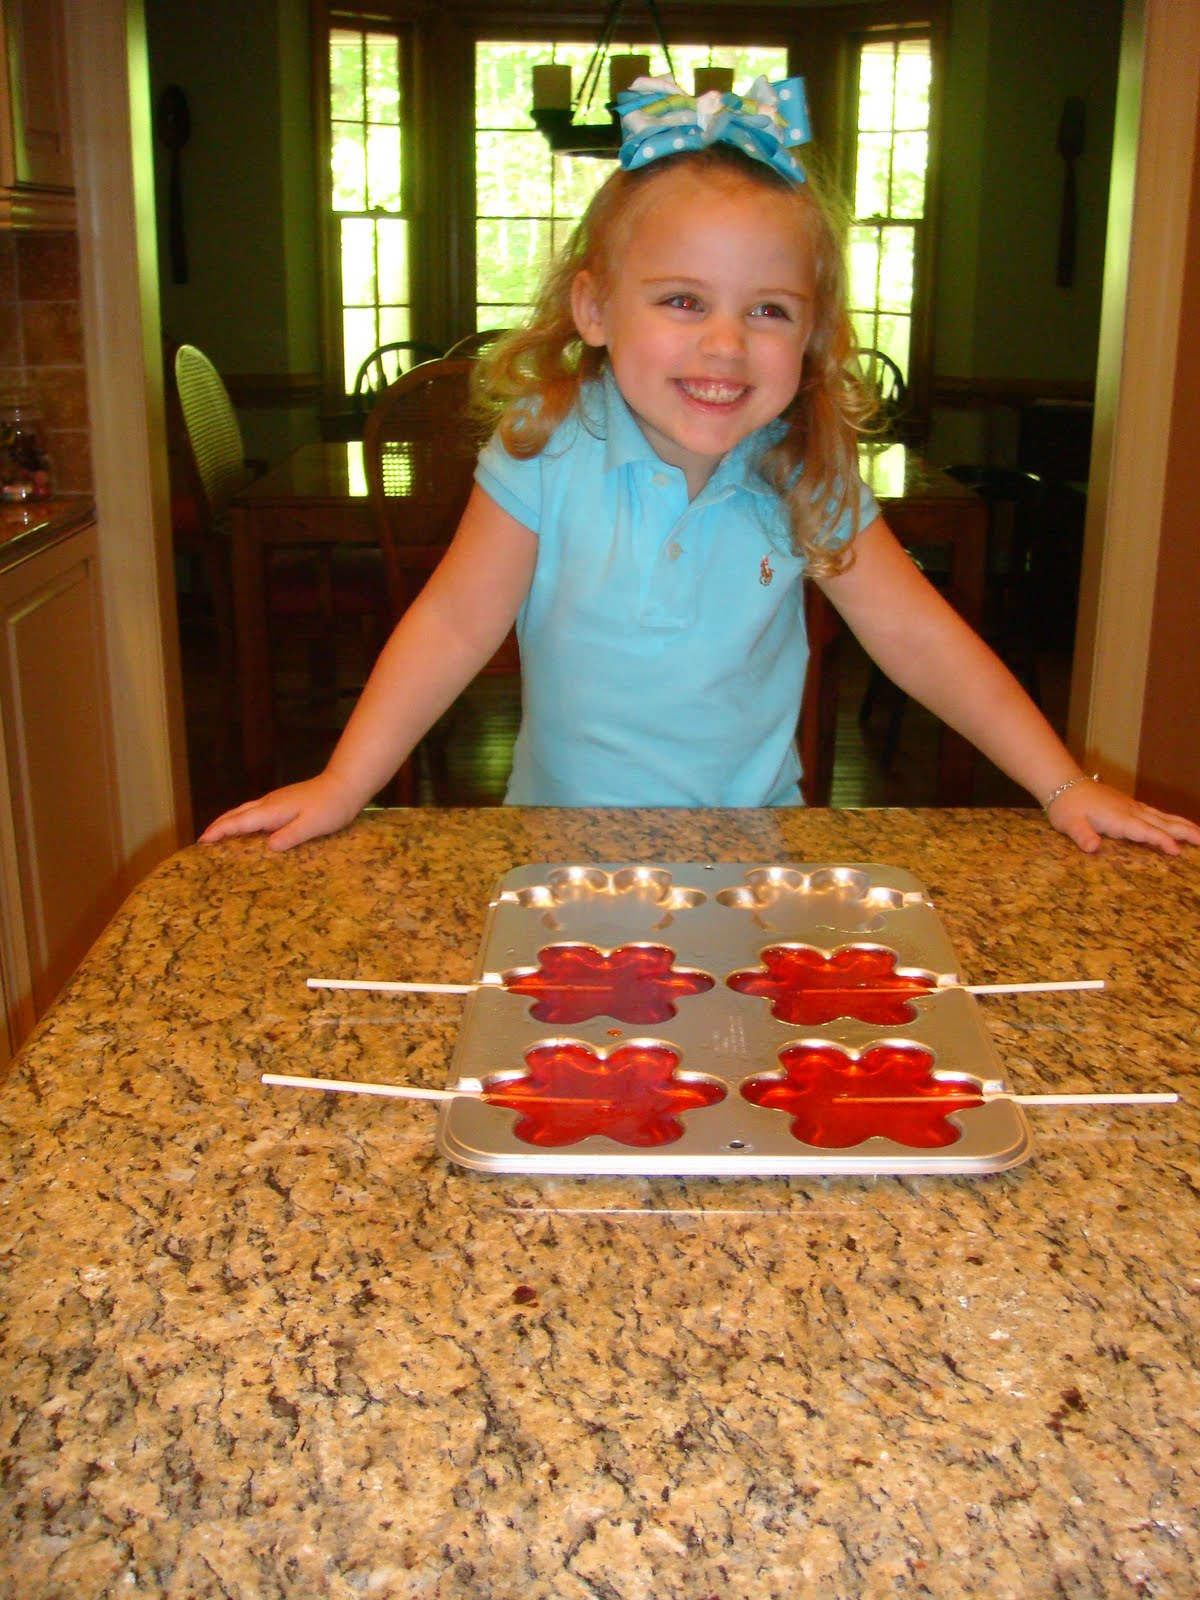
Working quickly, stir in the oil & then pour into your mold. Be VERY careful, the syrup is very hot (obviously, it's 300+ degrees). Once you've poured all the molds, place your pan in the sink with running hot water (This is for easy clean up!). Quickly get back to the lollipops & using a twisting motion, add the sticks to the middle of the lollipops in the tin fold. You will have to keep twisting & adjust the sticks, to keep them in the middle for the first few minutes.
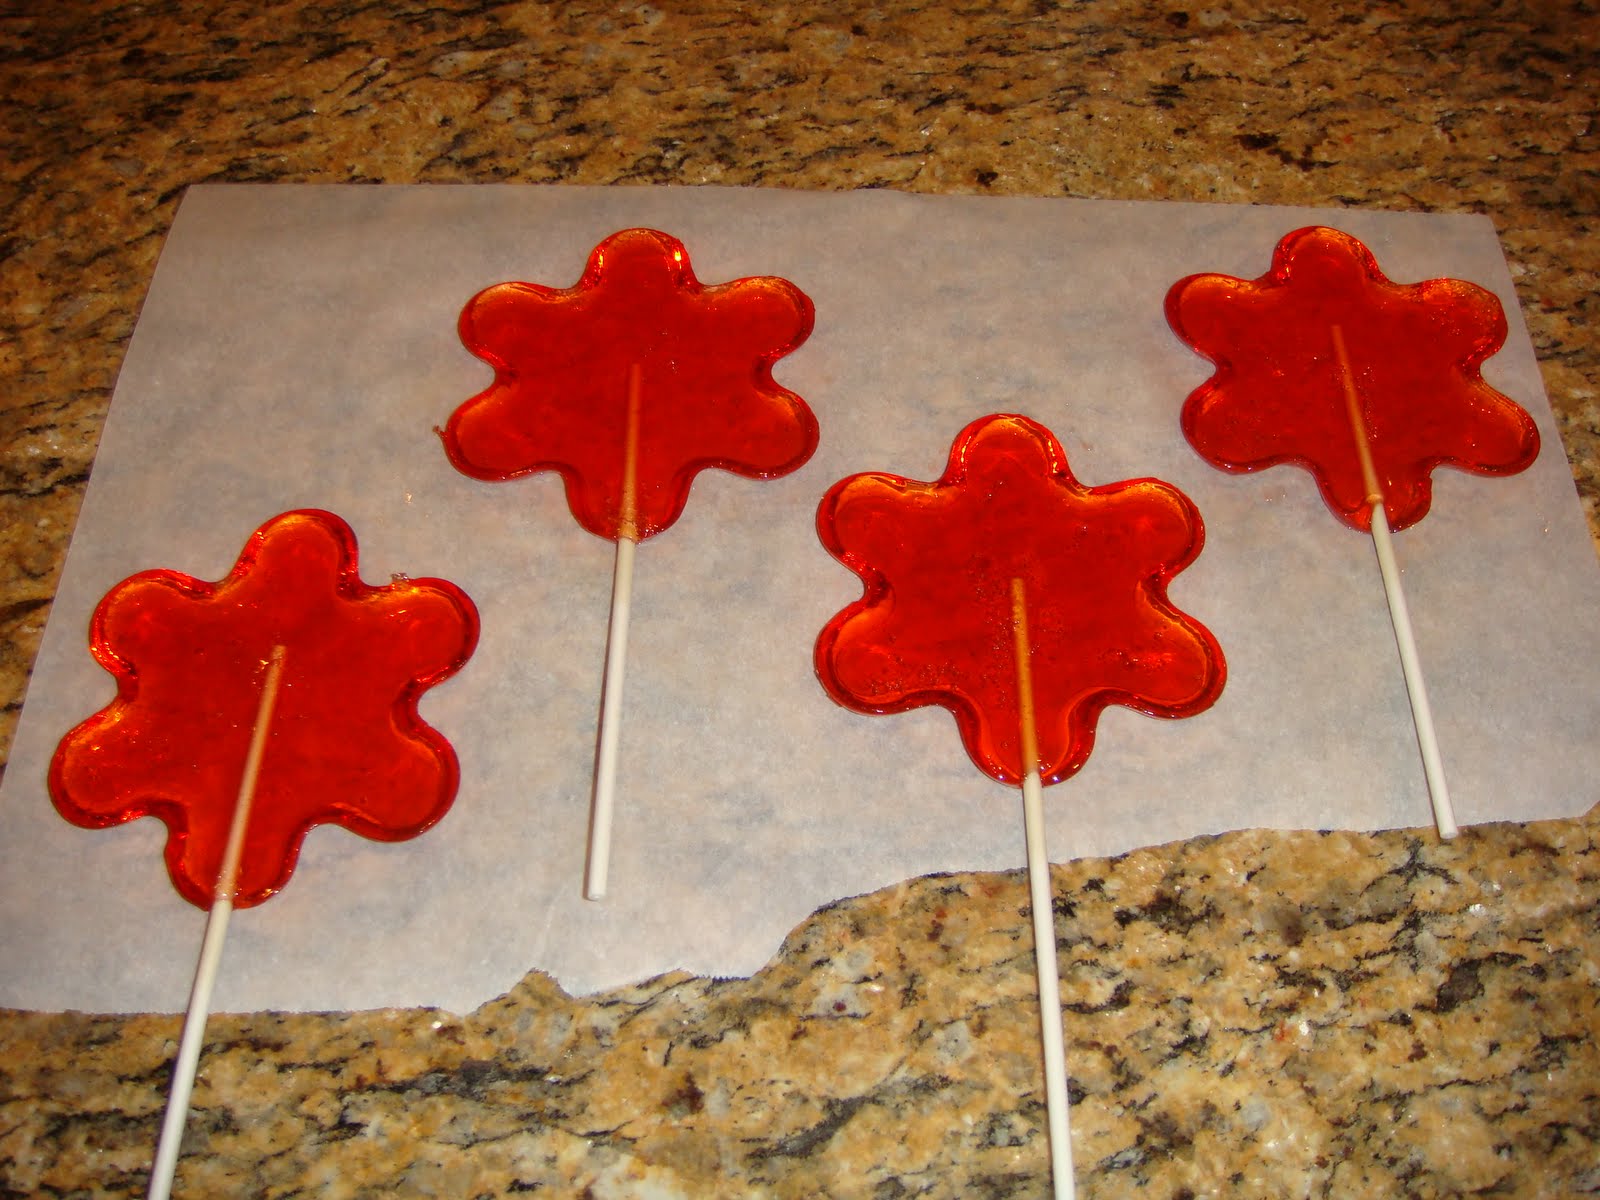
They take about 10 minutes to fully cool. Carefully 'pop' them out of the mold after they have cooled.

In less then 30 minutes, Hannah was enjoying her homemade lollipops! (And already planning our next lollipop adventure.) This recipe made 4 of the large lollipops & 12 of the small lollipops.


I bought the large tin lollipop mold, sticks & the cherry candy flavoring at Michael's, Arts & Crafts Store. I ordered the smaller, plastic molds & more candy flavorings from: https://www.lorannoils.com/c-163-hard-candy-molds.aspx