Peanut Butter & Chocolate Chip Cookies

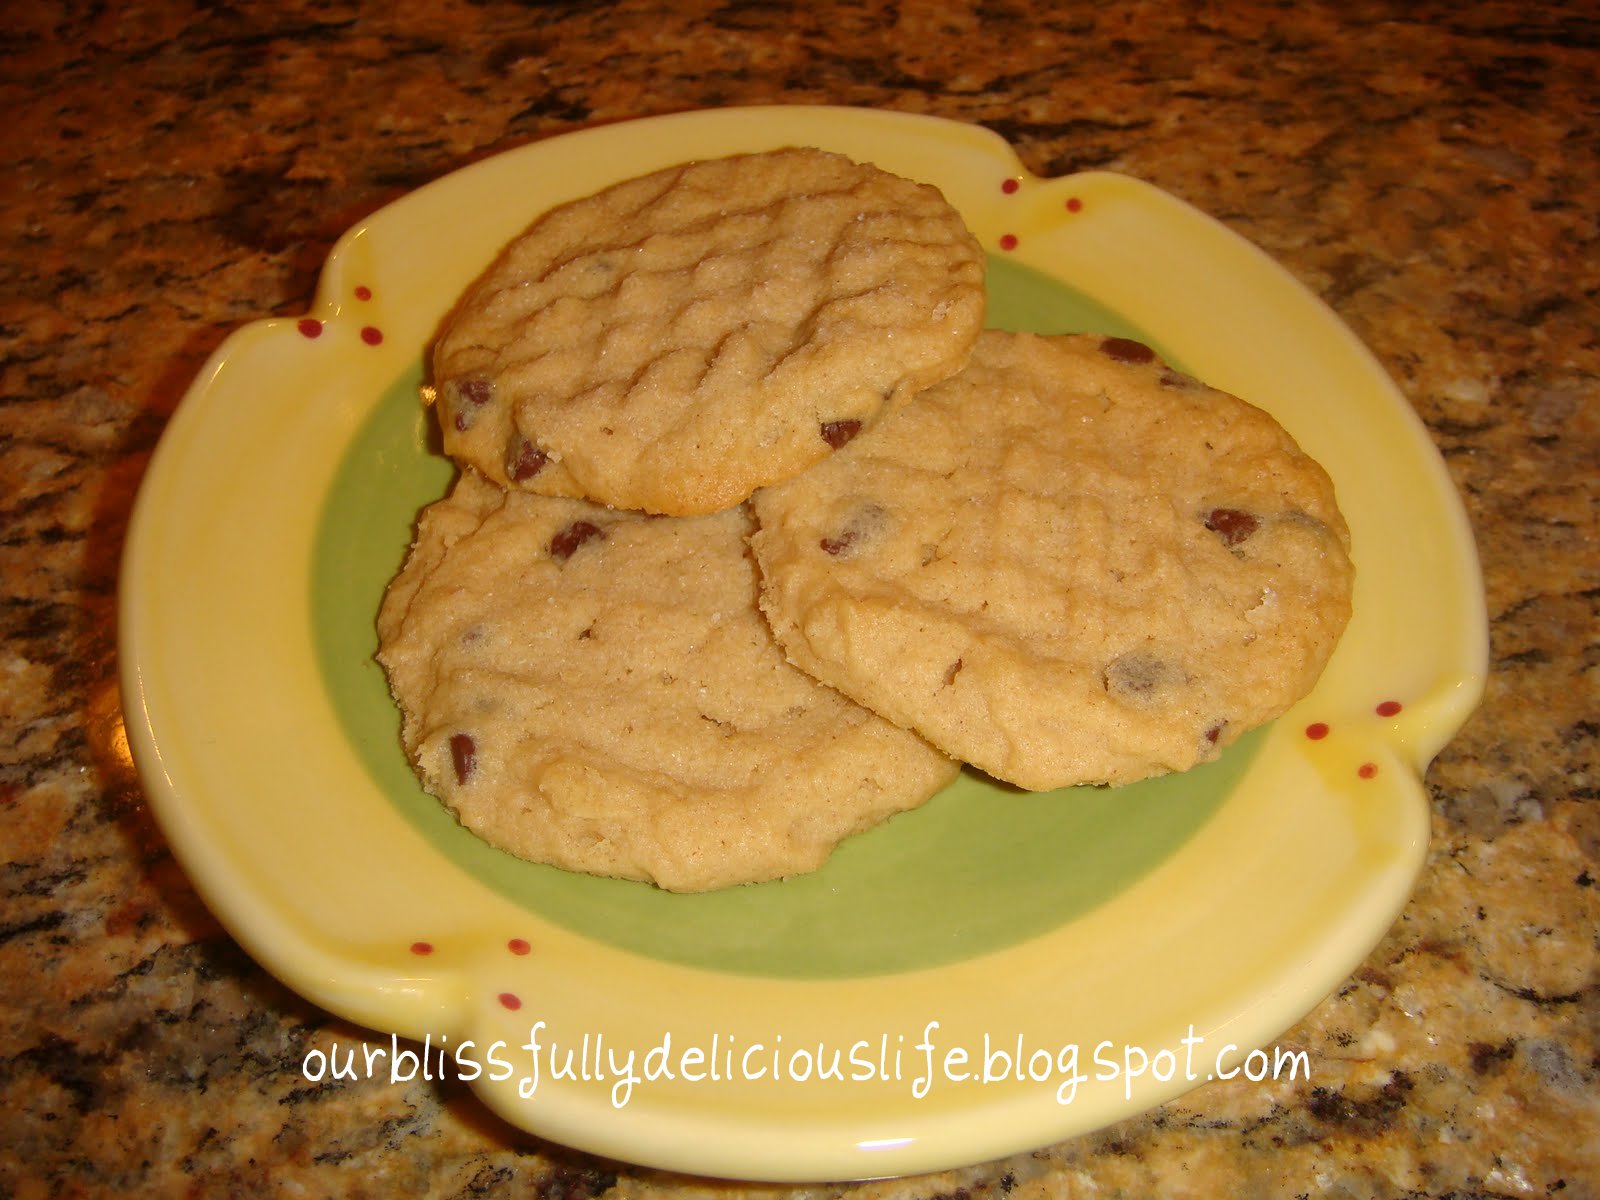
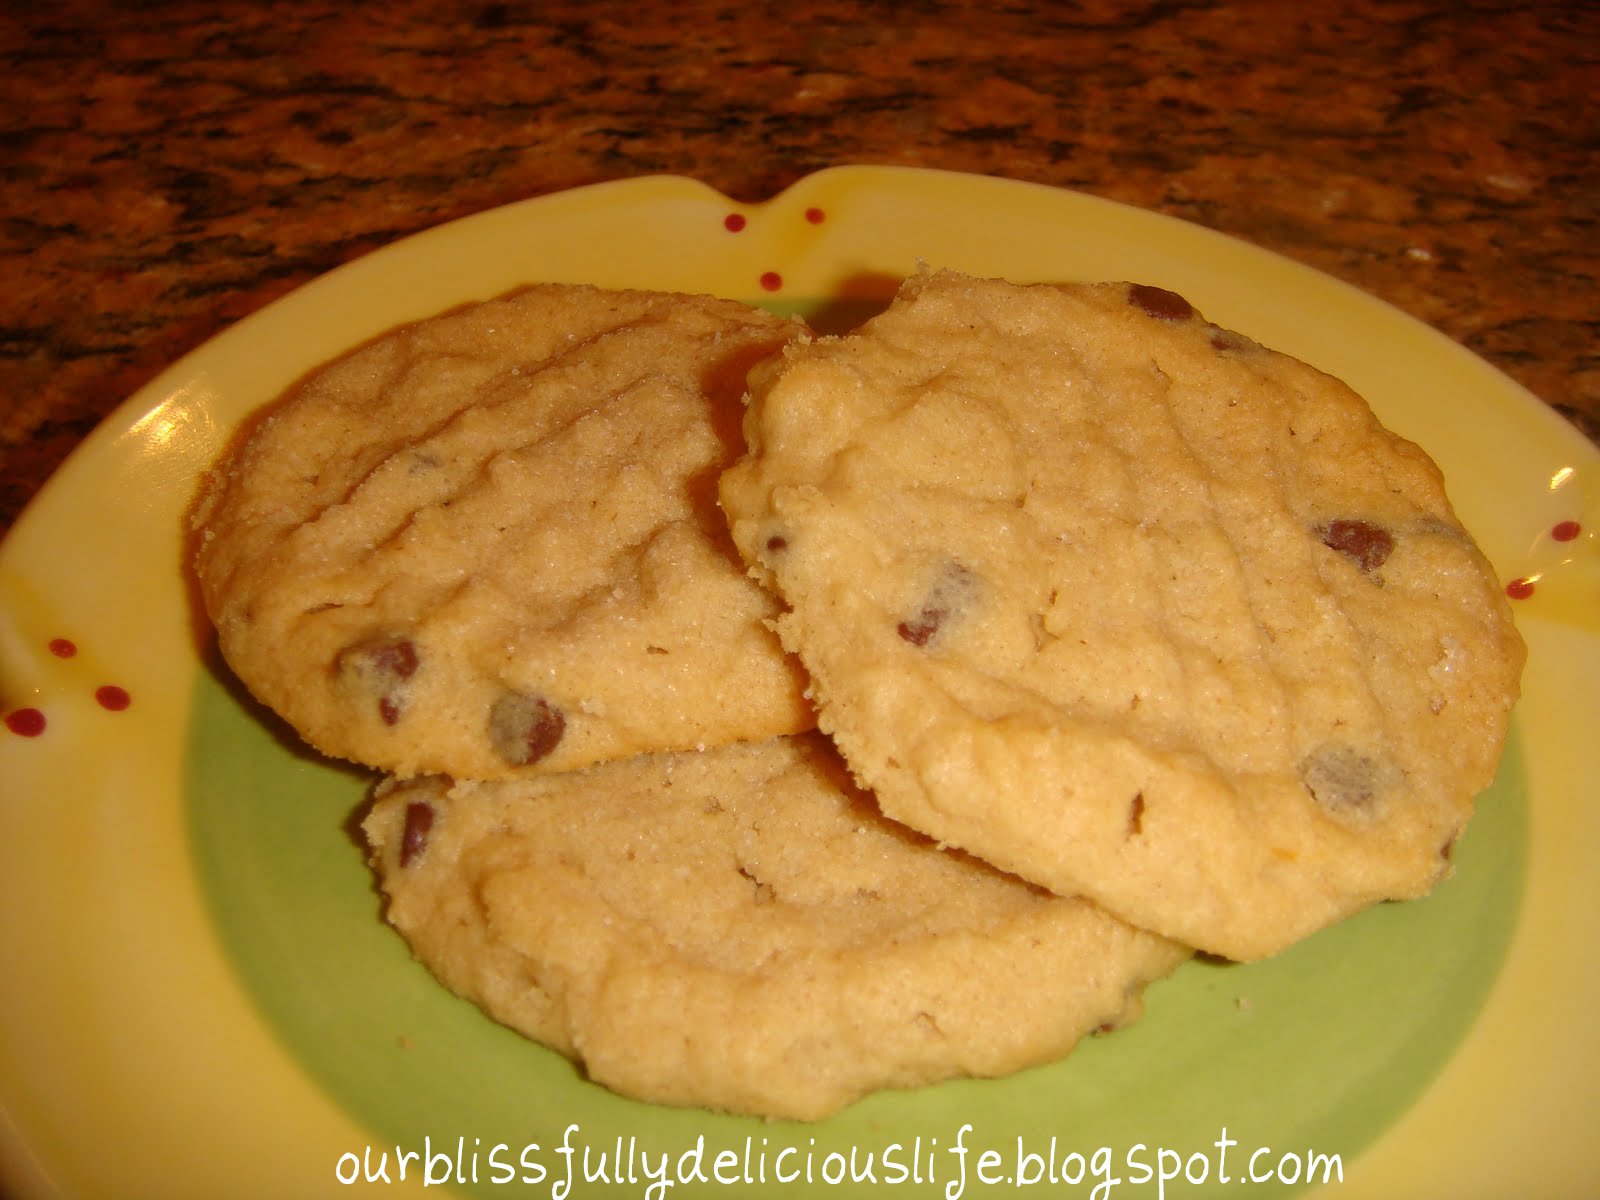
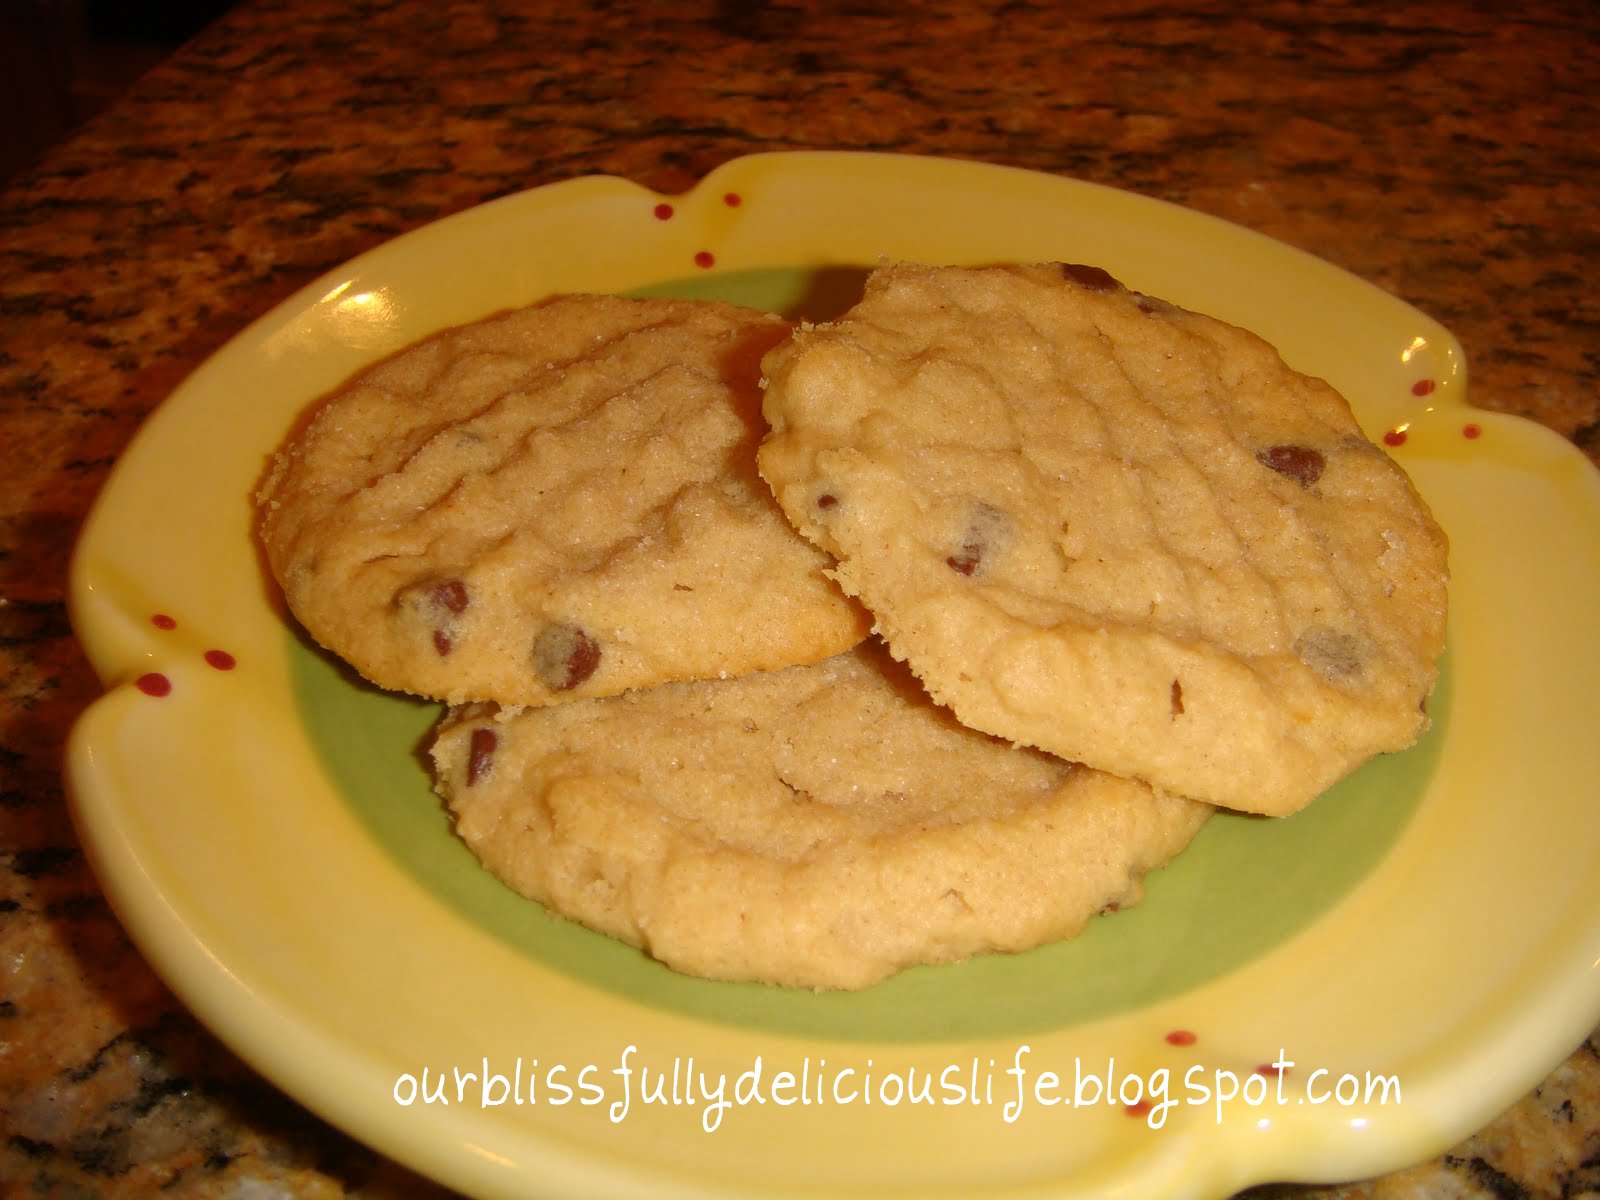
 These are little treats from heaven, let me just tell you. I mean, the name alone lets you they are going to be delicious. Peanut butter & chocolate chips- truly one of life's most perfect marriages made into a cookie. Yum. But just wait until you try them. They are even better than you expect! Soft & chewy with a crispy outside. I actually used mini chocolate chips, only because I don't really like chocolate. GASP, I know. The last time I said that out loud my Aunt Temesia asked, "What is wrong with you?". Let me clarify, I don't mind a little chocolate, as long as there is a ton of Peanut butter to go with it! Add more, larger chocolate chips if that's your thing. Just make sure you make these cookies. Trust me, you'll be thanking me later!
 This is recipe is slightly adapted from The Smitten Kitchen's version, who adapted hers from the original in the The Magnolia Bakery Cookbook.

Ingredients:
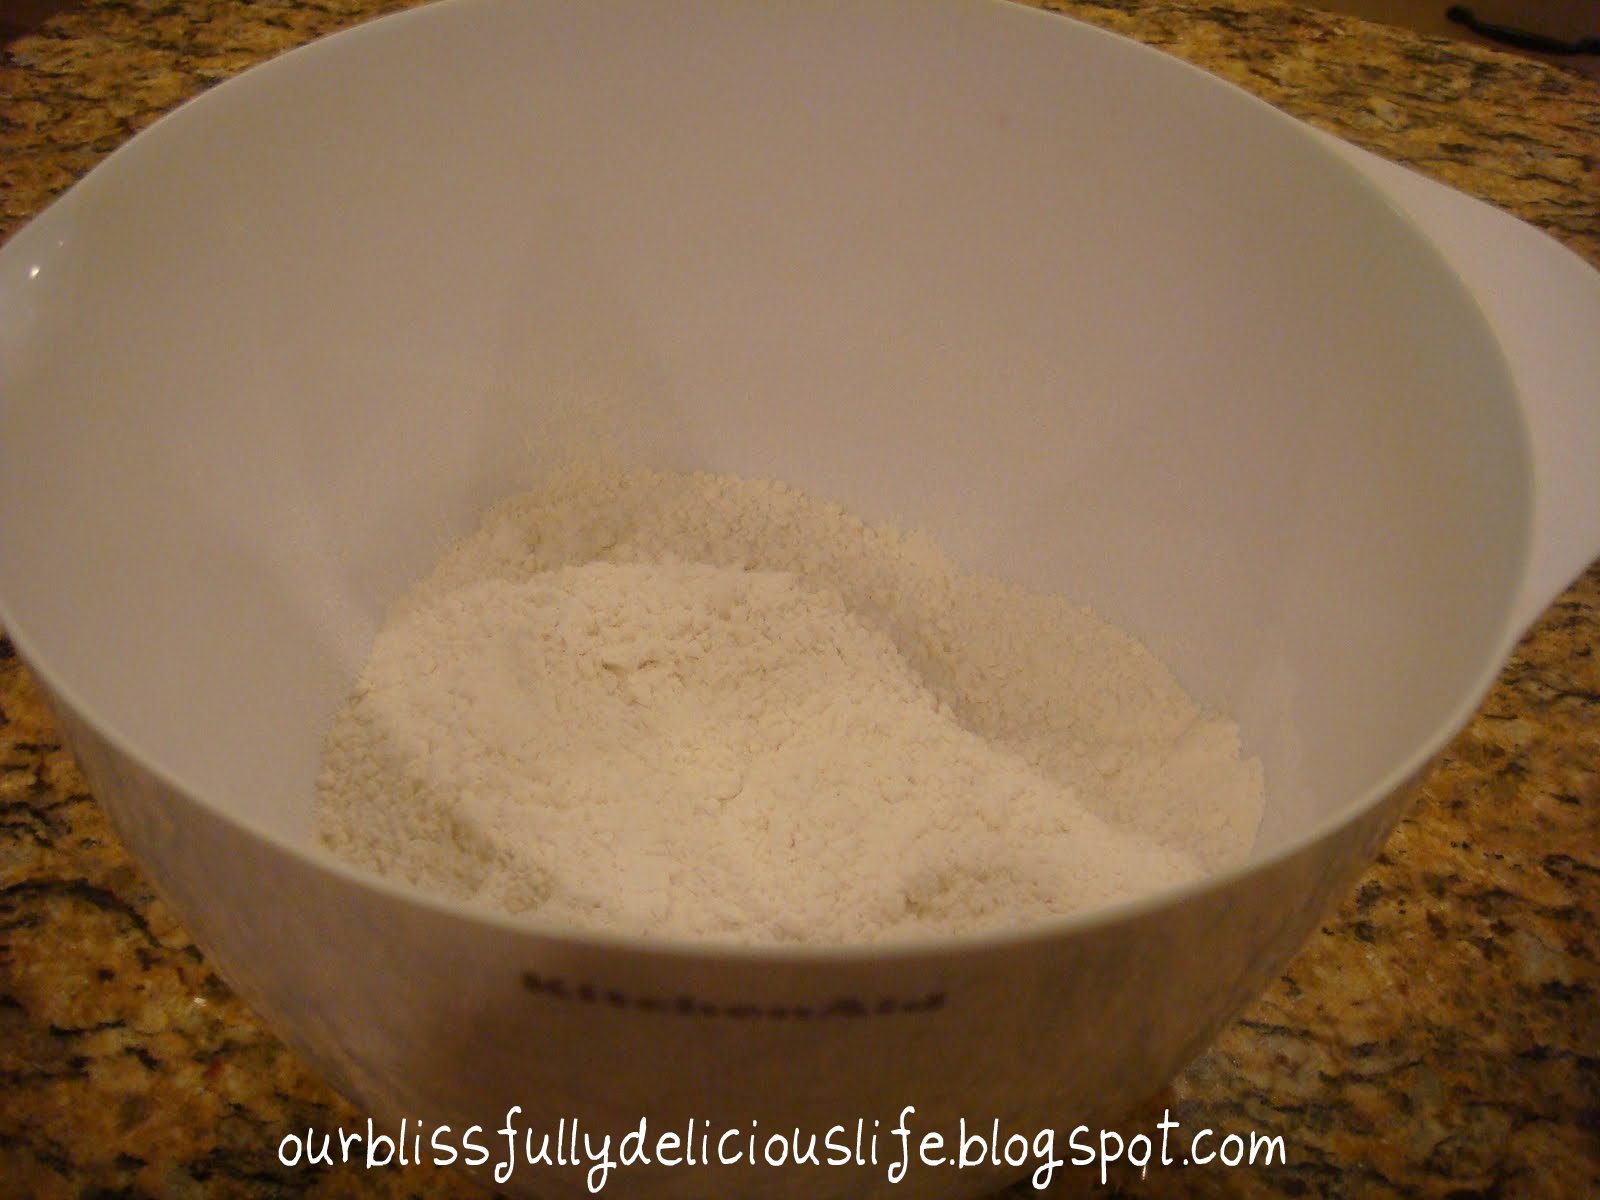
1 1/4 cups All-Purpose Flour
3/4 teaspoon Baking Soda
1/2 teaspoon Baking Powder
1/4 teaspoon Salt
1/2 cup Butter, softened to room temperature
1 cup Peanut Butter, room temperature
3/4 cup Sugar
1/2 cup firmly packed Light Brown Sugar
1 large Egg, at room temperature
1 tablespoon Milk
1 teaspoon Vanilla Extract
1/2- 1 cup mini Chocolate Chips

For sprinkling:
1 tablespoon Sugar

Directions:
Preheat oven to 350 degrees. In a bowl, combine the flour, the baking soda, the baking powder & salt. Set aside.
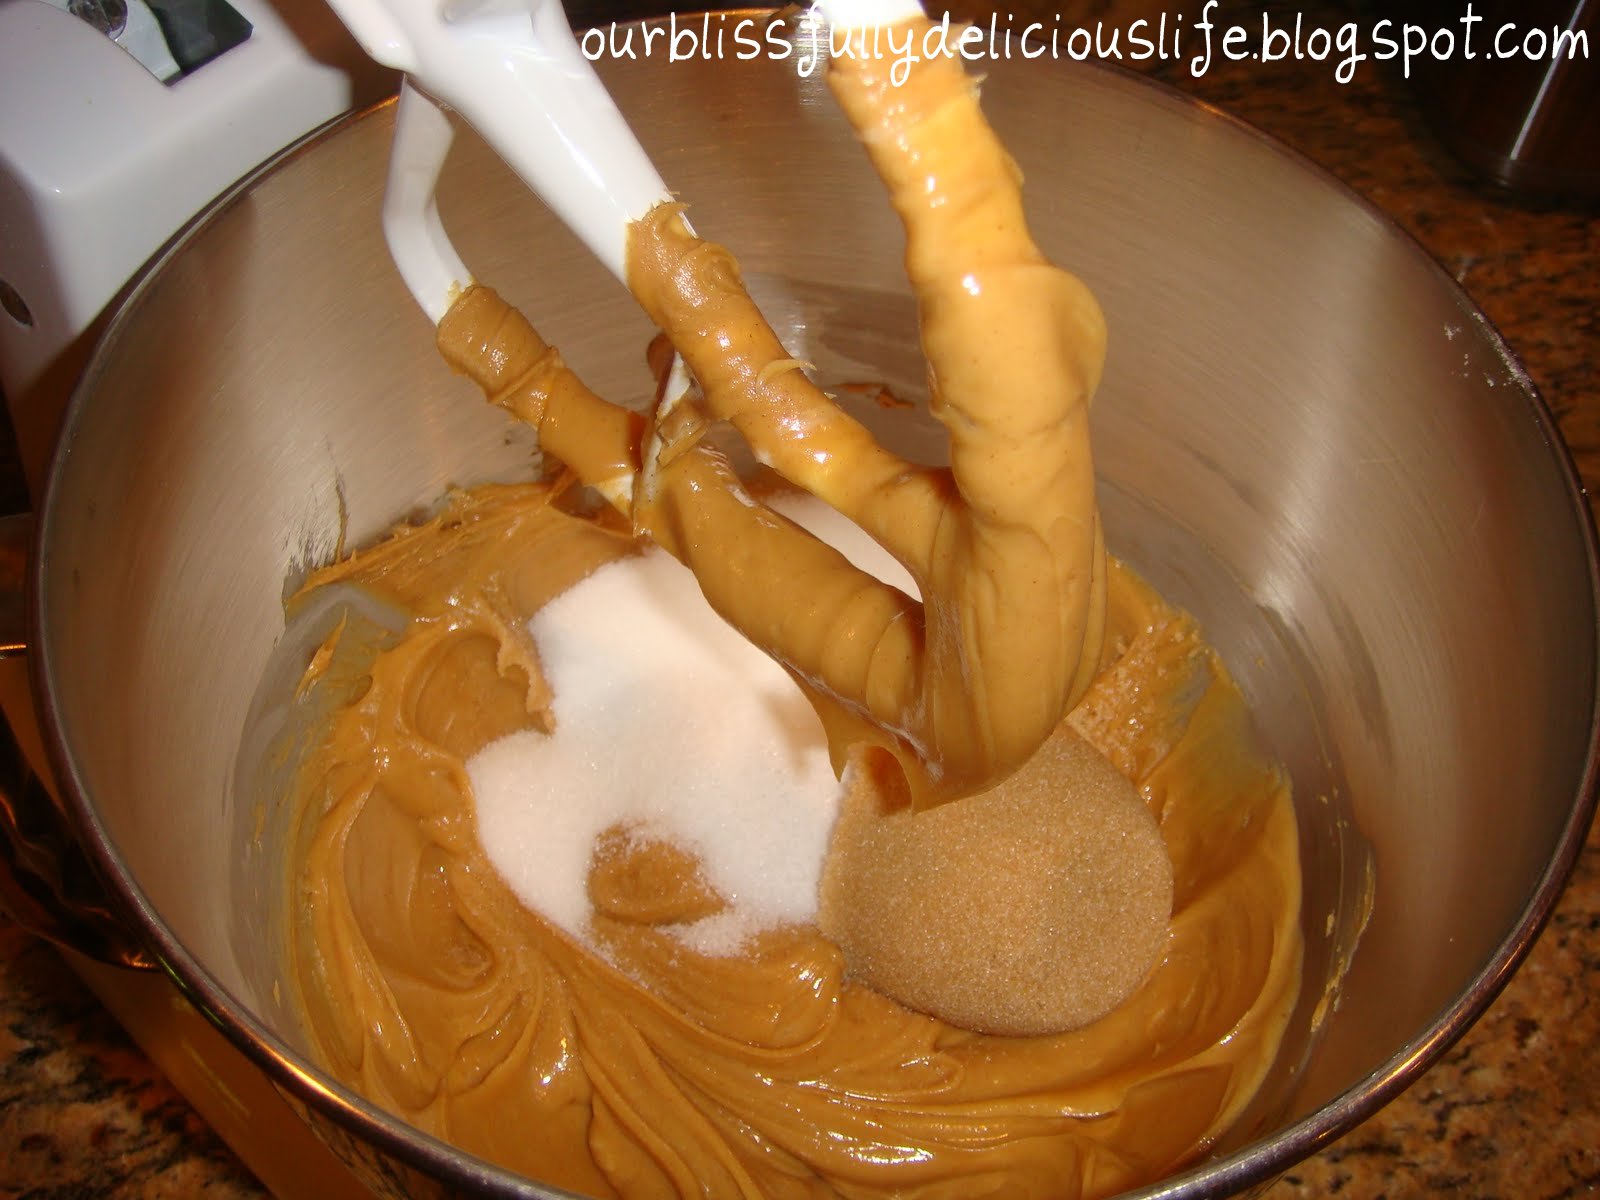
 In a large bowl (I used my stand mixer with the paddle attachment.), beat the butter and the peanut butter together until fluffy. I used creamy peanut butter but the original recipe calls for chunky so use what you want! Then add the sugars and beat until smooth.
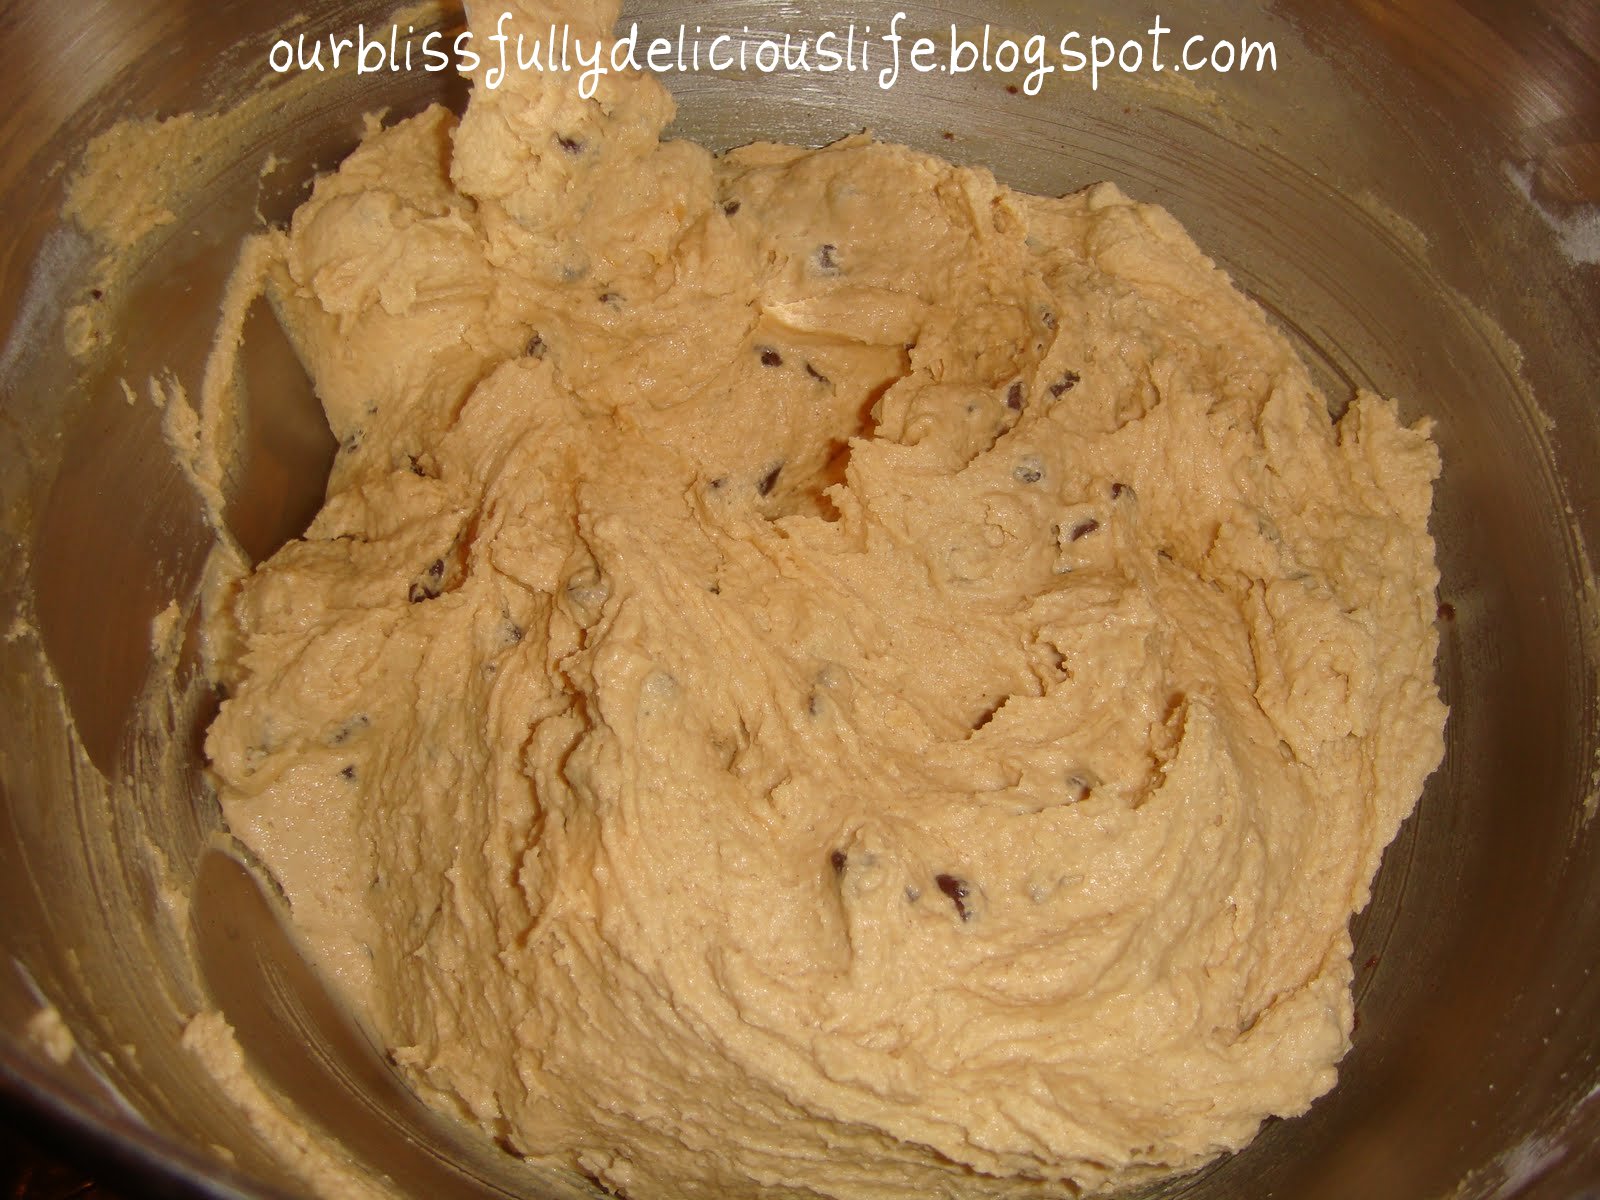
 Add the egg and mix well. Add the milk and the vanilla extract. Then add the flour mixture and beat thoroughly.
 Stir in the chocolate chips. I used a little over 1/2 cup of the mini's. The original recipe calls for 1 cup of peanut butter chips so use what ever you'd prefer!
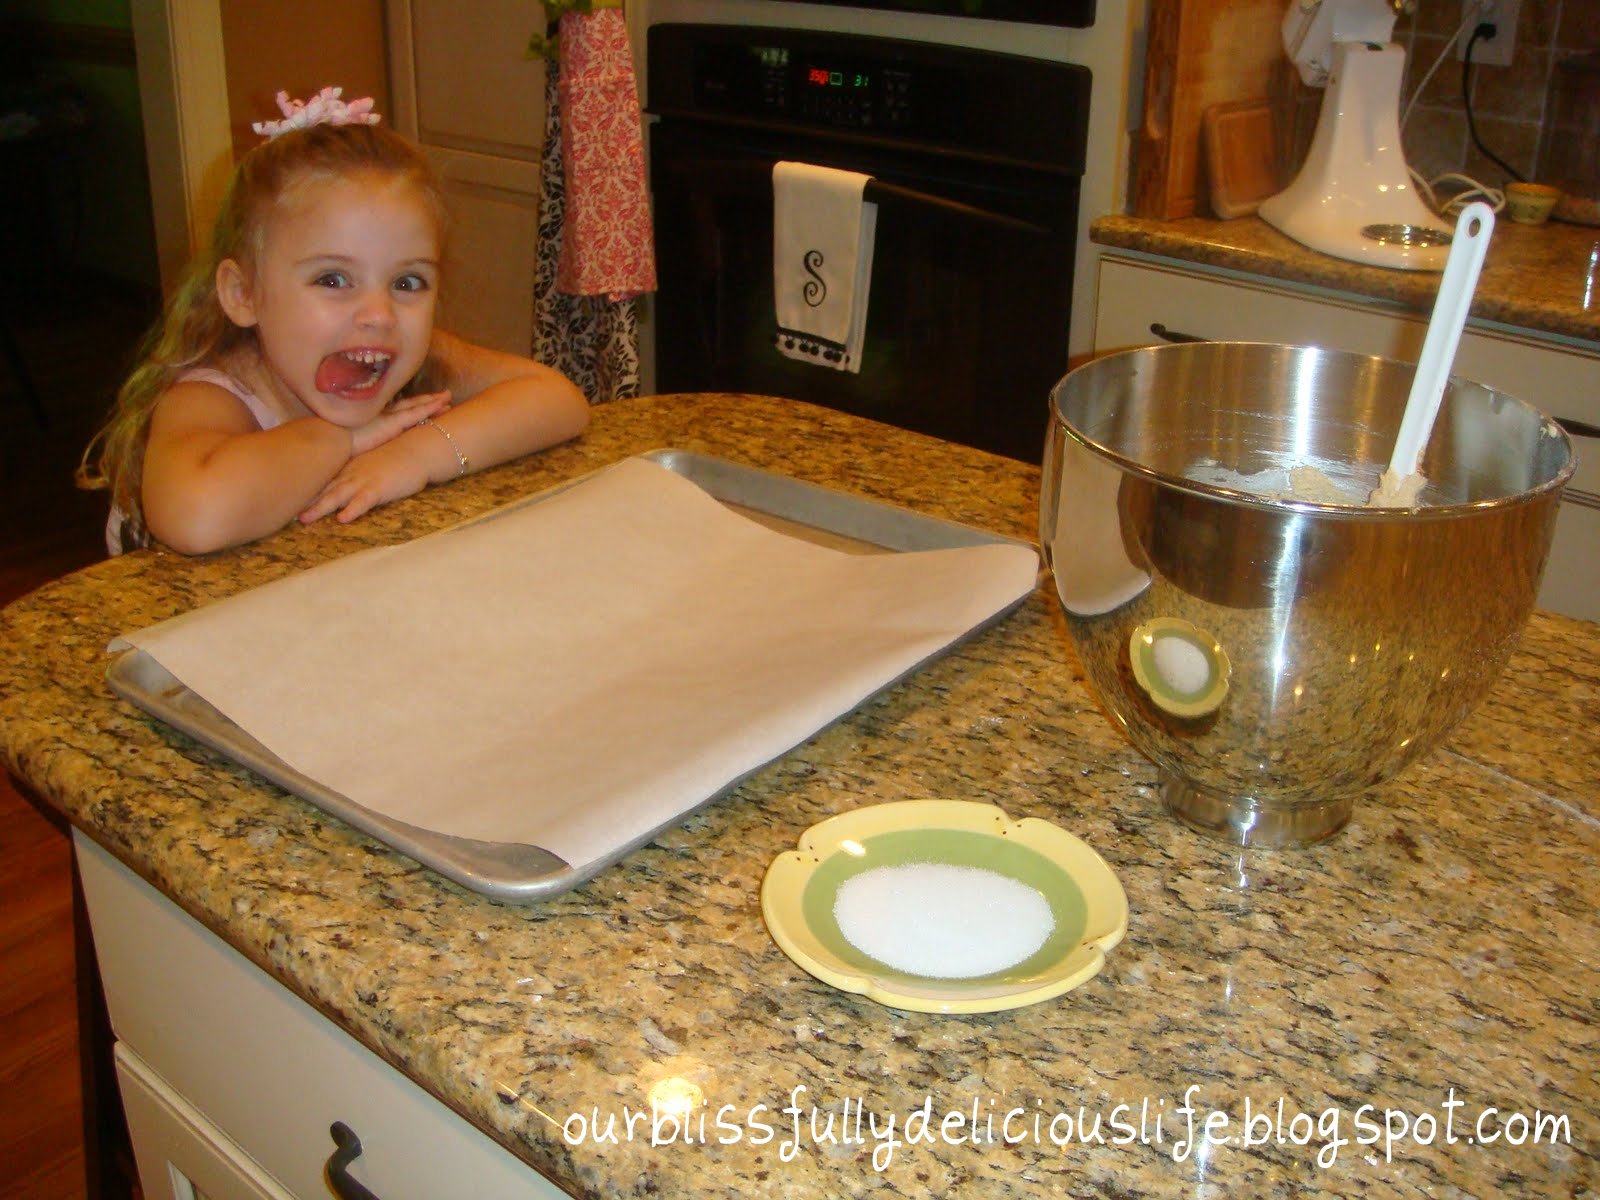
 Drop by rounded spoonfuls onto ungreased cookie sheets, leaving several inches between for expansion. One of those mini ice cream scoops would come in helpful here! (My helper is saying, "Never mind taking pictures, let's bake cookies!")
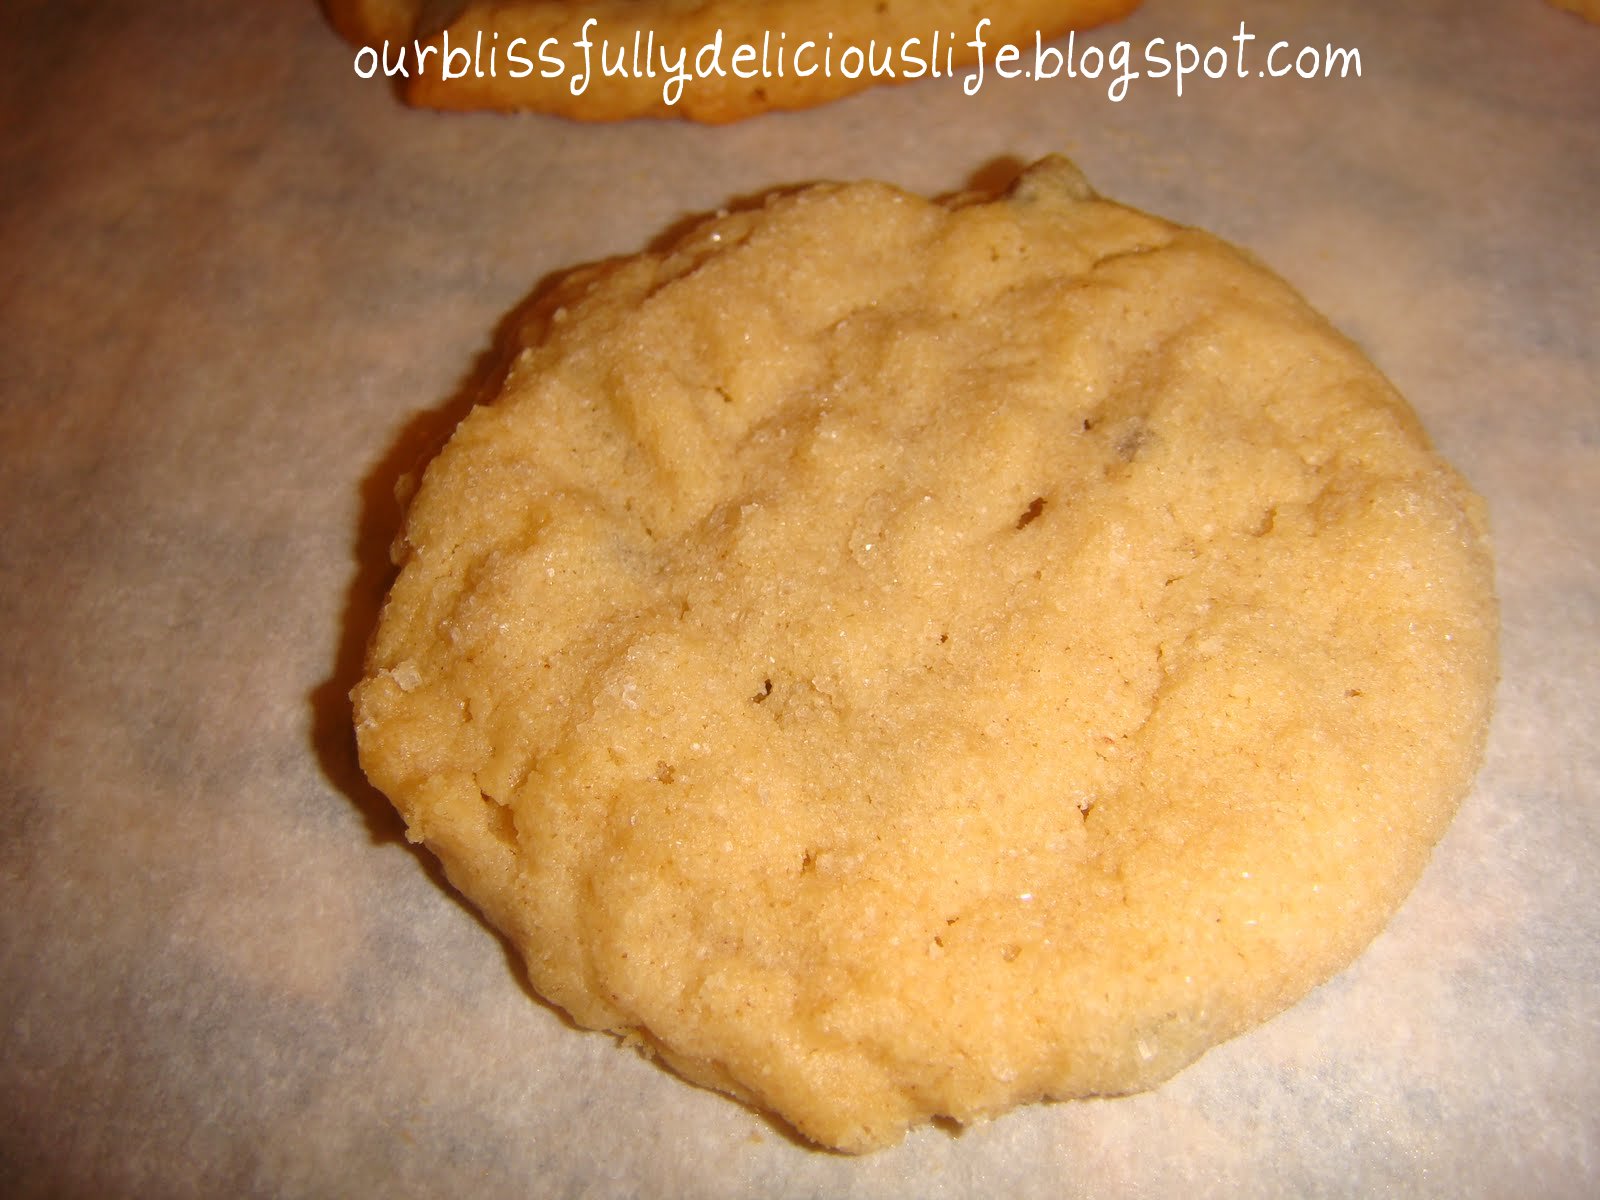
 Using a fork, lightly indent with a crisscross pattern but do not overly flatten cookies. Lightly sprinkle cookies with sugar.
 Bake for 10-12 minutes. Do not over bake. Cookies may appear to be underdone, but they are not.
 Cool the cookies on the sheets for 1 minute, then remove to a rack and cool completely.
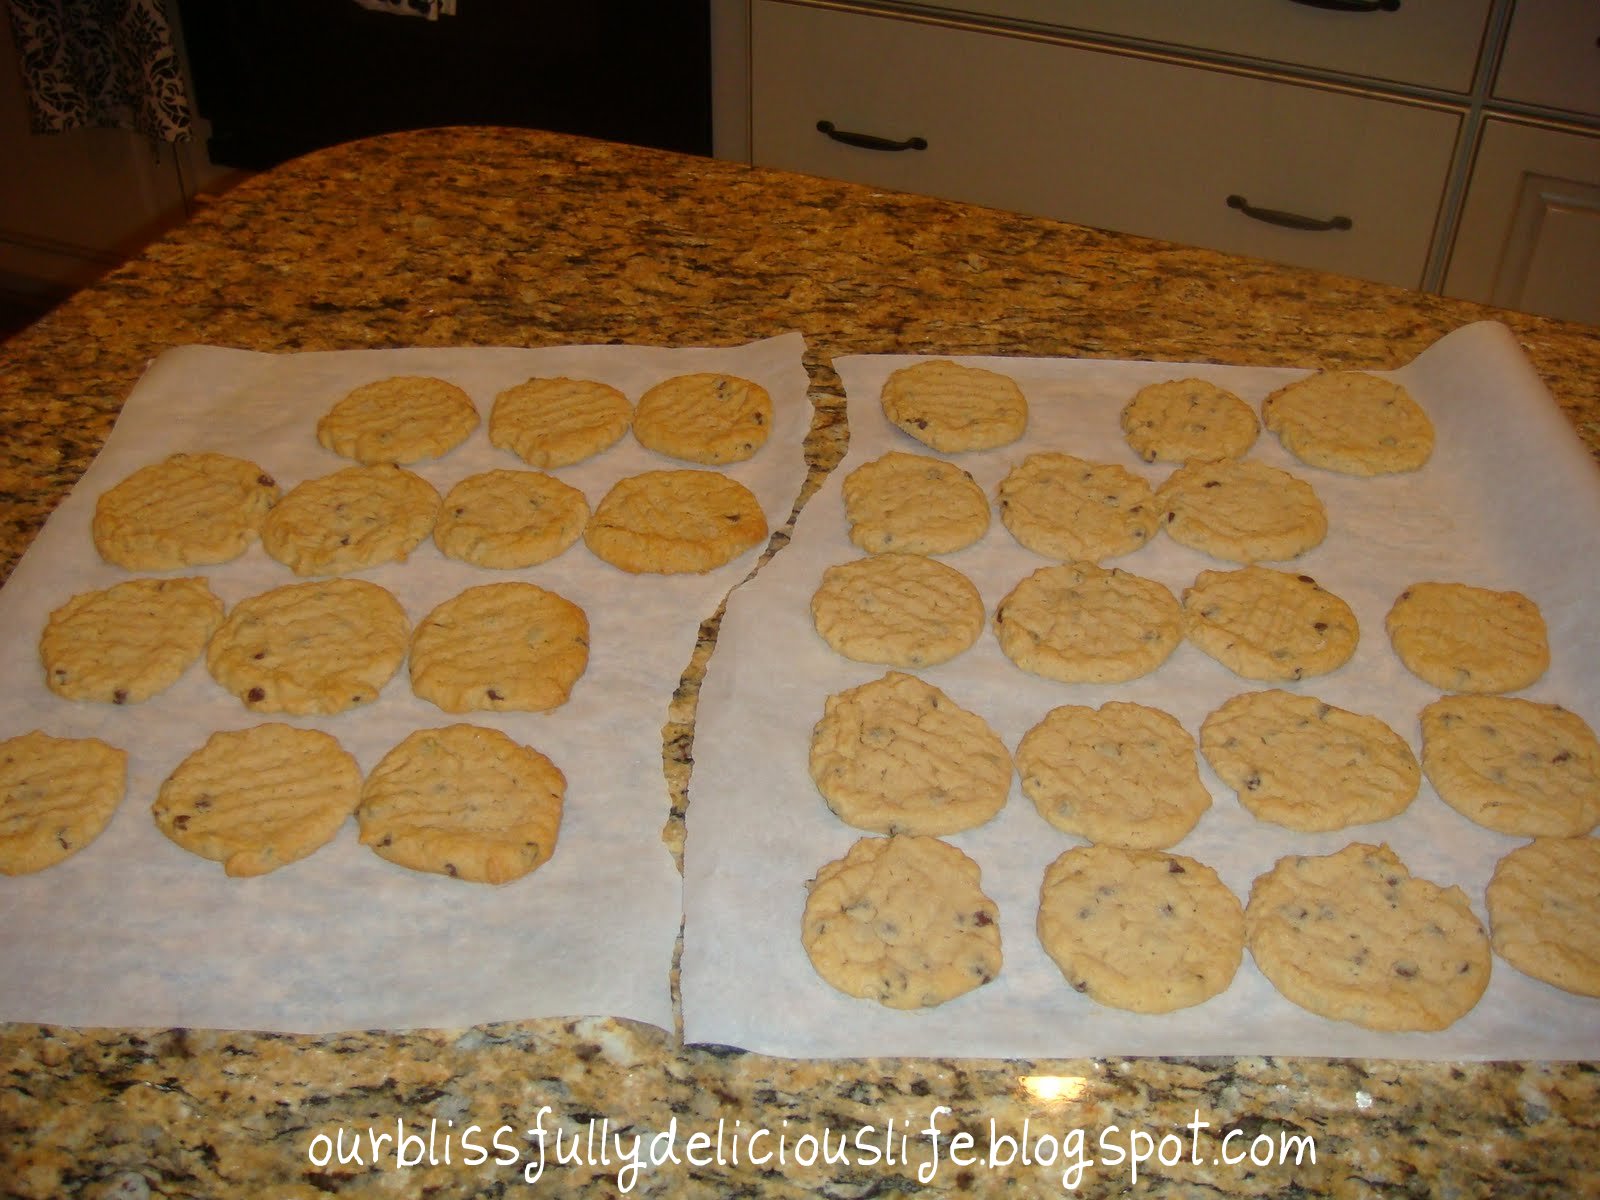
 Makes 2-3 dozen delicious cookies.
 YUM!!
 Miss Hannah thinks these are a favorite!

Classic Deviled Eggs

No Southern meal is complete without these classic delights. We have them at barbecues, tailgates, cocktail parties & dinners. My family loves sweet relish in them but if you don't just omit that.
 Ingredients:
12 Eggs
1 tbsp White Vinegar
1/3 cup Mayonnaise
2 tbsp Dijon Mustard
2 tbsp Sweet Pickle Relish
Salt & Pepper
Paprika to garnish

Directions:
Place eggs in a medium to large size sauce pan. Add enough cold water to cover the eggs by 1".
 Place the pan over high heat & add 1 tbsp of white vinegar to the water as it is coming to a boil. Once the water starts to boil, cover & turn the heat off. Let the eggs sit, covered in the hot pan for 15-20 minutes. Then drain & rinse the eggs with cold water.
 When the eggs are cool enough to touch, peel them & slice in half. Add the cooked yolks to a large bowl & the whites to a serving platter.
 Mash up the egg yolks, trying to get rid of all large clumps.
 Add the mayo, mustard & relish to the yolks.  And by all means, just eye ball it & adjust to your taste!  In my house we put more than 2 tbsp of relish!!
 Taste & adjust seasoning, add salt & pepper if needed.
 Fill the egg whites & dust with paprika. Serve immediately or chill to let the filling set.

Old Fashioned Dressing (or Stuffing)

Dear Lord, why do we only make this deliciousness with a turkey at holidays?? It is oh- my- goodness good! And so simple; I vow to make dressing (or stuffing) more often. Before I get on with the recipe, let me discuss the "dressing or stuffing" issue. It is the one in the same to me. Only if I cook it stuffed in a bird, I call it stuffing & if I cook it in a casserole dish than I call it dressing. Seems self explanatory to me, but you never know. I figure it's better to offer more than not enough info!
Ingredients:
1 loaf of plain, White Bread
1 stick of Butter
1 Yellow Onion, chopped
2 cloves of Garlic, minced
2 Spring Onions, chopped
1-2 tbsp Fresh Parsley, chopped
1 1/4 cup Chicken Broth
Poultry Seasoning
Salt & Pepper

Directions:
Open up the bag of bread & poke holes in the plastic to let air in. Let the bread sit out over night the evening before you make the dressing. If you forget to do this or don't have time, lightly toast each slice. You can do this in the oven pretty quickly.  Preheat the oven to 350 degrees.
In a large skillet, melt the butter over medium heat.
Add the chopped onion to the melted butter & saute.
Cook until the onion is soft, adding the minced garlic the last 1-2 minutes.
While the onion is cooking, lightly season each side of the bread with poultry seasoning. You don't need to get every piece of the bread covered, poultry seasoning has a strong flavor.
Then stack a few slices (I did 4) on top of each other.
And cut into cubes.
Place the cubed bread in a buttered 9 X 12 casserole dish. Then add the sauteed onion & garlic with all the melted butter and the chopped spring onion & parsley.
Season with a little salt & pepper then mix well. Then add the chicken broth & fold in to incorporate evenly. The amount of chicken broth that you use varies from time to time. I used exactly 1 1/4 cup this time. You want the bread to be moist but not soggy.
Cover the casserole dish with tin foil & bake at 350 degrees for 30-35 minutes. Pull it out of the oven, remove the tin foil & return to the oven. Cook uncovered for another 10-15 minutes, until the top is browned & crispy.
I used to think I only liked the stuffing cooked in the bird. That's what we all fought over at my Grannanny's house every Thanksgiving & Christmas! (PS- her stuffing is worth fighting over!) But when I got married & started making my own holiday feasts, my husband asked me to make it on the side. I thought he was crazy! But of course I did it. Actually, I ended up doing it both ways. ;) I'm so glad I did! It turns out I loved it baked. It has the perfect combination of crispiness from the top & creaminess on the insides. For once (this doesn't happen often) the hubs was right!
Made this with my Herb Roasted Chicken, Red Skin Mashed Potatoes, & Collard Greens

Herb Roasted Chicken

This chicken is so flavorful & looks amazing. Everyone always seems so impressed when I serve it. You'll never believe how easy it is! It takes a little while to cook, but it's low maintenance. Perfect for a Sunday Dinner! You can put the chicken in the oven & forget about it while you get the side dishes fixed.
Ingredients:
1- 4-5 lb Whole Roasting Chicken
1 bundle of Fresh Thyme
1 bundle of Fresh Rosemary
1 bundles of Fresh Parsley
The cloves of 1 whole head of Garlic, paper removed
Salt & Pepper

(for the Herb Butter)
4 tbsp Butter, softened to room temperature
1/2 tbsp of each: Thyme, Rosemary, & Parsley, finely chopped

Directions:
Preheat the oven to 450 degrees. Put the softened butter in a small dish.
Chop your herbs.
Combine the softened butter & the chopped herbs. Set aside.
Remove the giblets from the cavity of the chicken & wash the inside & out side of the bird. Pat dry with paper towels & place in a pan. I used a 5.5 quart dutch oven because my roasting pan is huge.  It works great, and it's easy to make gravy in it after the chicken is finished too.  But if you have a small roasting pan with a rack, use that!
Season the inside of the chicken with salt & pepper then stuff all of the herbs in the cavity of the bird. Use any combo of herbs that you fancy!
All of this went into our bird.
Then rub the herb butter all over the skin of the chicken.
Make sure you get it all over!
Roast your chicken for 15 minutes at 450 degrees. Then lower the oven to 375 degrees & cook for about 20 minutes per pound (total time). Or until the chicken is full cooked & a thermometer inserted between the breast & the thigh reads 165 degrees. I think the blast of hot right at the beginning crisps the skin while roasting for long period of time at a lower temperature keeps the meat tender & moist.
Look at that gorgeous herb stuffed chicken!
Carefully remove the chicken from the pan & place on a serving platter. Cover with tin foil & all the chicken to rest. DO NOT skip this step! This is what will make your chicken perfectly moist!
I made gravy with the drippings from the chicken. I wish I had taken pictures of the process, it turned out perfectly! All I did was take the chicken out of the pot (remember I used a dutch oven). Then I placed the pot on the stove over medium heat, added a few tablespoons of flour & whisked to incorporate & cook the flour. Once it turned into a caramel color rue, slowly whisk in some chicken broth. Just a little bit at a time until desired thickness.

Collard Greens

Collard greens, such a controversial dish! But in the south, we love them...as long as they are cooked correctly! (If you've ever had them & they were bitter, then they weren't.) It's true, they take a little bit of time to cook, but it is so worth it. Collards in my family tend to be a special occasion green, probably because they take a few hours to prepare. We usually have them on big holidays; always at Thanksgiving & New Years! But really, they are so simple to prepare we should all cook them more often! My sister in law, Amber, inspired me to make them on this particular day. We got to stop by & see her & her family this past Labor Day while we were in FL. They were having a cookout with all the trimmings, including collard greens! John & I got to sample hers & they were so good we craved them for days! Thanks again Amber & Paul!!
 Ingredients:
2 large bundles of fresh Collard Greens (about 2.5 lbs)
1 Ham Hock (about 1 lb)
Salt & Pepper

Optional:
Crushed Red Pepper
Apple Cider Vinegar
Hot Sauce


Directions:
If you can, shop at your local Farmer's Market for the collard greens. They have a much better selection & they are always fresher than what I can find in the grocery store! Then pick up a ham hock. I know, it's not pretty. But it's necessary!!
 In a large stock pot, I used an 8 quart pot, add the ham hock & fill about half way full with water.
Trust me, do not leave the smoked ham hock out! Put a lid on top of the pan & bring to a boil. Boil the ham hock for 1-1 /2 hours, until it starts to fall apart.
While the ham hock is boiling, clean your collard greens. You want to make sure you clean each individual leaf, lots of sand & dirt can hide on them! After the leaved are clean, destem them like this. Take 1 leaf.

Fold it in half.
Then tear the stem out, working your way down the leaf.
Ta Da!
Stack about 6 or 7 destemed leaves flat on top of each other.
Fold them in half.
Then roll, like this.
Then chop.
Add the chopped pieces to a large bowl & continue until all the collard greens are cleaned, de-stemmed, & chopped. Look at all those greens!
When the ham hock is ready, add the greens to the pot. If you keep the lid on the pot while the ham boils then you shouldn't loose too much water. But if you boil it with the lid off & the water reduces, add some more water to the pot now.
Slowly add all of the greens to the boiling ham hock. You'll have to stir to work in all the greens as they start to cook & wilt down.
Look how full that pot is!
Once all the greens are in, add some salt & pepper. You don't need to add a lot of salt, the ham hock adds plenty on it's own. I would suggest starting with a couple of teaspoons & adjust as you go. Cover the pot & simmer on medium/ low heat, stirring occasionally.
Cook for about 3 hours, then remove all the excess fat & bones from the pan. But be careful, it's hard to make sure that you get all of the bones out! Make sure you leave all the meat that has shredded into the greens.
If you have time, continue to cook on low. I cooked mine for a total of about 6 hours. But a minimum of 3-4 will be fine. Collards are one of those few things that just get better as they cook. In fact, I think think they are best left over!
Transfer to a dish to serve. This was a 9 X12 casserole dish, so you can see how much this made. While these are great just as they are, we also love to add some vinegar &/ or hot sauce to them too!