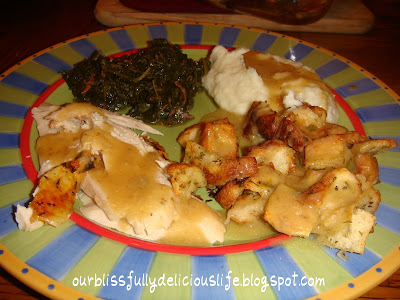
 We're been in FL for the past week on vacation. First, we went to Tallahassee for my brother's wedding. It was a traditional, Hindu wedding. We had 3 days of Indian celebration & food- it was fabulous! Hands down, one of the best weddings that I have ever attended. And I'm not just saying that because it was my brother's wedding! My new sister in law's family & friends were so hospitable & fun. I loved learning all of their traditions & had such a great time celebrating my brother & Vandna's marriage. We got to try lots of delicious (and spicy!) Indian food too. It was a great experience, I'm so happy we were able to spend the weekend with them. After the wedding festivities commenced, we headed to Orlando for a few days at Disney & visiting with my best friend & John's sister's family. It was a wonderful vacation & we had a great time with our family & friends. But after being gone for a week & eating out for every meal we were desperate for a real home cooked meal! So the first Sunday we were home I cooked an old fashioned, Sunday Dinner.
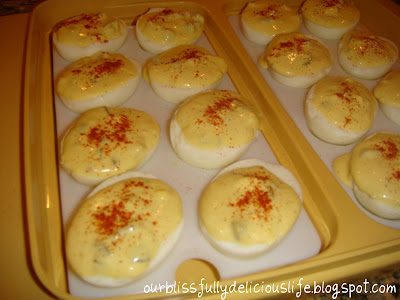
Classic Deviled Eggs
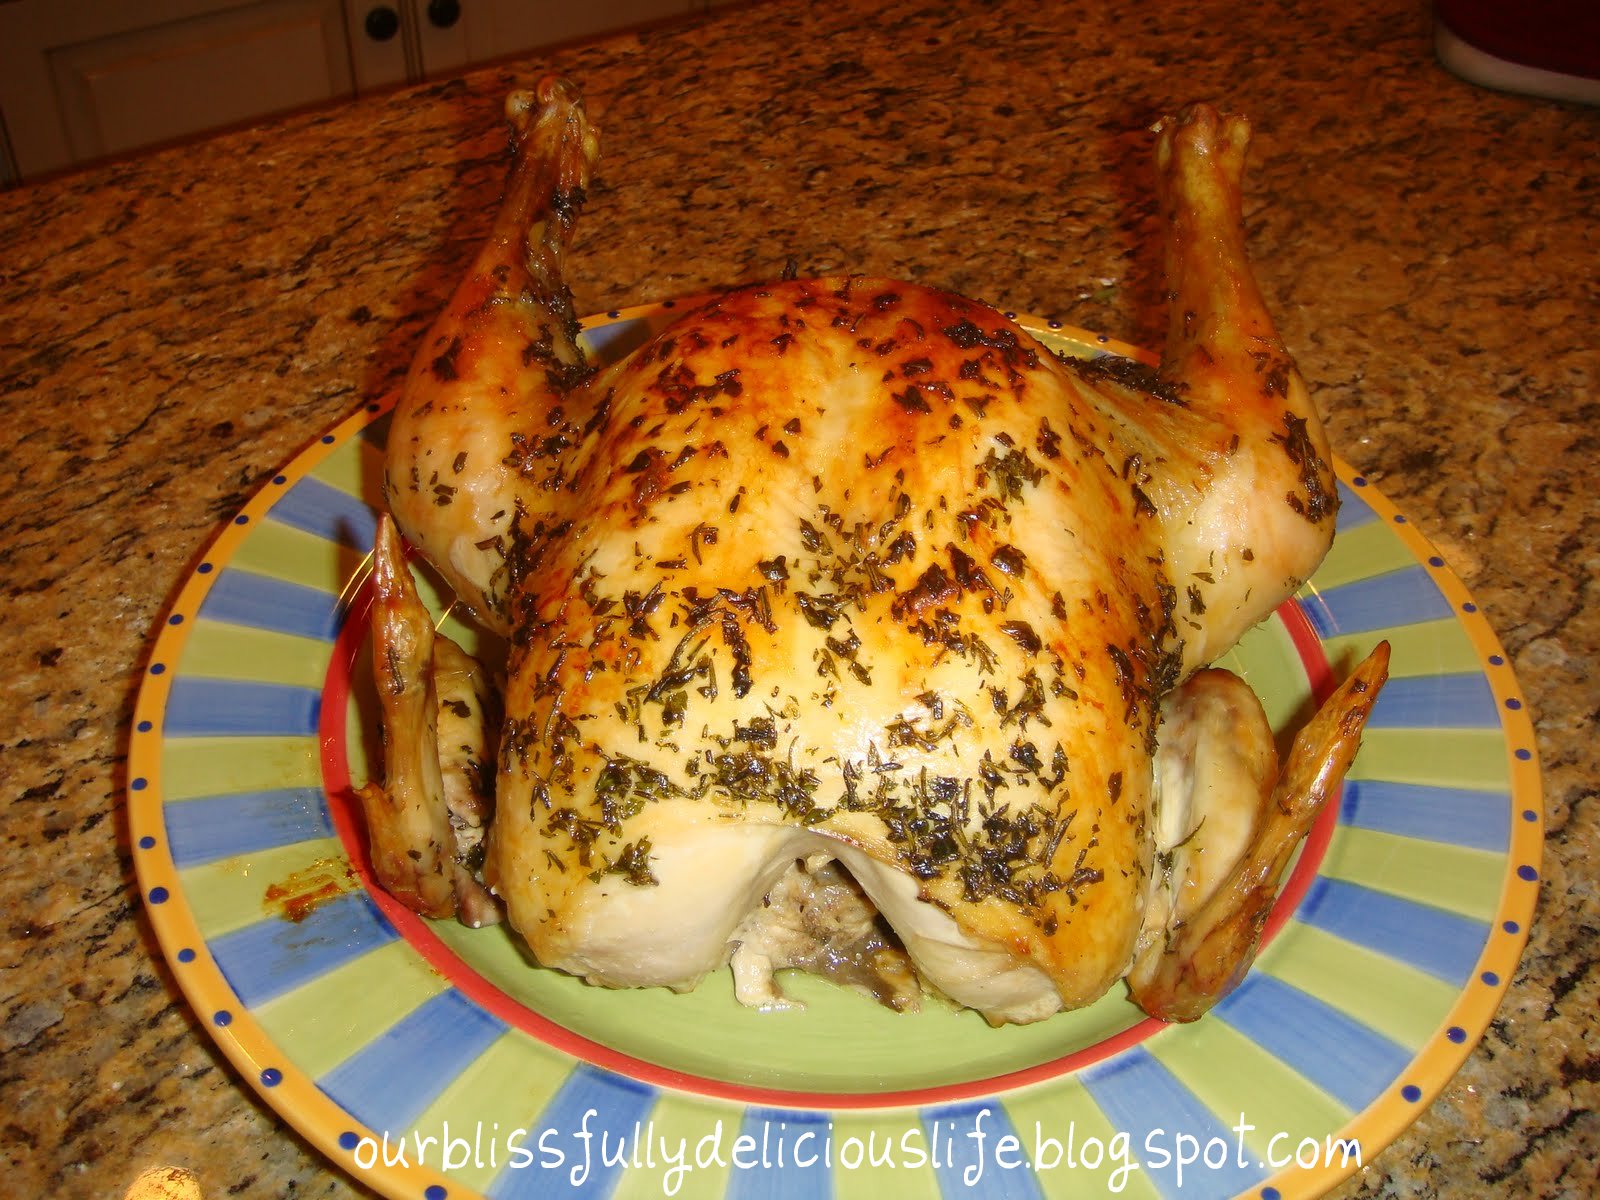
 Herb Roasted Chicken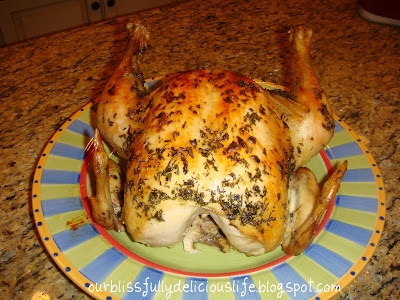
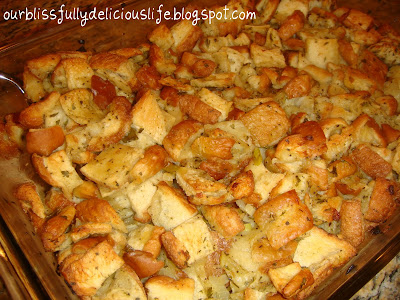
Old Fashioned Dressing (or Stuffing)
 Collard Greens
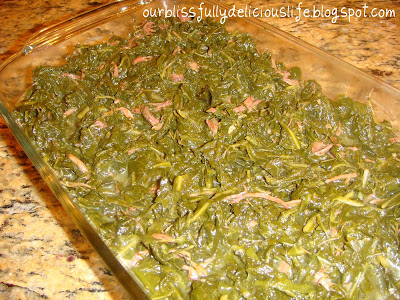 and (not pictured) Mashed Red Skinned Potatoes & Gravy.
 Collard Greens
 and (not pictured) Mashed Red Skinned Potatoes & Gravy.
The whole house smelled like Thanksgiving. It was wonderfully comforting & just what we had been craving. I don't know why we save meals like this for once or twice a year?!? Honestly, the last time I roasted a whole bird, made dressing & gravy- it WAS Thanksgiving!! Everything was so delicious, my husband ate himself into a comma! Recipe postings to follow. In the mean time, here are some pictures from our FL Trip. Enjoy! :)
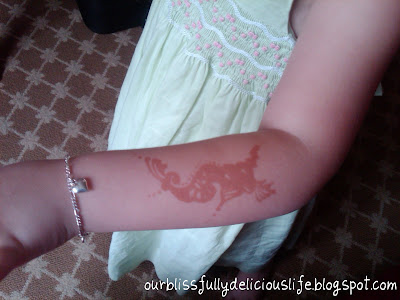
Hannah's Henna Tattoo, from the Mehndi celebration
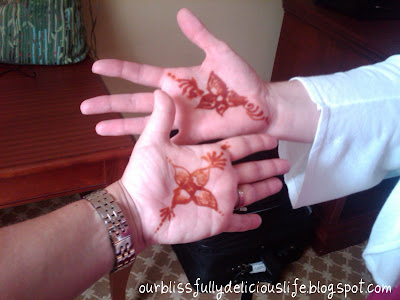
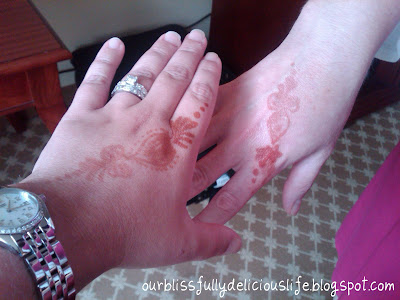 Me & my best friend, Sarah's, Henna tattoos
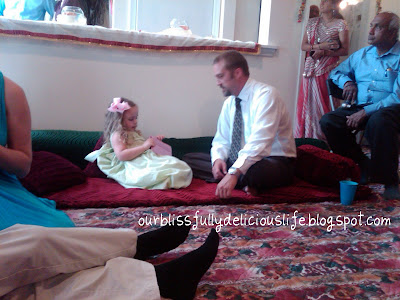
 Hannah & her Uncle Michael (the groom)
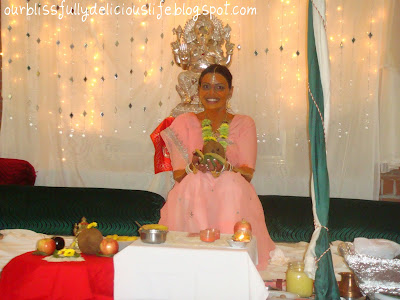
 Vandna (the bride) at the Manglik Prasango
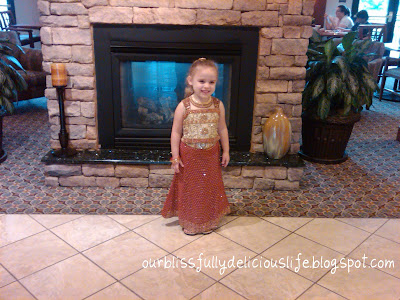
 Hannah ready for the wedding
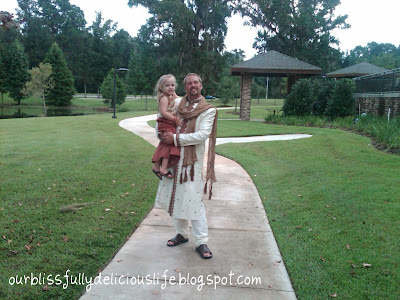
 Hannah & Uncle Michael
  Celebrating Uncle Michael's arrival at the wedding!
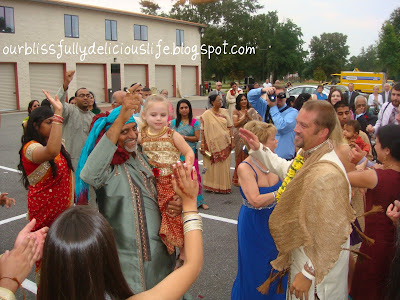 Lots of dancing at this celebration!
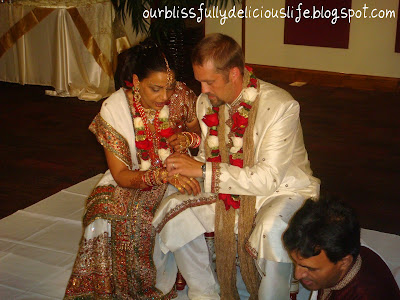
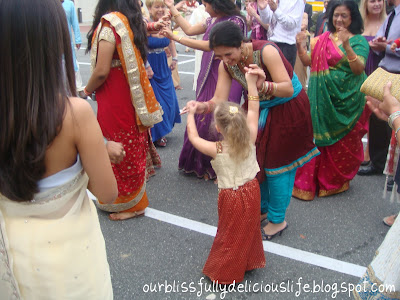 During the wedding...
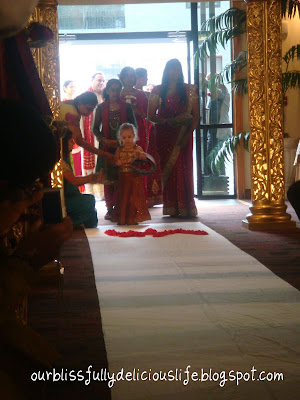
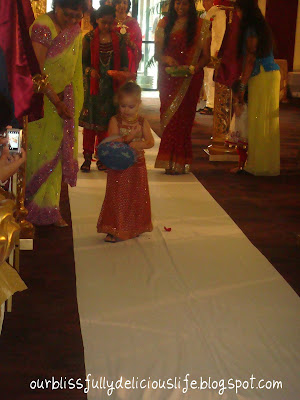
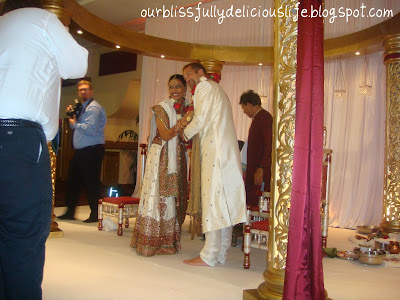 The happy couple
  T-Rex in Downtown Disney, Orlando, FL
 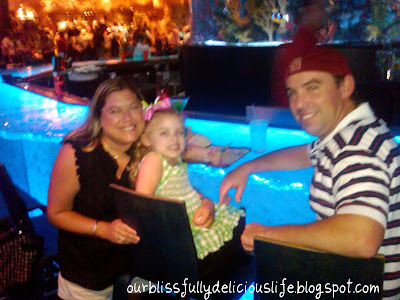 Rachel, Hannah & John
 Me & my best friend, Sarah's, Henna tattoos
 Hannah & her Uncle Michael (the groom)
 Vandna (the bride) at the Manglik Prasango
 Hannah ready for the wedding
 Hannah & Uncle Michael
  Celebrating Uncle Michael's arrival at the wedding!
 Lots of dancing at this celebration!
 During the wedding...
Hannah was the flower girl.
 The happy couple
  T-Rex in Downtown Disney, Orlando, FL
  Rachel, Hannah & John
Our appetizer- Brachiosaurus Bruschetta. It was delish!
 Hannah's favorite dinosaur, the baby Woolly Mammoth
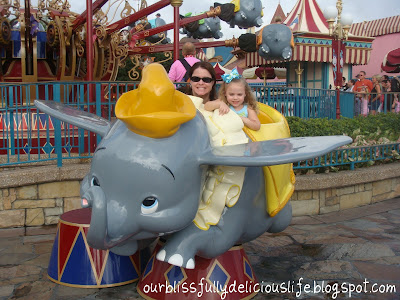
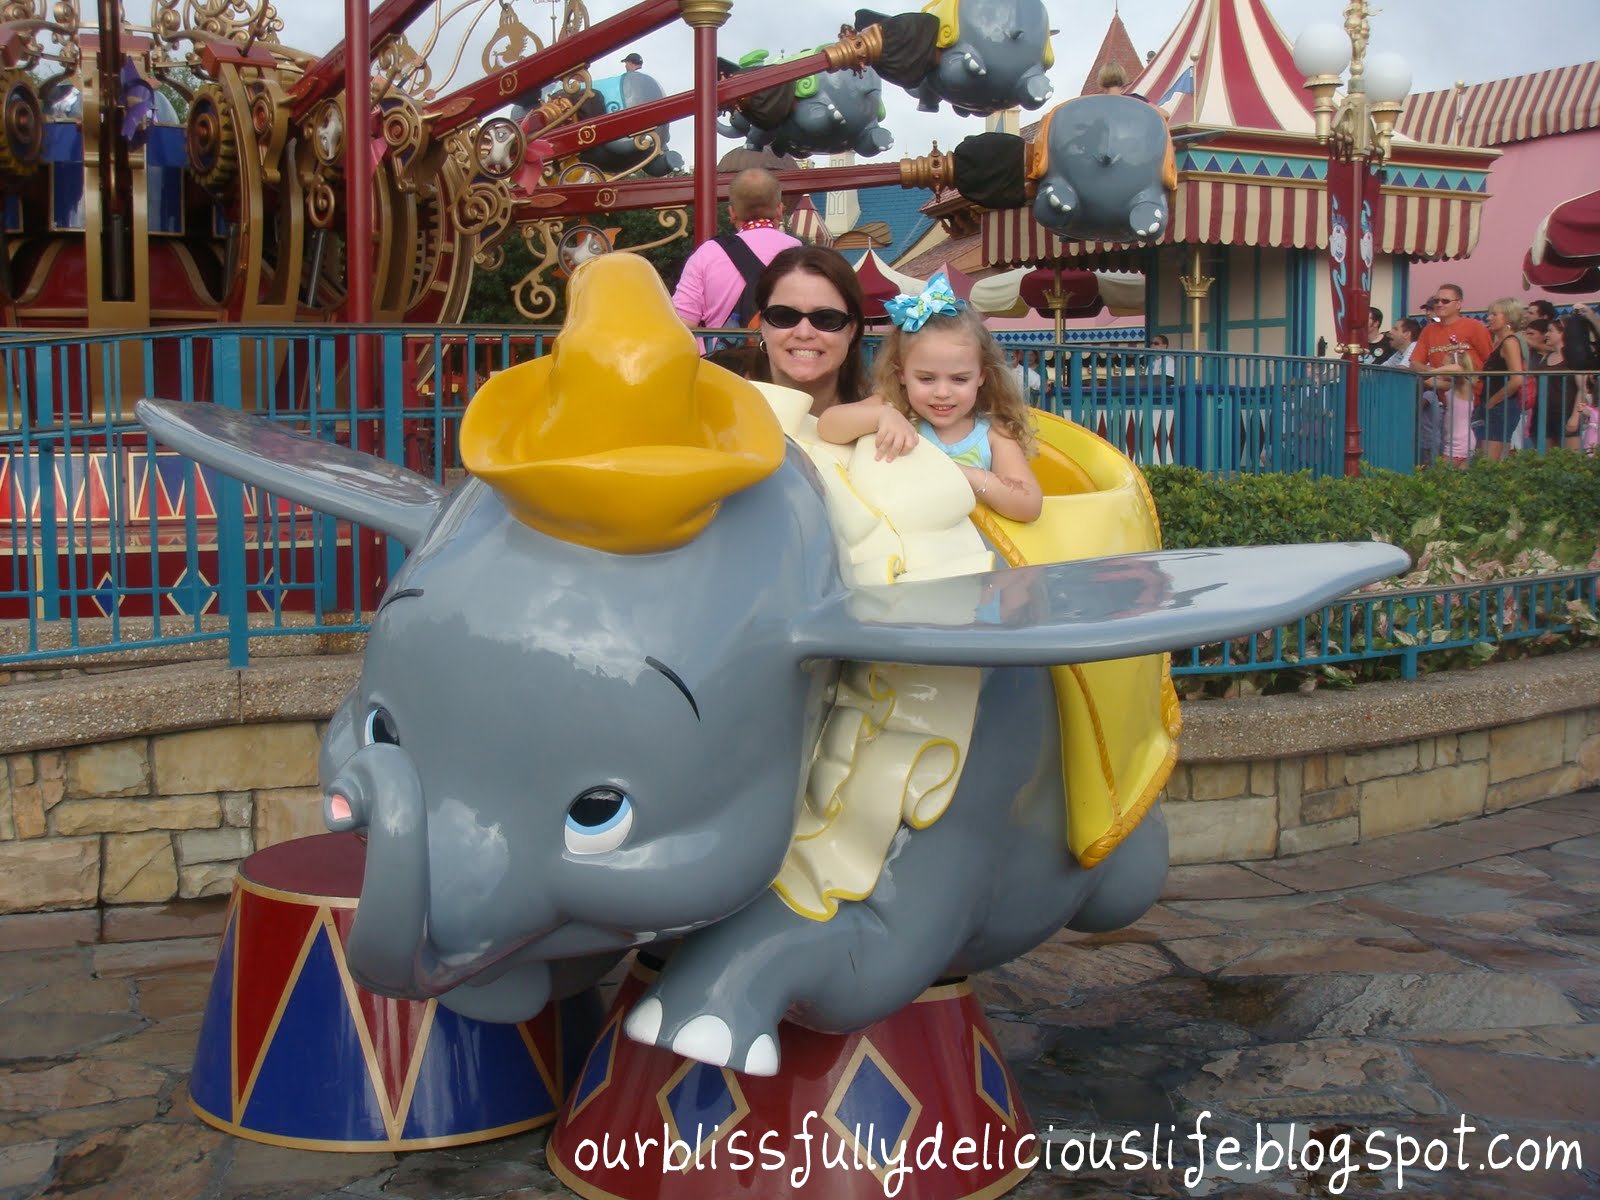
 Hannah & Aunt Sarah on the Dumbo ride in the Magic Kingdom in Disney World
 Hannah & Daddy on the Tea Cups at the Mad Hatter's Tea Party!
 And of course we had to see all the Princesses! Here is Aurora (Sleeping Beauty) & Hannah.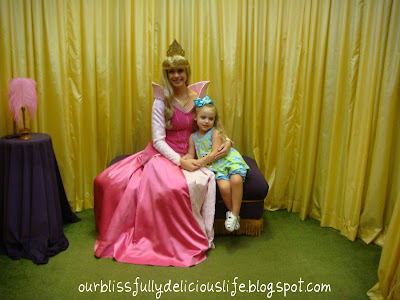
 The whole family with Tiger & Pooh

 Hannah's favorite dinosaur, the baby Woolly Mammoth
 Hannah & Aunt Sarah on the Dumbo ride in the Magic Kingdom in Disney World
 Hannah & Daddy on the Tea Cups at the Mad Hatter's Tea Party!
 And of course we had to see all the Princesses! Here is Aurora (Sleeping Beauty) & Hannah.
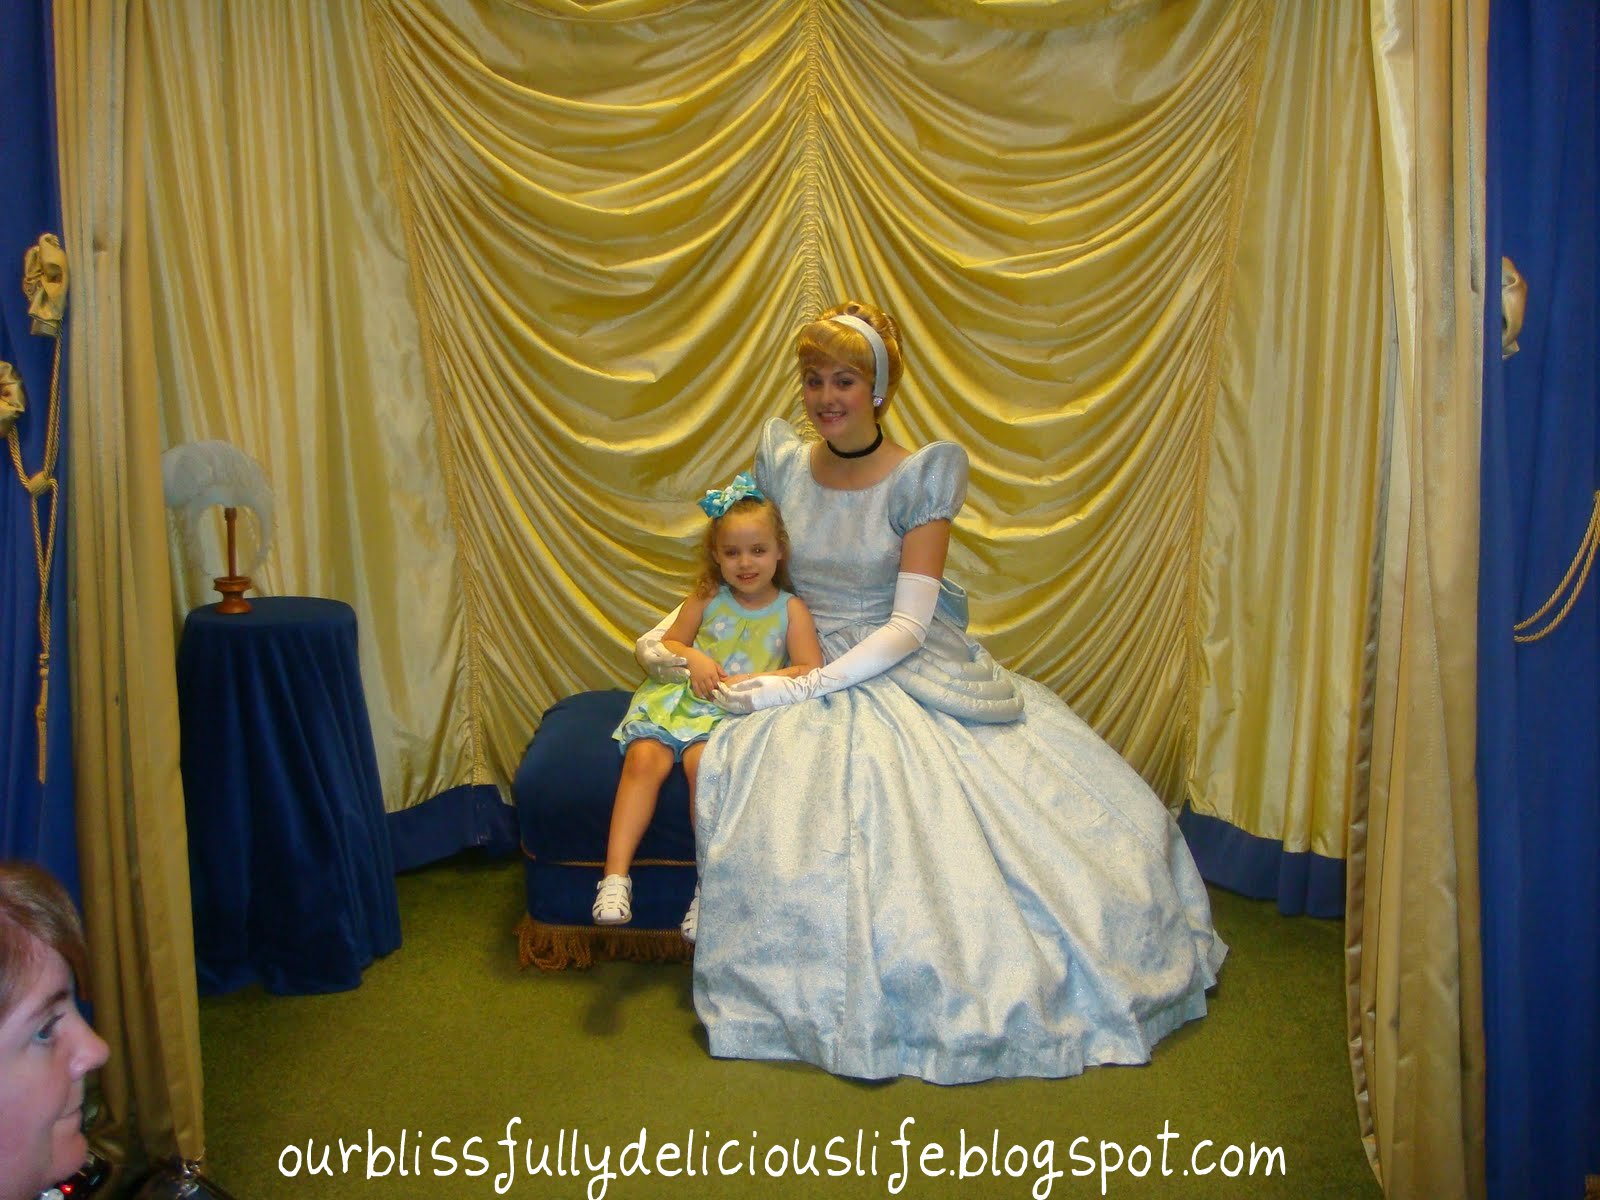
Cinderella & Hannah Mickey & Minnie with Hannah
 Mickey & Minnie with Hannah
  The whole family with Tiger & Pooh




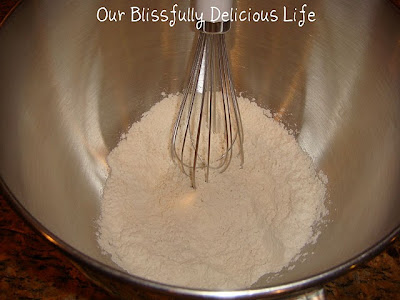
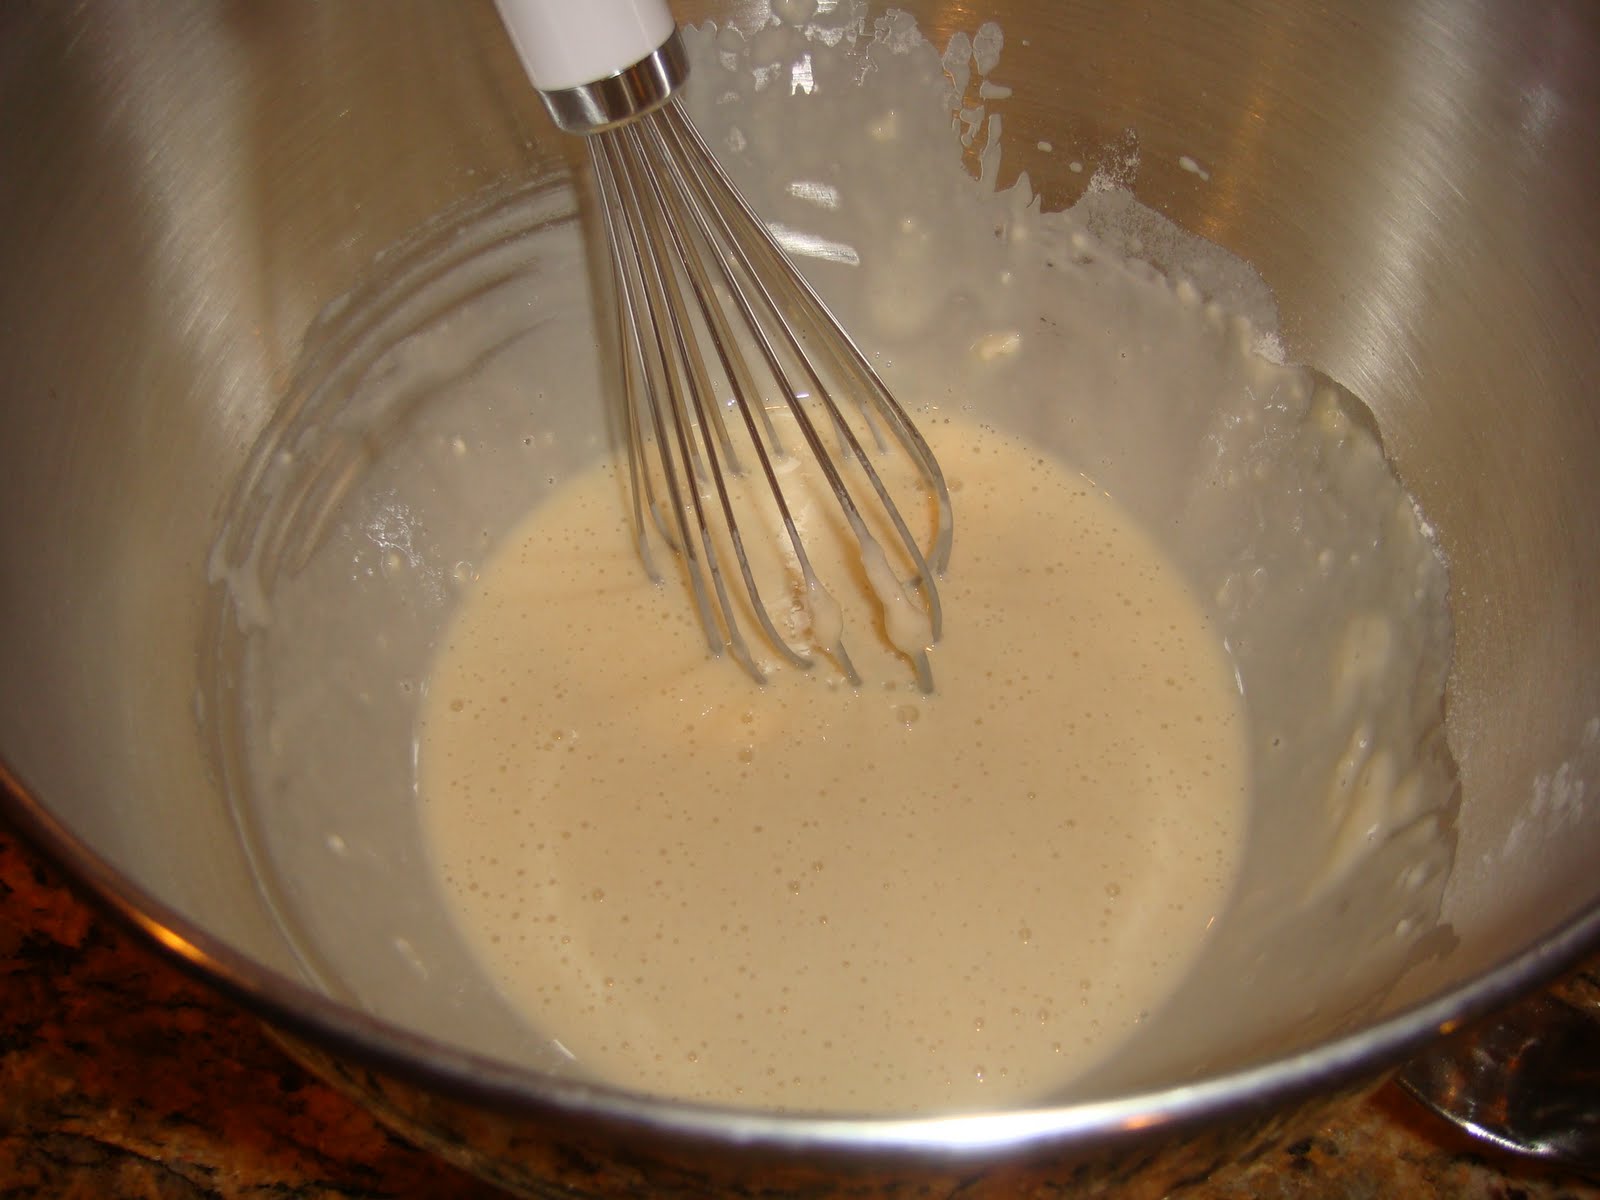
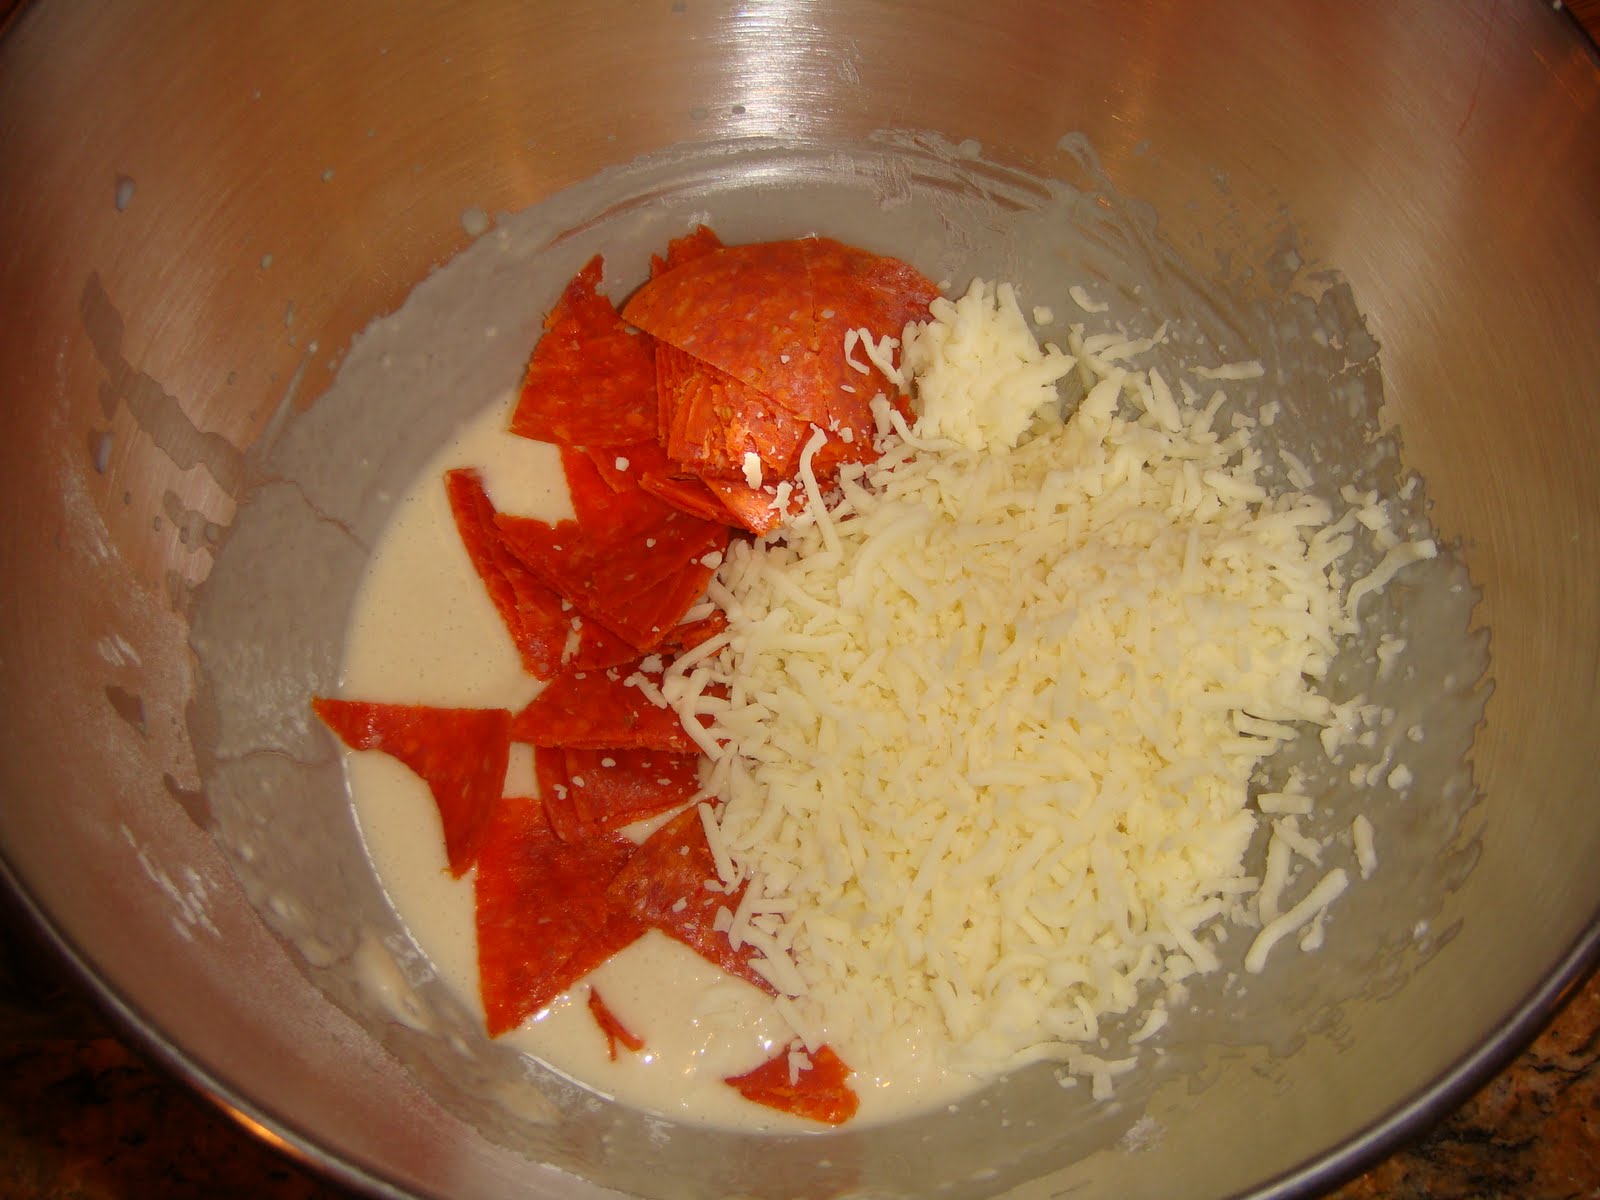
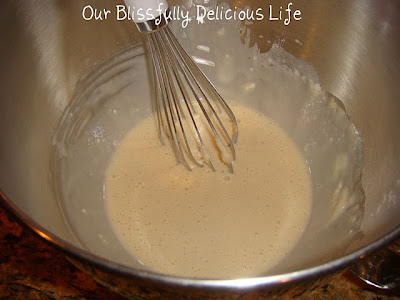 Then whisk in the milk and egg.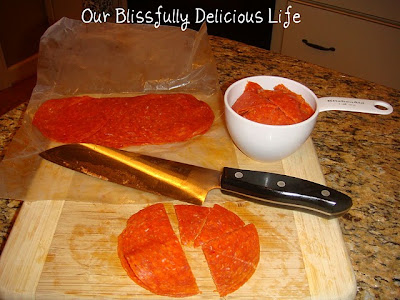

 Stir the batter and divide among the mini-muffin cups.
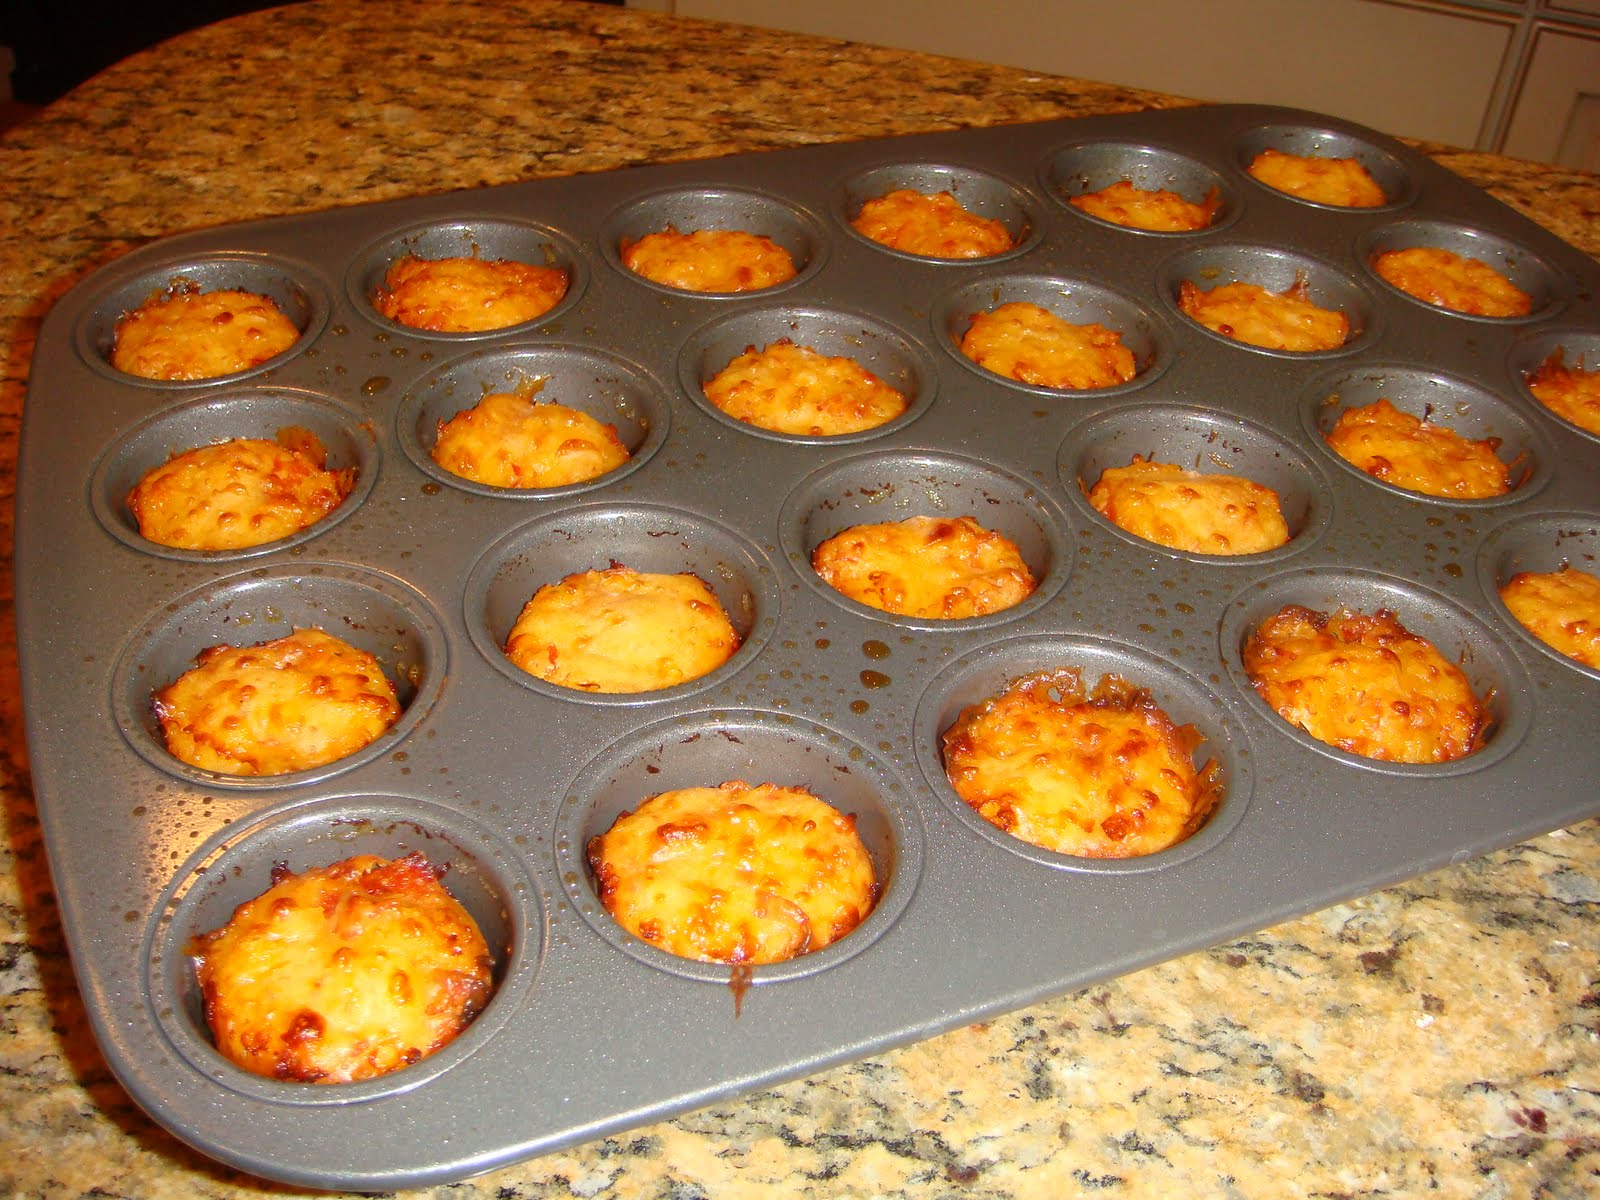
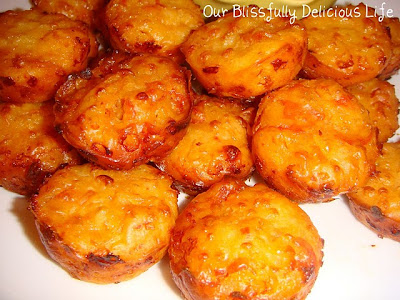
 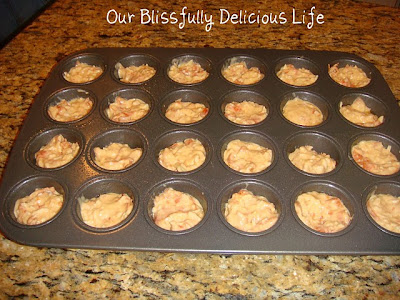 Bake until puffed and golden, 20 to 25 minutes.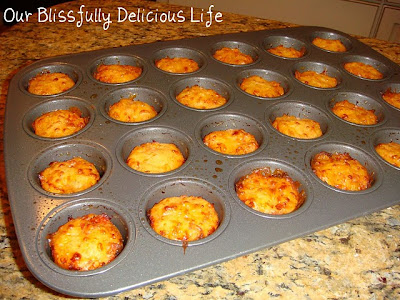
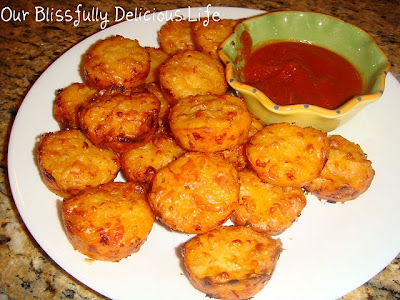
 Serve with the pizza sauce for dipping & watch these little treats disappear!
 ***Note: I Combined an 8 oz can of Tomato Sauce with 1 tsp of dried Italian Seasoning in a small sauce pan on low until heated.