Creamy Mashed Potatoes

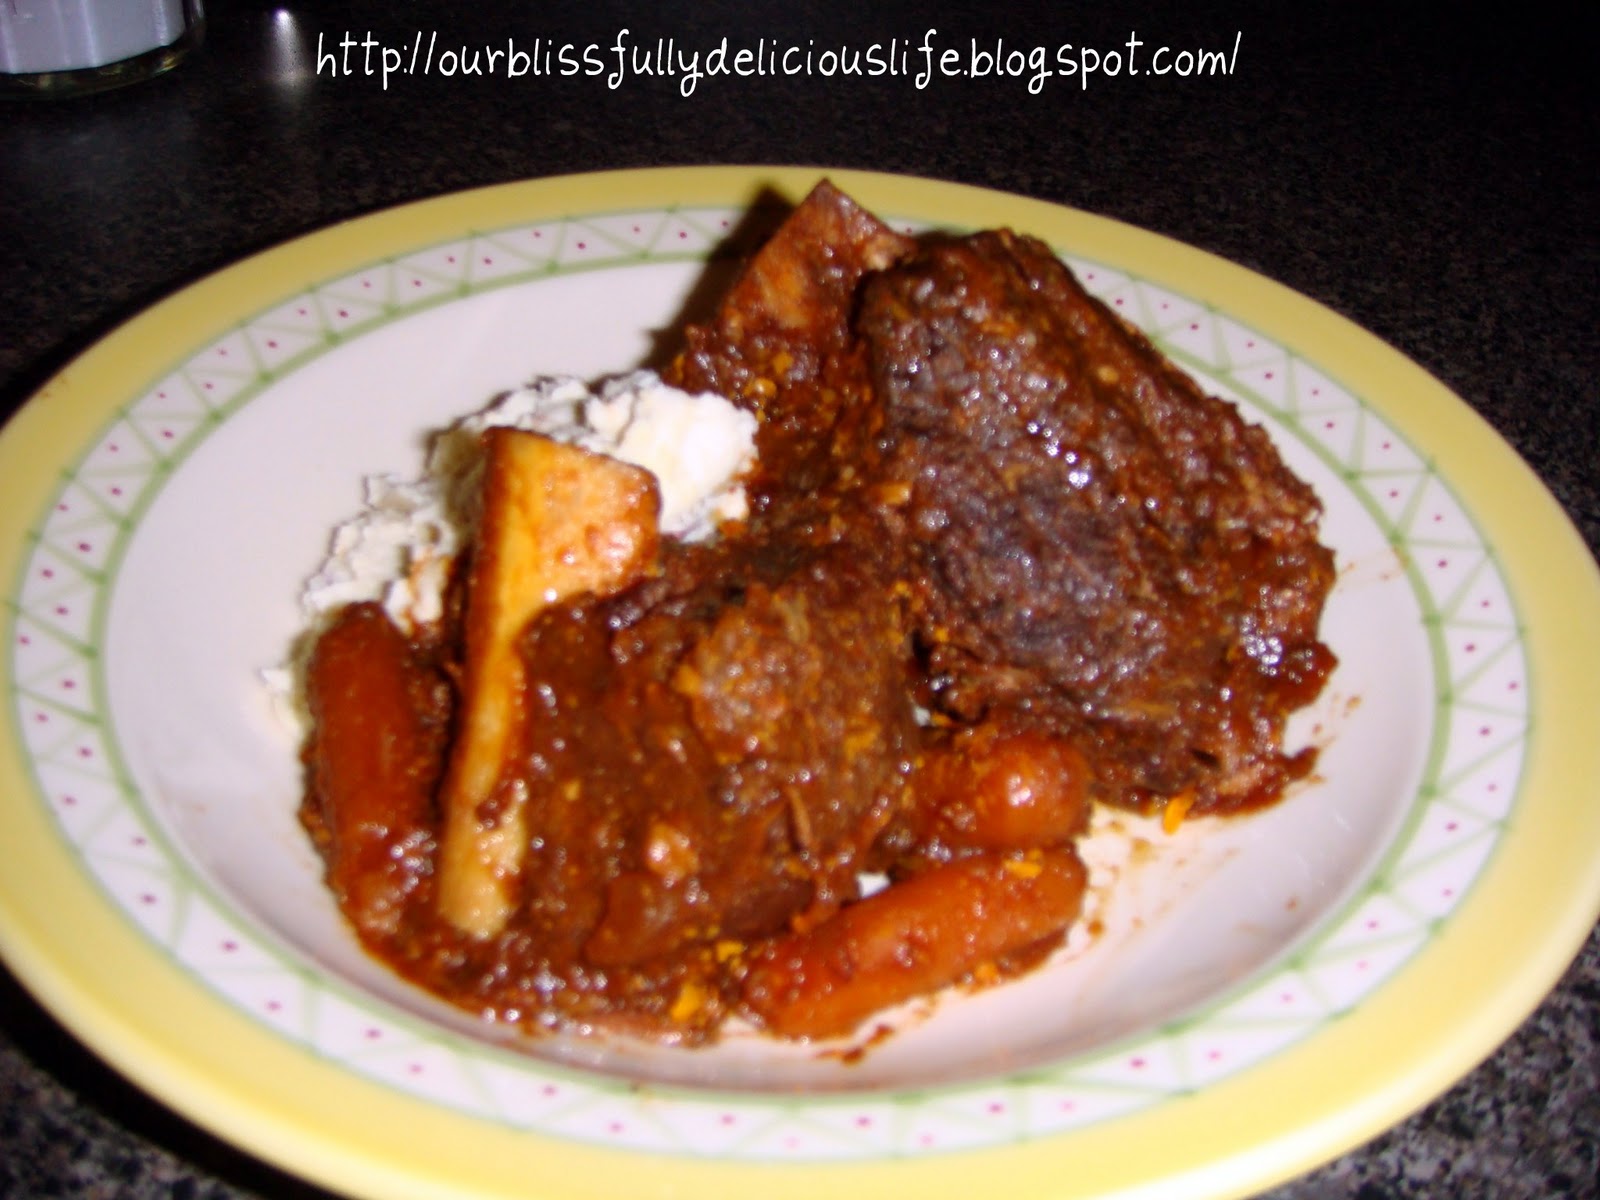
These are not your ordinary, run of the mill mashed potatoes!  These are The Pioneer Woman's Creamy Mashed Potatoes and they are fabulous!  The only changes that I made to The Pioneer Woman's original recipe is that I used red potatoes, and I didn't bother to peal them.  If you use a russet or anything with a thicker skin, then I would recommend peeling them.  But if you go with red or Yukon gold, there's really no need.  These are the ultimate in creamy, tangy, buttery, mashed potato yumminess.  I love that you can make them in advance, perfect for entertaining!  Give these a try, you will not be disappointed!! 
 Ingredients:
5 lbs Red Potatoes
1, 8 oz Cream Cheese, softened
1 cup Heavy Cream
2 sticks of Butter
Salt & Pepper, to taste

Directions:
Wash the potatoes & cut in half or quarter, depending on the size of the potatoes.  Place in a large pot & cover with water.  Bring to a boil over high heat & cook until fork tender, about 20-25 minutes. 
While the potatoes are boiling, preheat the oven to 350 degrees & generously butter a large casserole dish. (I halved the recipe so you would need a larger casserole for the whole recipe.)
When the potatoes are fork tender, drain & place back into the pot, on the stove with the heat off.  Mash until smooth. 
Add in 1 1/2 sticks of butter, the heavy cream, the cream cheese & season with salt & pepper.  Stir to combine well. 
Spread the mashed potatoes into the buttered casserole dish evenly.  Then top with a few pats of butter.  Do not skip this part!  Trust me!!  (If you want to make these in advance, you can stop here.  Cover & refrigerate the casserole dish.  When you are ready to eat, pull the potatoes out of the refrigerator & bring to room temperature.  Then continue with the directions below.)
 Bake at 350 degrees uncovered, until the potatoes are warmed through & the top is browned, about 20-30 minutes.
Let the potatoes sit for a few minutes before serving.  Enjoy!! 
This recipe serves 10-12 people.
(I halved the recipe for these pictures!)

Braised Short Ribs

Fall weather swept in this past weekend & I didn't hesitate a second on capitalizing on it with some fall like cooking!  My family was coming over for dinner so I decided to braise some short ribs.  I couldn't decided on any 1 recipe to follow, so I combined several different methods & let me tell you- this is a fabulous way to make short ribs!  The sauce is amazing & the meat is so tender it literally falls off the bones.  It is so easy, in fact, the most difficult part of the recipe is getting the meat out of the pot still attached to the bone!  It takes a bit of time to make but the oven does all the work.  The only secret to this recipe is in the last steps.  I take the ribs out of the braising liquid & bake them for a few minutes before serving.  It crisps up the exterior of the meat creating a lovely texture.  I found this wonder tip on Smitten Kitchen.com.  There are some excellent photos you should check out here too!   I didn't take pictures while I was cooking, I didn't intend to be blogging about it when I made it.  But it really is such a good recipe, I had to share it.  Besides it really is so simple, you won't even miss the step by step photos. I served them on top of Creamy Mashed Potatoes but butter egg noodles or rice would be good too.   
Ingredients:
6-7 lbs Bone In Short Ribs, excess fat trimmed off
2 Medium Sized Onions, quartered
20 (or so) Baby Carrots, whole
6 cloves of Garlic, whole, peeled
2 cups Red Wine
1, 32 oz container Beef Broth
1, 6 oz can Tomato Paste
2 tbsp- 1/4 cup Balsamic Vinegar
8-10 sprigs of fresh Thyme
1 tbsp Olive Oil
Salt & pepper to taste

Directions:
Preheat the oven to 400 degrees.  Place the short ribs in a single layer on a sheet pan.  Season well with salt & pepper.  Bake at 400 degrees for 15 minutes. 
Meanwhile, in a large dutch oven, drizzle a tablespoon or so of olive oil & turn the heat to medium.  Add the quartered onions & carrots & cook until they are tender.  Add in the garlic cloves & continue to cook for 1 minute.  Add in the wine & cook until it has reduced by half, about 10 minutes.  Add in the tomato paste, beef broth, balsamic vinegar & half of the fresh thyme.  Stir to incorporate. 
After 15 minutes, remove the short ribs from the oven & reduce the temperature to 325 degrees.  Add the short ribs to the dutch oven, with the bones standing upright.  Place the other half of the thyme in the pot, on top of the meat.  Cover & place in a 325 degree oven for 3 hours.  You'll know the meat is done when it is easily pierced with a knife or fork. 
Take the pot out of the oven & allow to sit for 15 minutes or so.  (If you want to make this a day ahead.  This is where you would stop.  Simply allow it to come to room temperature & refrigerate.  When you are ready to finish, simply pull it out of the refrigerator, skim the fat solid that has congealed on the top & bring to a simmer on the stove top. Then continue below.)
Preheat the oven to 400 degrees.  Carefully, remove the ribs from the dutch oven & place on a sheet pan.  (While you are pulling out the ribs, also pull out all the stems from the fresh thyme!!)  Bake the ribs until browned, about 10-15 minutes.  Check it out- my brother did managed to snap a picture of the ribs, just out of the oven!
While the ribs are browning, ladle as much fat off the top of the braising liquid as you can.  (If you made this a day ahead, you will have already done this.)  Continue to simmer the sauce to thicken.  If you sauce is too thick, you can thin it with more broth or water.  Taste & adjust your seasonings.  
To serve, I like to place a big scoop of creamy mashed potatoes in the center of a shallow bowl or plate.  Put 2 short ribs on the side of the mashed potatoes & spoon some of the thickened braising liquid over top of it all.  YUM!   This serves 6-8. 

Cheesy Baked Ravioli with Spinach

Store bought ravioli is one of my favorite short cuts to keep on hand for busy nights.  I try to keep a bag of it in the freezer for nights that I need something easy & quick.  This is one of my favorite things to make with it.  I slightly adapted the recipe from Cook's Country.  It's simple, quick & everyone loves it.  Perfect for a busy week night.  I make a simple tomato sauce while the ravioli boils then let my daughter load it up with cheese before placing it in the oven.  I used a 4 cheese filled ravioli but you could also use meat or veggie filled.  They all would be good.  Give this a try- you'll love it too! 
Ingredients:
1 tbsp Olive Oil
1 tbsp Butter
2 cloves of Garlic, minced
1, 28 oz can of Diced Tomatoes
7 oz bag of Spinach
1/3 cup Half & Half (you could also use Heavy Cream)
1 lb Frozen Ravioli (any flavor)
1 cup Mozzarella, shredded
Salt & Pepper, to taste
Directions:
Preheat the oven to 450 degrees.  Spray a 9 X 13 casserole with non-stick spray & set aside.  In a large, deep skillet melt the butter & olive oil together over medium heat.  Add in the garlic & cook for 30 seconds then stir in the canned tomatoes, with all their juices.  Continue to cook on medium heat, stirring occasionally for 5-10 minutes, until the sauce has thickened.  Don't worry, it will be bubbly!! 
When the tomato sauce has thickened, add in the spinach & stir to wilt. 
Then add in the half & half and season with salt & pepper.
Meanwhile cook the ravioli according to the package directions, draining it a minute or 2 early. It will continue to cook when it bakes in the sauce.  (Make sure that you do not over cook the ravioli here or it will be mushy.)
When the ravioli is cooked, drain & add to the creamy sauce.  Gently fold to coat well. 
Pour the ravioli mixture into the greased casserole dish.  Top with the shredded cheese. 
Bake for 10 minutes or until the cheese is melted & browned.  Let cool for 5 minutes before serving.
Enjoy!!
 This recipe makes 8 servings.